Making a one-gallon batch of beer is a simple way to learn homebrewing.
Extract brewing uses malt extract instead of a full grain mash. The malt extract already contains the sugars that the yeast needs. You only need to boil the extract with water and hops, cool the wort, add yeast, and allow fermentation to take place.
A one-gallon batch also needs less equipment than a larger batch. It is a good size for testing new recipes.
This guide covers the complete process from brew day to secondary fermentation and bottling.
Equipment
You need the following equipment:
- 2-gallon or larger brew kettle
- 1-gallon fermenter
- Fermenter stopper or lid
- Airlock
- Auto-siphon or racking cane
- Siphon tubing
- Bottling bucket
- Bottle filler aka “bottling wand”
- Bottle capper
- Beer bottles
- Bottle caps
- Hydrometer
- Hydrometer test jar
- Thermometer
- Measuring cup
- Measuring spoons
- Digital scale
- Large spoon
- Funnel
- Cleaner
- No-rinse sanitizer
- Heat-resistant gloves or oven mitts
A brewing bag can also be useful. You do not need one for extract brewing, but it can hold loose hops during the boil.
A spray bottle filled with diluted sanitizer is also useful. You can use it to sanitize small items during the process.
Ingredients
A simple one-gallon pale ale can use:
- 1.5 pounds light dry malt extract
- 0.25 pound specialty grain, such as crystal malt
- 0.5 to 1 ounce of hops
- 1 package of ale yeast
- Yeast nutrient
- Priming sugar
- Water
The exact amount of malt and hops depends on the recipe.
You can use liquid malt extract instead of dry malt extract. Use the amount specified by the recipe because dry and liquid malt extract have different water content.
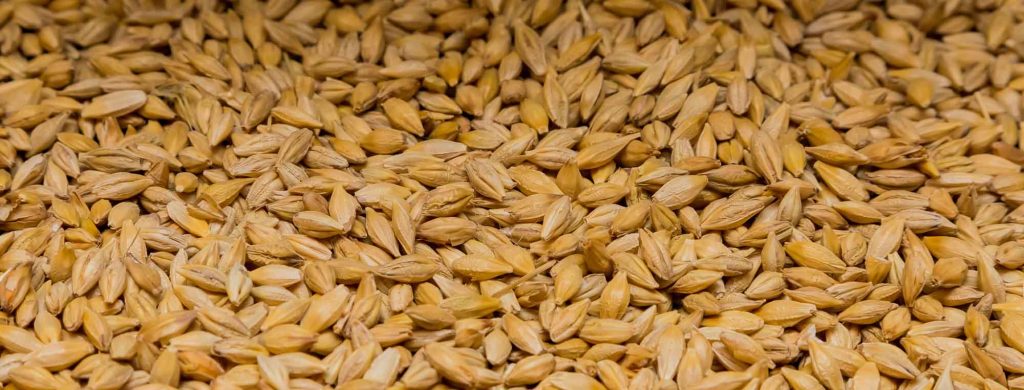
Specialty Grain
Specialty grain is optional.
It can add color, flavor, body, and sweetness.
Common specialty grains include:
- Crystal malt
- Chocolate malt
- Roasted barley
- Wheat malt
- Munich malt
- Vienna malt
You only need a small amount for a one-gallon batch.
Hops
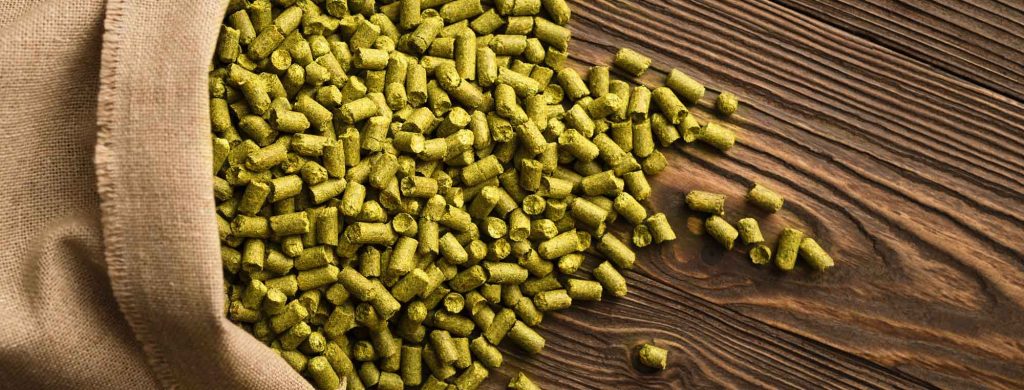
Hops add bitterness, flavor, and aroma. Different hop varieties produce different results.
Examples include:
- Cascade
- Centennial
- Chinook
- Citra
- Mosaic
- Amarillo
- Saaz
- Hallertau
A simple recipe can use one hop variety.
Yeast
Use a healthy brewing yeast. For a simple ale, an ale yeast is the easiest choice.
Examples include:
- US-05
- Nottingham
- S-04
A dry yeast packet contains enough yeast for a one-gallon batch. You do not need a yeast starter for a normal one-gallon beer.
Yeast Nutrient
Yeast nutrient can help provide nitrogen, vitamins, and minerals that support yeast growth.
Add the amount specified by the product instructions.
Do not add a large amount. More nutrient does not always produce better fermentation and excess can leave off-flavors. Most beers do not need added nutrient.
Water
Use clean water. If your tap water tastes good, it can often make good beer.
If your water contains chlorine or chloramine, use filtered water or treat the water with a campden tablet before brewing.
For a simple extract beer, you do not need to build a complex water profile.
Brew Day
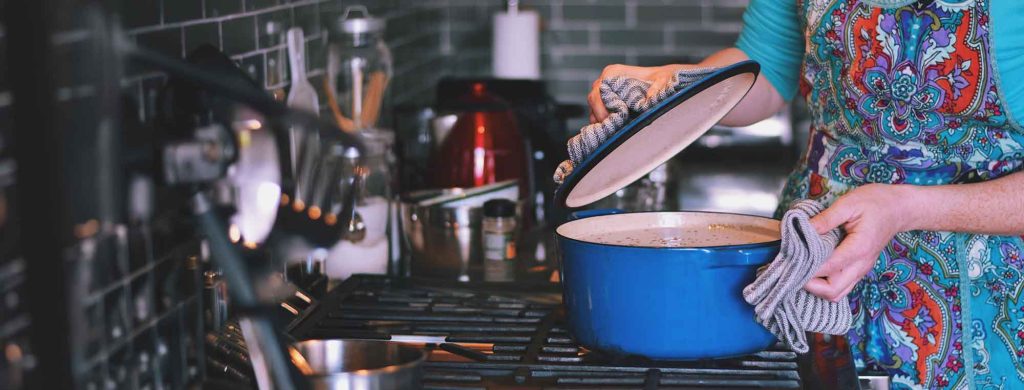
Brew day has several basic stages:
- Clean the equipment.
- Sanitize the equipment.
- Prepare the specialty grain.
- Steep the grain.
- Boil the wort.
- Add the hops and malt extract.
- Cool the wort.
- Transfer the wort to the fermenter.
- Add water to reach the batch volume.
- Measure the original gravity.
- Add the yeast.
- Install the airlock.
1. Clean the Equipment
Clean the kettle, fermenter, spoon, thermometer, siphon, and other equipment. Cleaning removes dirt and residue.
Cleaning is different from sanitizing.
Clean the equipment first. Sanitize it after cleaning.
2. Sanitize the Equipment
Sanitize everything that will touch the wort after the boil.
This includes:
- Fermenter
- Stopper or lid
- Airlock
- Spoon
- Thermometer
- Funnel
- Hydrometer
- Hydrometer test jar
Follow the instructions for your sanitizer. If you use a no-rinse sanitizer, do not rinse it with tap water after sanitizing.
Good sanitation is one of the most important parts of brewing beer.
3. Prepare the Specialty Grain
If your recipe contains specialty grain, place the grain in a brewing bag.
Heat about 1.5 gallons of water in the kettle.
Do not boil the grain.
When the water reaches about 150–160°F, add the grain bag. Steep the grain for about 20–30 minutes. Keep the temperature in the range specified by the recipe.
Remove the grain bag. Allow the liquid to drain into the kettle. Do not squeeze the grain bag aggressively.
If your recipe does not use specialty grain, skip this step.
4. Start the Boil
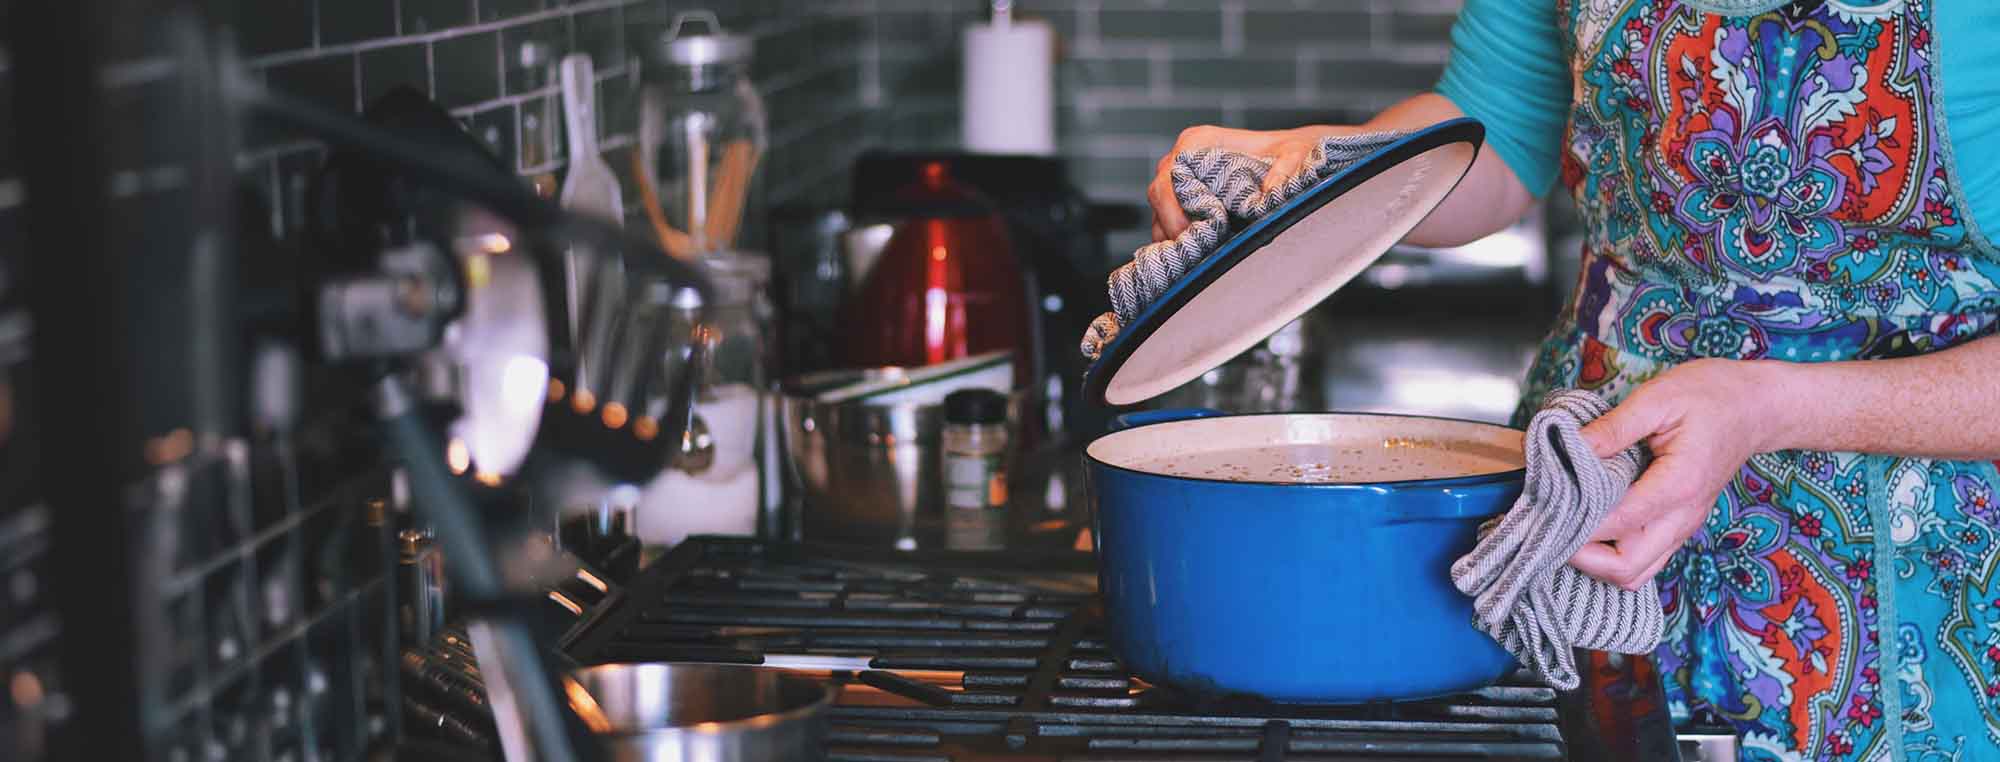
Bring the wort to a boil.
Watch the kettle closely. Malt wort can produce a large foam layer when it starts to boil. This foam can cause a boil-over. Reduce the heat if necessary.
A one-gallon batch does not require a very large boil kettle. However, you still need enough space for foam as you approach hot break.
5. Add the Malt Extract
Remove the kettle from the heat before you add a large amount of malt extract.
Add the malt extract slowly. Stir side-to-side across the kettle until the extract is completely dissolved.
Return the kettle to the heat. This reduces the chance that the extract will burn on the bottom of the kettle.
Uncommon, but if the recipe uses a late extract addition, add only the specified amount at the beginning of the boil. Add the remaining extract near the end of the boil. Follow the recipe instructions for the extract schedule.
6. Add the Hops
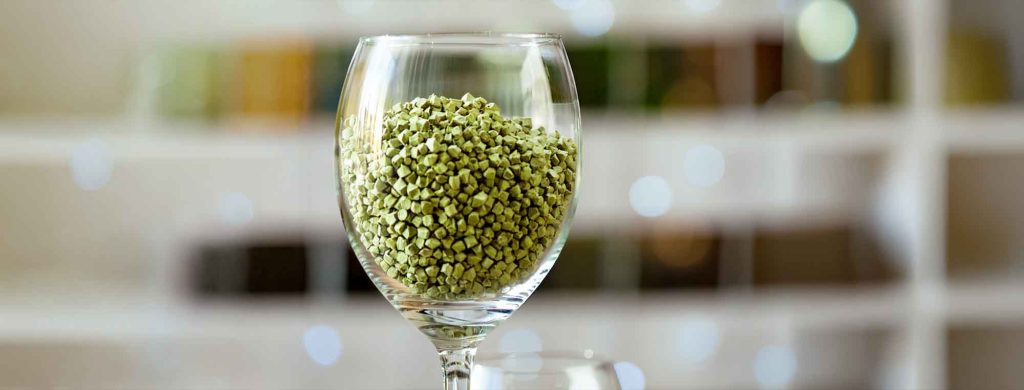
The recipe will tell you when to add each hop addition.
A simple recipe may use:
- One hop addition at the start of the boil
- One hop addition near the end of the boil
The longer hops boil, the more bitterness they normally provide. Late hop additions provide more flavor and aroma. Follow the recipe for the exact hop schedule.
7. Add Yeast Nutrient
Add yeast nutrient near the end of the boil.
Many yeast nutrient products recommend an addition during the final 10–15 minutes of the boil. Follow the product instructions.
8. Optional: Add a Clarifying Agent
You can add a kettle fining product such as Irish moss or Whirlfloc near the end of the boil.
This can help proteins and other material settle after the boil. This step is optional, as a cloudy beer can still be good beer.
9. Finish the Boil
A typical extract beer uses a 60-minute boil. The recipe may use a shorter boil.
When the boil is complete, turn off the heat. Add any final hop additions that the recipe specifies.
10. Cool the Wort
Cool the wort as quickly as practical.
The simplest method for a one-gallon batch is to place the kettle in an ice-water bath.
Do not allow the cooling water to enter the kettle. Stir the wort carefully with a sanitized spoon to help it cool. Check the temperature with a sanitized thermometer.
Do not add yeast while the wort is hot. For most ale yeast, cool the wort to about 65–70°F before you add the yeast.
11. Transfer the Wort to the Fermenter
Transfer the cooled wort to the sanitized fermenter.
You can use a sanitized funnel for a narrow-neck fermenter.
Add sterile water until you reach one gallon and do not fill the fermenter to the top. Leave some empty space for fermentation foam.
12. Aerate the Wort
Yeast needs oxygen at the start of fermentation.
You can aerate a one-gallon batch by placing the lid or stopper on the fermenter and gently shaking the fermenter.
Do not shake the fermenter after fermentation starts.
If you have an oxygen or aeration system, you can use it instead. You do not need special aeration equipment for a simple one-gallon batch.
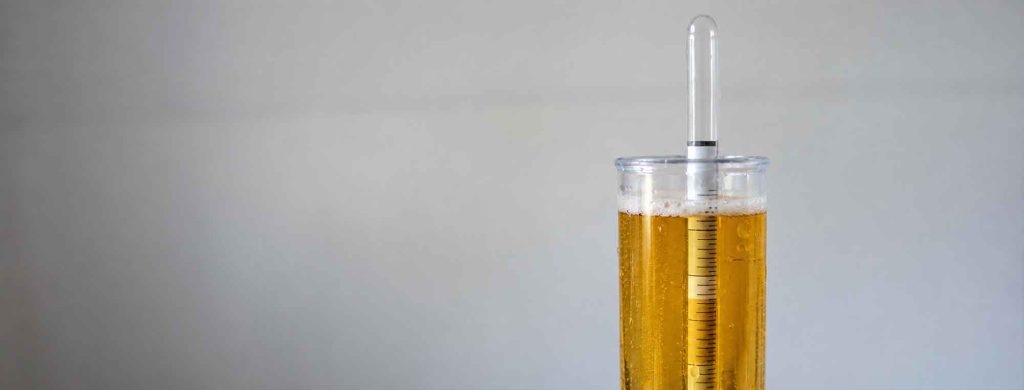
13. Measure the Original Gravity
Take a sample of the wort.
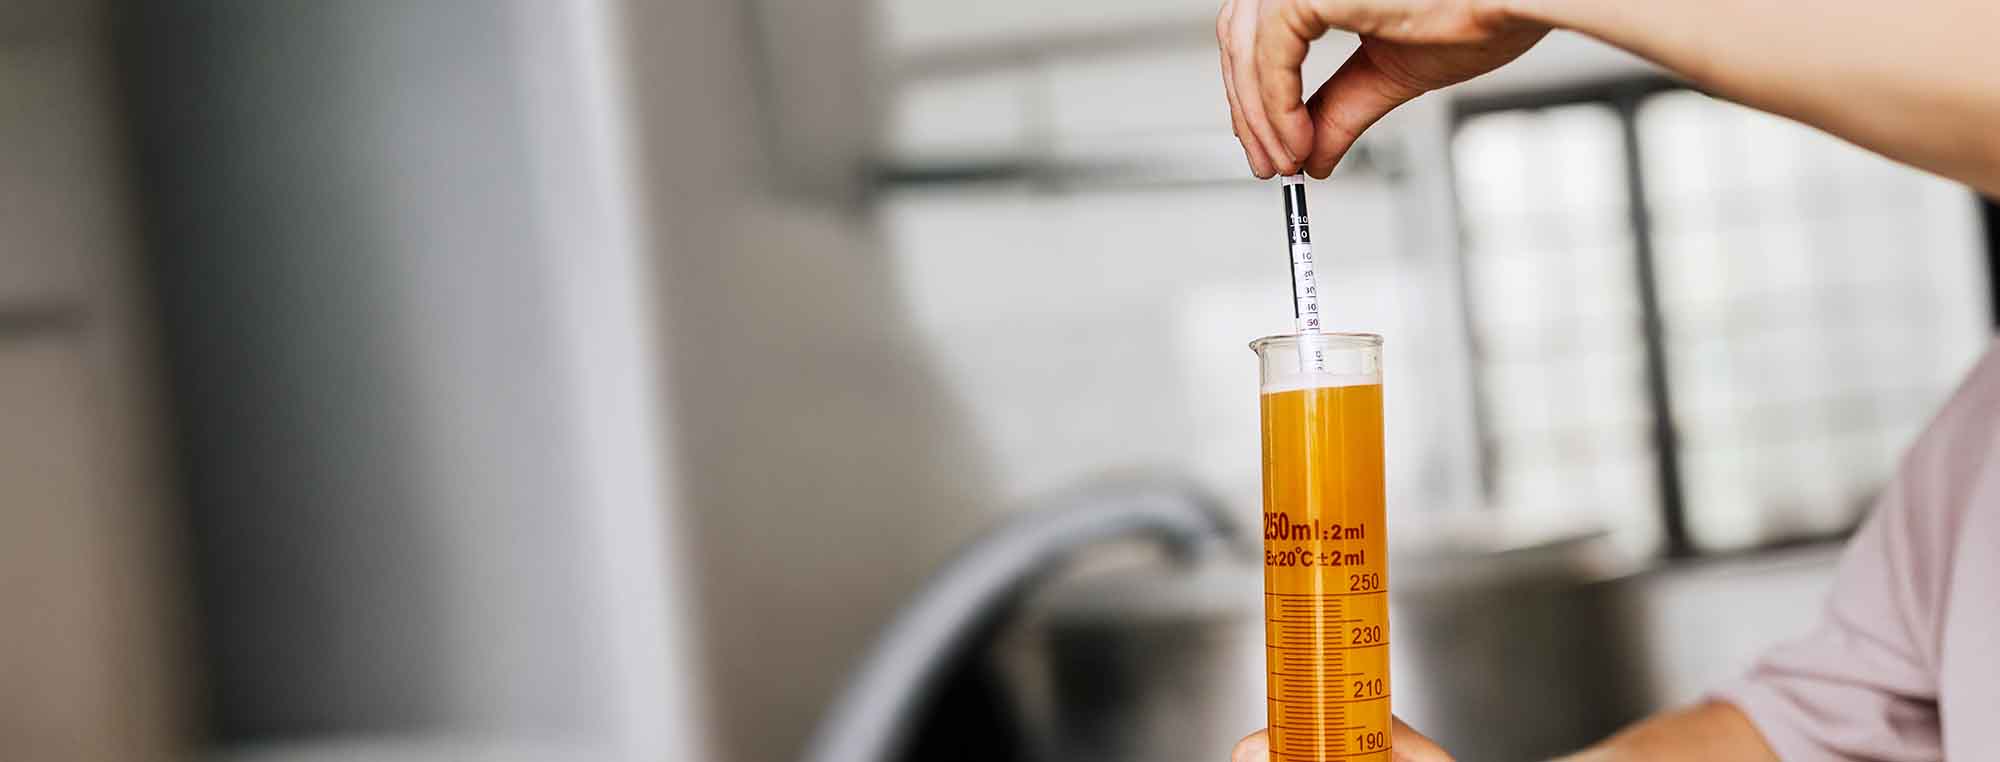
Use the hydrometer to measure the original gravity. Record the value. The original gravity tells you how much dissolved sugar was present before fermentation. If everything is sanitized properly, feel free to return the hydrometer sample to the fermenter.
14. Add the Yeast
Check the wort temperature.
Add the yeast when the wort is within the temperature range recommended by the yeast manufacturer. Sprinkle dry yeast onto the wort.
ou can gently stir the yeast into the wort with a sanitized spoon.
Do not add yeast to hot wort, as hot wort can kill the yeast.
15. Install the Airlock
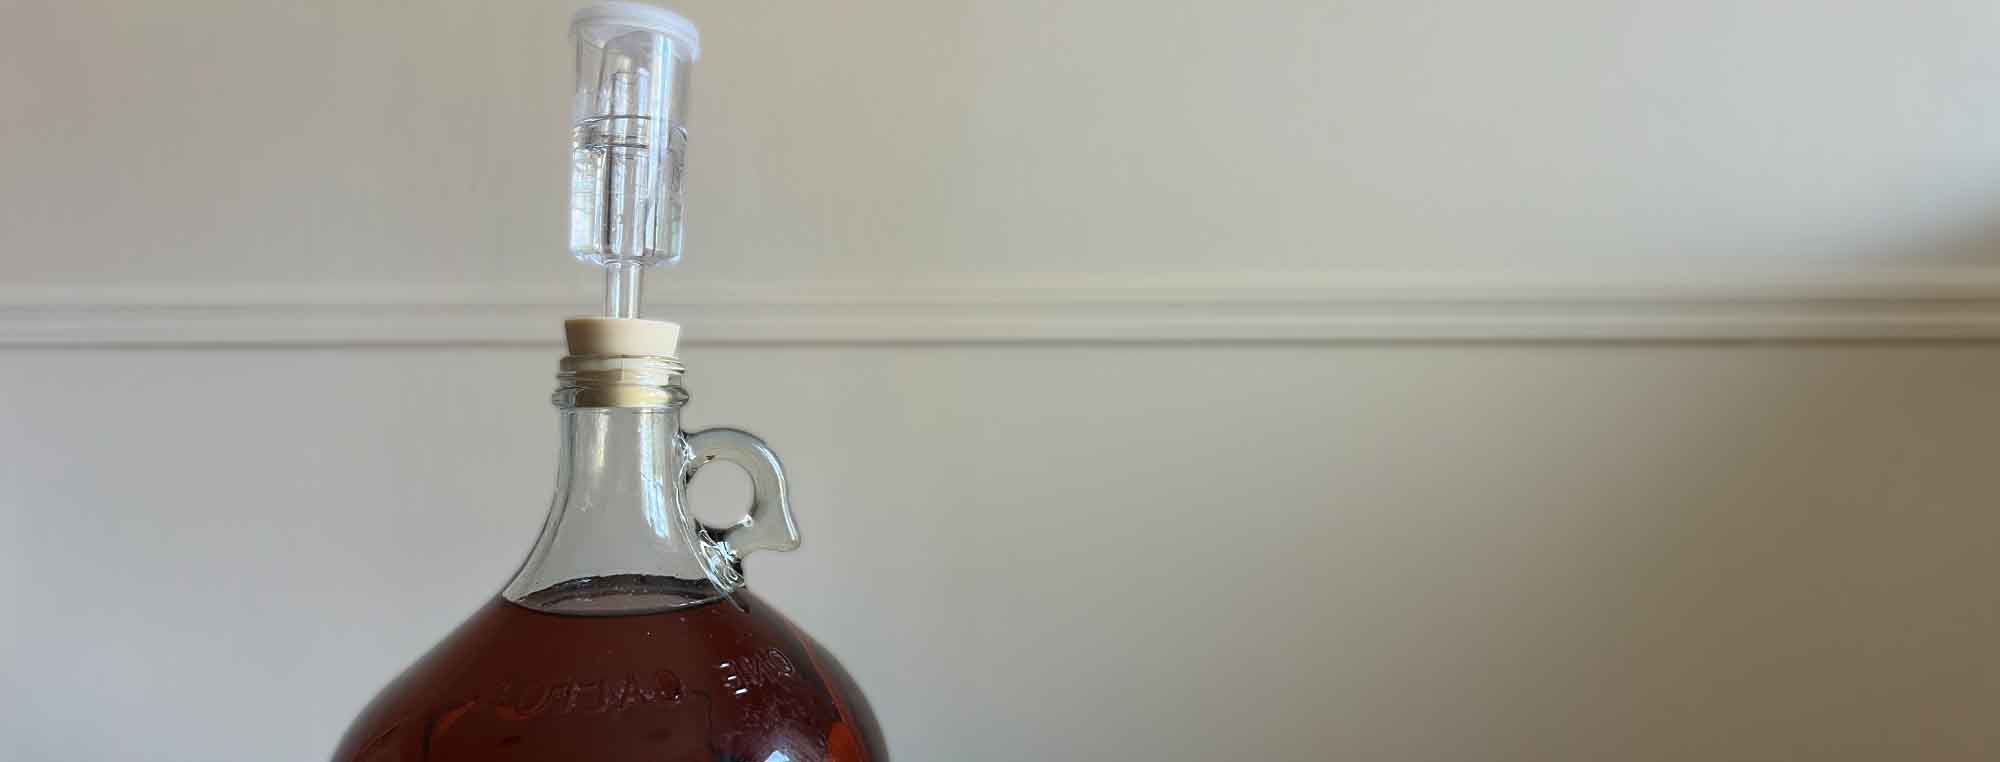
Install the stopper and airlock.
Fill the airlock with the liquid specified by the manufacturer. Move the fermenter to a dark location with a stable temperature.
Keep the beer within the yeast manufacturer’s recommended temperature range. For many ale yeasts, about 65–70°F is a good starting range. Fermentation temperature has a major effect on beer flavor.
Primary Fermentation
Fermentation often starts within 12–48 hours.
You may see:
- Foam
- Bubbles
- Krausen
- Movement in the airlock
Do not use airlock activity as the only way to determine when fermentation is complete.
Primary fermentation often takes about 1–2 weeks, though the actual time can be longer.
Leave the beer alone while the yeast works. Do not open the fermenter unless you need to take a sample. Every time you open the fermenter, you increase the risk of contamination.

Check the Gravity
After about two weeks, you can take a hydrometer reading.
- Sanitize the hydrometer and test jar.
- Take a sample.
- Record the gravity.
- Take another reading after two or three days.
If the gravity remains the same, fermentation is probably complete. A stable final gravity is more useful than a specific number of fermentation days.
Secondary Fermentation
Secondary fermentation is optional.
Modern brewing methods often leave beer in the primary fermenter until fermentation is complete.
However, a secondary fermenter can be useful for:
- Longer aging
- Adding fruit
- Adding oak
- Adding certain flavor ingredients
- Reducing the amount of yeast sediment before bottling
If you do not need any of these steps, you can skip secondary fermentation.
Transfer to Secondary
If you use secondary fermentation, sanitize the secondary fermenter and all transfer equipment.
Place the full fermenter above the empty fermenter.
Use a sanitized siphon to transfer the beer. Keep the end of the siphon below the surface of the beer. Do not splash the beer. Oxygen can damage finished beer and produce stale flavors.
Leave the sediment behind in the primary fermenter.
Install an airlock on the secondary fermenter and allow the beer to age for the amount of time specified by the recipe. One to two weeks is enough for many simple beers. Some beers need much longer.
Optional Flavor Additions
Secondary fermentation is a good time to add some flavor ingredients.
Possible additions include:
- Fruit
- Vanilla beans
- Coffee
- Cocoa
- Oak
- Spices
- Herbs
- Citrus peel
Use sanitized ingredients when possible.
Fresh fruit can contain microorganisms and can add fermentable sugar. If you add fruit, expect the yeast to ferment some of the fruit sugar.
Wait until fermentation is complete again before you bottle the beer. Do not bottle immediately after adding fruit.
Prepare for Bottling
Before bottling, confirm that fermentation is complete.
Take two hydrometer readings several days apart. The readings should be the same. Do not bottle beer that is still fermenting, as active fermentation can create excessive pressure in bottles.
Bottling Equipment
You need:
- Bottling bucket
- Siphon
- Bottle filler
- Bottles
- Bottle caps
- Bottle capper
- Priming sugar
- Cleaner
- No-rinse sanitizer
Use bottles that are designed to hold carbonated beer. Do not use thin glass bottles that are not designed for carbonation.
1. Clean the Bottles
Clean the bottles.
Remove old labels and residue. Inspect the bottles for cracks or damage.
Do not use damaged bottles.
2. Sanitize the Bottles
Sanitize the bottles, caps, bottling bucket, siphon, and bottle filler.
Follow the sanitizer instructions. Keep the sanitized equipment away from dirty surfaces.
3. Prepare the Priming Sugar
Priming sugar provides the sugar that the yeast needs for bottle conditioning.
For a one-gallon batch, the amount is small.
The exact amount depends on:
- Desired carbonation
- Beer temperature
- Existing dissolved carbon dioxide
- Sugar type
Use a priming sugar calculator or the amount specified by your recipe. Do not guess if you want a specific carbonation level.
Dissolve the priming sugar in a small amount of water. Boil the solution for about 5 minutes. Allow it to cool.
4. Add the Priming Sugar
Pour the cooled priming sugar solution into the sanitized bottling bucket.
Transfer the beer from the fermenter into the bottling bucket.
The beer should mix with the priming sugar without splashing. Do not stir the beer aggressively.
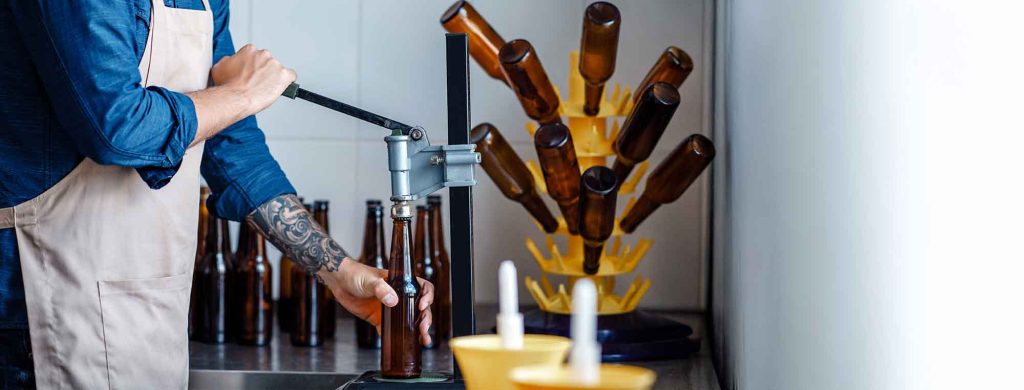
5. Fill the Bottles
Attach the bottle filler to the siphon or bottling bucket.
Fill each bottle. Leave the amount of headspace recommended for your bottles. Remove the filler. The beer level will fall slightly.
Place a sanitized cap on the bottle and cap the bottle.
Repeat until the beer is packaged.
6. Condition the Bottles
Store the bottles at room temperature.
The yeast will ferment the priming sugar. The resulting carbon dioxide will remain in the sealed bottle. Bottle conditioning normally takes about 4–5 weeks.
Some beers need longer. After the beer is carbonated, place the bottles in a refrigerator. Cold beer holds carbon dioxide better and is easier to pour.

The Complete One-Gallon Process
A simple one-gallon extract beer follows this process:
- Clean all equipment.
- Sanitize all equipment that will touch the wort after the boil.
- Heat the brewing water.
- Steep specialty grain if the recipe uses it.
- Remove the grain.
- Bring the wort to a boil.
- Add the malt extract.
- Add hops according to the recipe.
- Add yeast nutrient near the end of the boil.
- Add optional kettle finings.
- Finish the boil.
- Cool the wort.
- Transfer the wort to the fermenter.
- Add water to reach one gallon.
- Aerate the wort.
- Measure and record the original gravity.
- Add yeast.
- Install the airlock.
- Ferment at the correct temperature.
- Check the gravity after primary fermentation.
- Transfer to secondary if desired.
- Add optional flavor ingredients.
- Wait for fermentation to finish again.
- Confirm stable gravity readings.
- Clean and sanitize the bottling equipment.
- Prepare the priming sugar.
- Transfer the beer to the bottling bucket.
- Mix the priming sugar with the beer.
- Fill the bottles.
- Cap the bottles.
- Allow the bottles to carbonate.
- Refrigerate the beer.
- Enjoy the beer.
Keep the First Batch Simple
A one-gallon extract batch does not need complicated equipment or a complicated recipe.
For the first batch, use:
- Light malt extract
- One hop variety
- One ale yeast
- Yeast nutrient
- Clean water
- Priming sugar
Skip secondary fermentation unless you have a reason to use it. Skip specialty ingredients until you understand the basic process. The most important parts of the process are sanitation, fermentation temperature, yeast health, and stable gravity readings.
If you control those four things, you can make very good beer with a small amount of equipment.