A siphon is one of the most useful tools in homebrewing.
It lets you move beer, cider, mead, and wine from one container to another without pouring the liquid.
A siphon can help you:
- Move brews into a bottling bucket
- Transfer brews or mead into secondary
- Fill a keg
- Move finished brews without excessive splashing
There are several types of siphons. Some require you to start the flow yourself. Others have a built-in mechanism that starts the siphon for you.
The basic principle is the same:
Liquid flows from a higher container to a lower container when the siphon is filled with liquid and the flow path is established.
What Is a Siphon?
A homebrew siphon normally consists of:
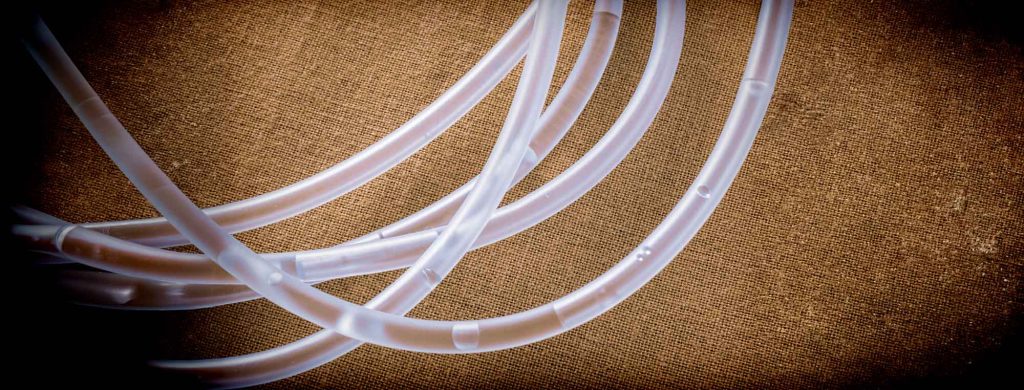
- A rigid or flexible siphon tube
- Flexible transfer tubing
- A siphon tip or pickup
- A destination container
The end of the siphon tube goes into the homebrew (beer, wine, mead, or cider). The other end goes into the receiving container.
The receiving container must be lower than the source container. Once the siphon is full of liquid, gravity does the rest.
Why Does a Siphon Work?
The siphon uses gravity and pressure differences. You do not need to understand the physics to use one.
Remember three things:
- The source container must be higher than the destination.
- The siphon tube must be filled with liquid.
- The destination end must remain below the liquid level in the source.
If those conditions are met, the liquid can continue to flow.
The Basic Types of Homebrew Siphons
There are several ways to start a siphon.
The most common are:
- Traditional gravity siphon
- Mouth-started siphon
- Turkey-baster-assisted siphon
- Auto-siphon
- Transfer pump
- CO₂-powered transfer
Each method has advantages and disadvantages.
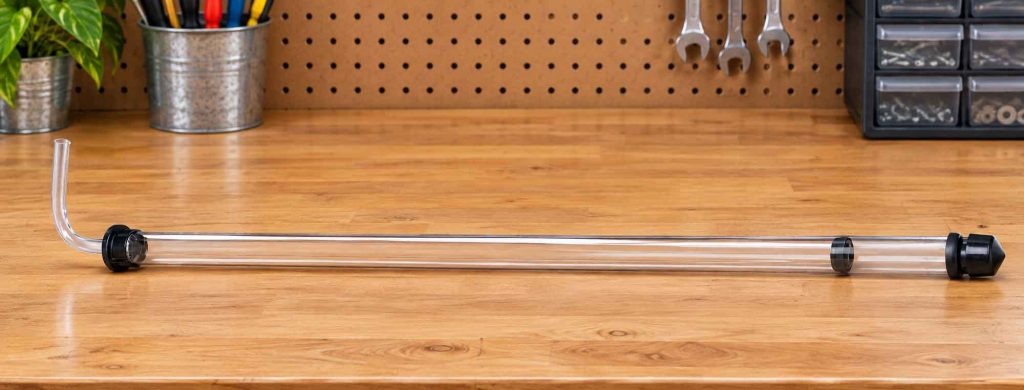
The Traditional Siphon
A traditional siphon is simply tubing.
There is no pump. There is no valve. There is no automatic starting mechanism. You may have a racking cane though, which is a rigid tube of plastic or metal with a cap on the bottom.
You must fill the tubing with liquid before the siphon can flow. This is the simplest type of siphon.
It is also the type that requires the most technique.
How to Start a Traditional Siphon
Place the siphon end into the source container.
Keep the end above the sediment. Place the other end into the receiving container. The tube must be filled with sterile liquid, like boiled and cooled water.
Once the tube is full, lower the destination end below the liquid level in the source. The liquid should begin flowing.
The difficult part is getting liquid into the tube without contaminating the brew.
Suck-Starting a Siphon
The traditional method is to suck on the end of the tubing.
This creates the pressure difference that starts the flow. It works. It is also not the best method for homebrewing a it can introduce some microbe from the mouth into the brew.
Should You Start a Siphon With Your Lips?
Technically, yes. Practically, you should avoid it.
Your mouth contains bacteria and other microorganisms. If the tubing is being used to transfer a brew after fermentation, putting your mouth on the tubing creates an unnecessary contamination risk.
There is also another problem.
If you are not paying attention, liquid can reach your mouth. This is particularly unpleasant with sour beer, high-alcohol mead, or other strongly flavored beverages.
Do not use your mouth to start a siphon when you have a better option.
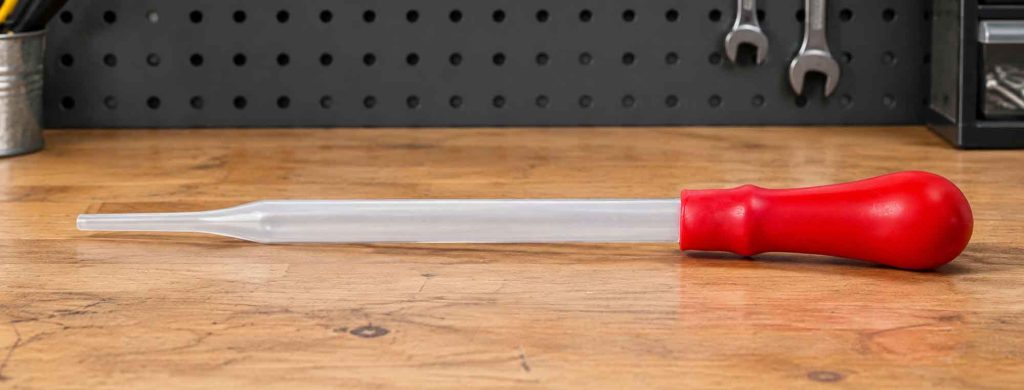
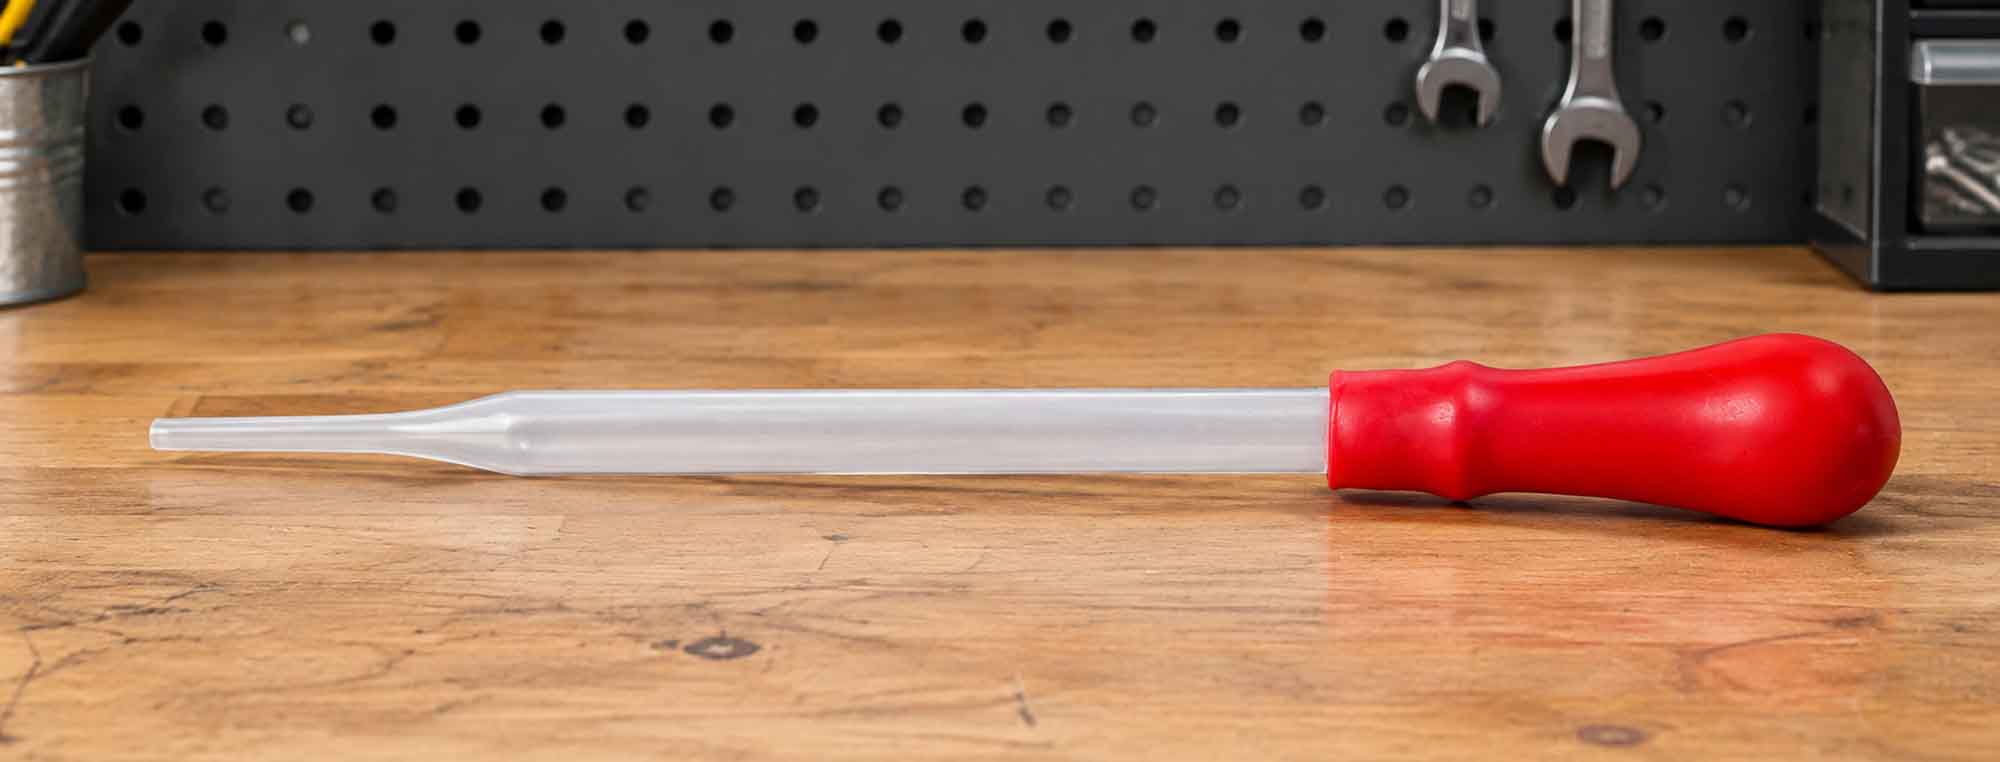
Using a Turkey Baster
A turkey baster can provide a way to start a traditional siphon without putting your mouth on the tubing.
The basic idea is to use the baster to draw liquid into the tubing. Once the tubing is filled, the siphon can begin flowing normally.
This method can work. It is not as convenient as an auto-siphon.
The turkey baster must also be:
- Clean
- Food-safe
- Thoroughly cleaned
- Properly sanitized
A baster that has been used with raw meat should never be used for brewing.
A dedicated brewing baster is a better choice. Some homebrewers will use the turkey baster, sans the suction bulb, as a mouthpiece to suck-start the siphon. The baster will fit snug in the tubing and using it as a mouthpiece prevents your mouth from touching anything that will touch the brew. This is ideal and works well.
The Auto-Siphon
An auto-siphon is the most popular solution for many homebrewers.
An auto-siphon has a pump-like piston inside the rigid siphon tube. You do not need to suck on the tubing. You simply move the piston. This pushes liquid into the siphon and starts the flow.
How to Start an Auto-Siphon
The basic process is:
- Sanitize the auto-siphon.
- Attach the transfer tubing.
- Place the siphon in the brew.
- Keep the siphon above the sediment.
- Place the tubing in the receiving container.
- Pump the auto-siphon once or twice.
- Watch for liquid to enter the tubing.
- Allow gravity to continue the transfer.
You normally do not need to keep pumping. Once the siphon starts, gravity takes over.
Do Not Pump the Auto-Siphon Too Much
You only need enough movement to establish the flow.
Repeatedly pumping the siphon can introduce unnecessary bubbles. Those bubbles can increase oxygen exposure. Move the piston smoothly.
Keep the Siphon Above the Sediment
The bottom of a fermenter often contains:
- Yeast
- Trub
- Fruit particles
- Hop material
Do not place the siphon directly on the bottom. You want to transfer the clear brew from above the sediment.
Many auto-siphons have a tip that helps keep the intake above the bottom of the vessel. Move the siphon as the brew’s level drops. Do not chase the final few ounces if doing so will pull a large amount of sediment into the new container.
Inexpensive plastic authosiphons have a tendency to form hairline cracks that eventually lead to an ill-fitting seal that can lead to oxygen bubbling into the brew or complete failure of the siphon. If you want to use an autosiphon, be prepared to eventually replace it – or invest in a higher quality one.
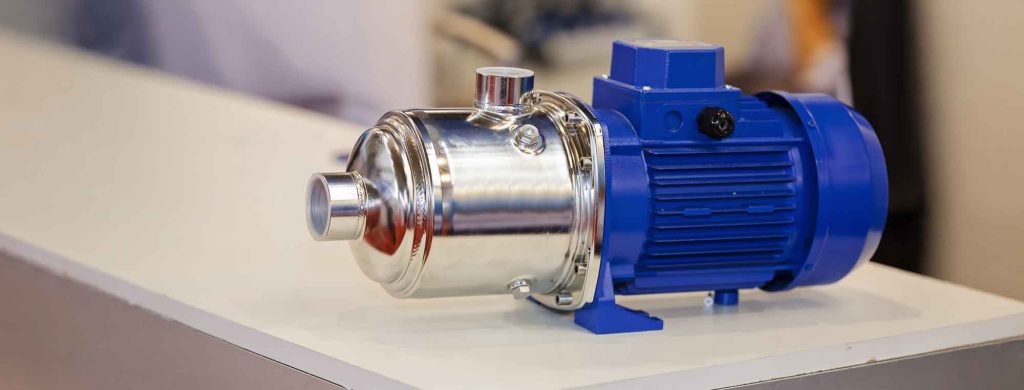
The Transfer Pump
A transfer pump can replace a traditional siphon. A pump actively moves the liquid from one container to another.
There are several types. Some are manually operated. Others use electricity. Some are designed specifically for brewing.
Manual Transfer Pumps
A manual pump can be useful when:
- The source container is not much higher than the destination
- You want more control over the transfer
- You need to move liquid through a longer hose
Follow the manufacturer’s instructions. Make sure the pump is rated for food contact and for the temperature of the liquid.
Electric Pumps
Electric brewing pumps can move large volumes of liquid.
They are especially useful for:
- All-grain brewing
- Large batches
- Wort transfers
- Recirculation
- Keg transfers
For post-fermentation brews, use a pump designed for sanitary beverage transfer. Avoid unnecessary splashing.
A pump that introduces a lot of air defeats one of the main advantages of controlled transfer.
CO₂-Powered Transfers
A pressure-rated fermenter or keg can also use carbon dioxide to move your homebrew. Instead of relying on gravity, CO₂ pressure pushes the brew through a transfer line.
This is common with:
- Keg-to-keg transfers
- Pressure fermenters
- Closed transfers
The receiving keg can be purged with CO₂ before the transfer. This greatly reduces oxygen exposure.
Important Safety Rule
Never pressurize a container unless it is specifically designed and rated to hold pressure.
Do not pressurize:
- Glass carboys
- Standard plastic buckets
- Ordinary fermenters
- Other non-pressure-rated containers
Pressure equipment can fail violently. Use only equipment designed for the pressure you intend to apply.
Closed Transfers
A closed transfer moves your brew from a pressure-rated fermenter to a purged keg without exposing the brew to the atmosphere.
The basic process is:
- Ferment the brew in a pressure-rated keg.
- Purge the receiving keg with CO₂.
- Connect the liquid line from the fermentation keg to the receiving keg.
- Connect the CO₂ line to the fermentation keg.
- Fit a spunding valve to the receiving keg and open up the pressure valve.
- Apply appropriate pressure.
- Allow the brew to move into the keg.
- Stop the transfer before the sediment enters the keg.
This is one of the best methods for protecting finished brews from oxygen. It requires more equipment than a simple gravity siphon.

Which Method Should You Use?
For most beginners:
Use an auto-siphon.
- It is inexpensive.
- It is easy to use.
- It does not require mouth contact.
- It does not require electricity.
- It works with most small-batch brewing setups.
A traditional siphon can also work well if you know how to start it without contaminating the brew.
For larger systems, a transfer pump can make the process easier. For advanced kegging, a CO₂-powered closed transfer provides excellent oxygen control.
How to Start a Siphon Without Making a Mess
Before you start:
- Put the receiving container in position.
- Measure enough tubing to reach the container.
- Sanitize everything.
- Make sure the source container is higher.
- Keep the siphon intake above the sediment.
- Keep the destination end below the source liquid level.
Do not start moving equipment around after the siphon begins.
The receiving container should already be ready.
Avoid Splashing
Oxygen is useful during the early stages of fermentation. After fermentation, excessive oxygen exposure can cause oxidation.
Oxidation can produce:
- Stale flavors
- Dull hop character
- Darker color
- Loss of fresh aroma
Keep the transfer gentle. Do not allow brew to fall through the air. Keep the tubing below the surface of the brew in the receiving container when possible. Do not shake the receiving container.
Siphoning Into a Bottling Bucket
A bottling bucket is usually placed below the fermenter.
- If you use priming sugar, prepare it before the transfer an add it to the bottling bucket.
- Attach the sanitized tubing to the siphon.
- Start the siphon.
- Allow the brew to flow gently into the bottling bucket.
- Avoid splashing.
If priming for carbonation, the goal is to distribute the sugar without adding unnecessary oxygen.
Siphoning Into a Keg
You can also siphon directly into a keg.
A simple process is:
- Clean the keg.
- Sanitize the keg.
- Purge the keg with CO₂ if possible.
- Position the fermenter above the keg.
- Sanitize the siphon and tubing.
- Start the siphon.
- Keep the tubing below the surface of the brew.
- Transfer the brew gently.
- Stop before transferring excessive sediment.
- Seal and purge the keg.
A closed transfer is even better when the equipment is available.
Siphoning Into Secondary
If you use a secondary fermenter, the same principles apply.
- Place the primary fermenter above the secondary.
- Sanitize the secondary vessel.
- Sanitize the siphon.
- Start the siphon.
- Keep the intake above the sediment.
- Keep the brew’s transfer gentle.
- Fill the secondary as much as practical.
- Install the stopper and airlock.
Do You Need Secondary?
Not always. Many brews can remain in the primary fermenter until fermentation, clarification, and other processes are complete.
Secondary fermentation can be useful for:
- Fruit additions
- Long aging
- Clearing
- Oak additions
- Other specialty ingredients
If you do not need secondary, skipping the transfer can reduce oxygen exposure and make the process simpler.
Common Siphoning Problems
The Siphon Will Not Start
Check:
- Is the source container higher than the destination?
- Is the siphon filled with liquid?
- Is the tubing connected securely?
- Is there an air leak?
- Is the auto-siphon piston working correctly?
With an auto-siphon, try one smooth pump.
Do not repeatedly pump it.
The Siphon Stops
The siphon may stop if:
- The tubing develops an air leak
- The receiving end rises too high
- The source liquid level becomes too low
- The siphon intake becomes blocked
- The tubing becomes kinked
Check the tubing. Straighten any kinks.
Make sure the receiving container remains below the source.
The Siphon Pulls Up Sediment
Raise the siphon intake. You do not need to collect every drop of your brew.
Leaving a small amount behind is better than transferring a large amount of sediment.
The Siphon Is Too Fast
A fast transfer is not necessarily better.
A very fast transfer can cause:
- Splattering
- Foaming
- Oxygen exposure
Control the flow with an appropriate clamp or valve if your equipment allows it. A slightly-closed hose clamp works well for this.
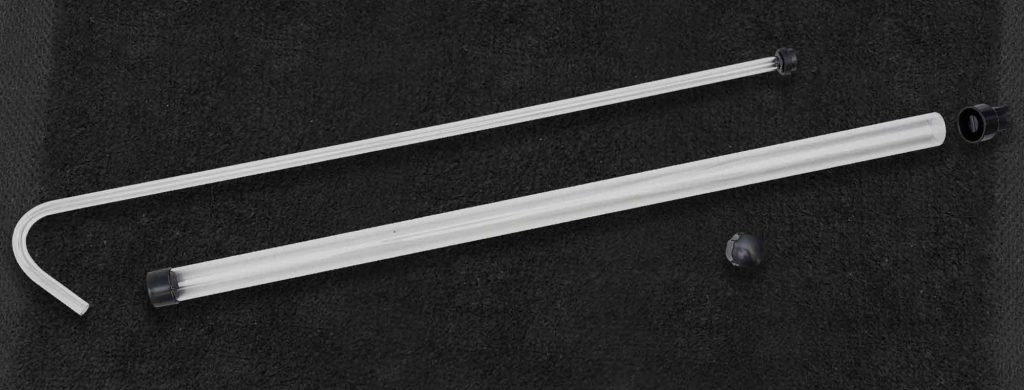
How to Clean an Auto-Siphon
Clean the siphon immediately after use. Disassemble it according to the manufacturer’s instructions.
Rinse:
- Siphon body
- Piston
- Seal
- Siphon tip
- Tubing
Use a suitable brewery cleaner such as PBW. OxiClean Free can also be useful.
Rinse everything thoroughly. Allow the components to dry. Sanitize them before the next use. Pay special attention to the piston and seal. Residue can collect in these areas.
The Easiest Way to Start a Siphon
For most homebrewers, the answer is an auto-siphon.
You do not need to:
- Suck on the tubing
- Use your mouth
- Use a turkey baster
- Buy an electric pump
- Pressurize a fermenter
Put the sanitized auto-siphon into the brew. Put the sanitized tubing into the receiving container. Pump the siphon once or twice.
Then let gravity do the work.
The Bottom Line
There are many ways to start a homebrew siphon.
- A traditional siphon can be started manually, although using your mouth is best avoided.
- A turkey baster can provide a simple alternative, but it is not the most convenient method.
- An auto-siphon uses a built-in piston and is the easiest option for most beginners.
- A transfer pump can make larger transfers easier.
- A CO₂-powered closed transfer provides excellent oxygen control when used with pressure-rated equipment.
Whatever method you choose, remember the basic rules:
Sanitize the equipment. Keep the source above the destination. Avoid the sediment. Minimize splashing.
Once the siphon starts, gravity does most of the work.