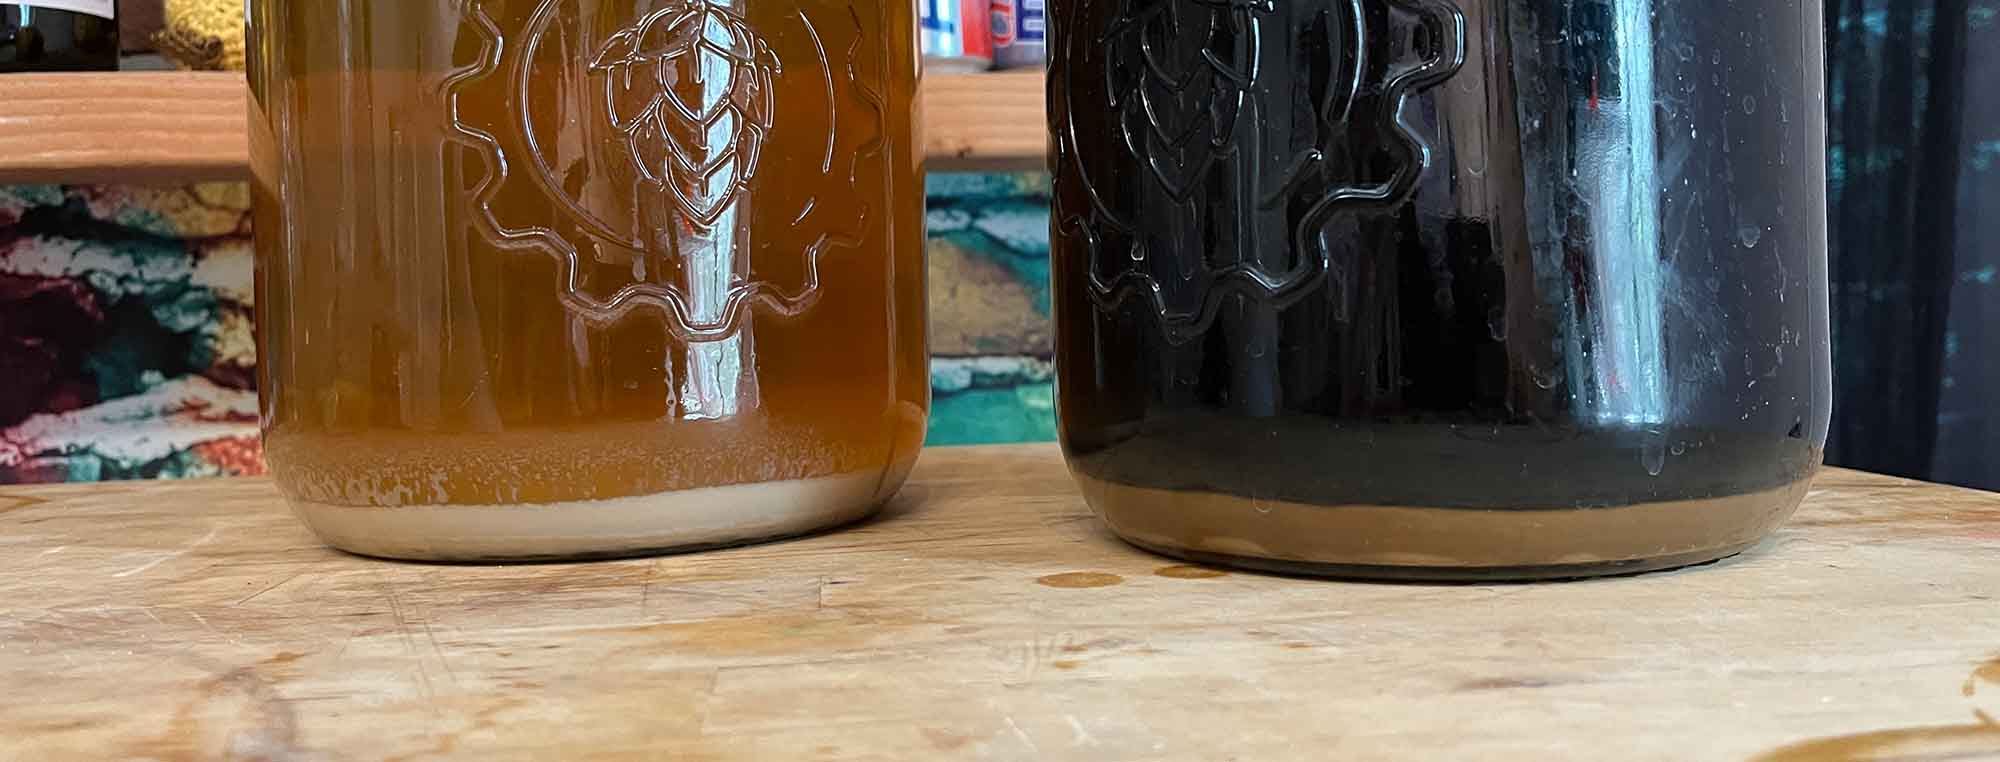
If you are starting homebrewing, you do not need an expensive fermenter.
You do not need a stainless-steel conical.
You do not need a pressure fermenter.
You do not even need a glass carboy.
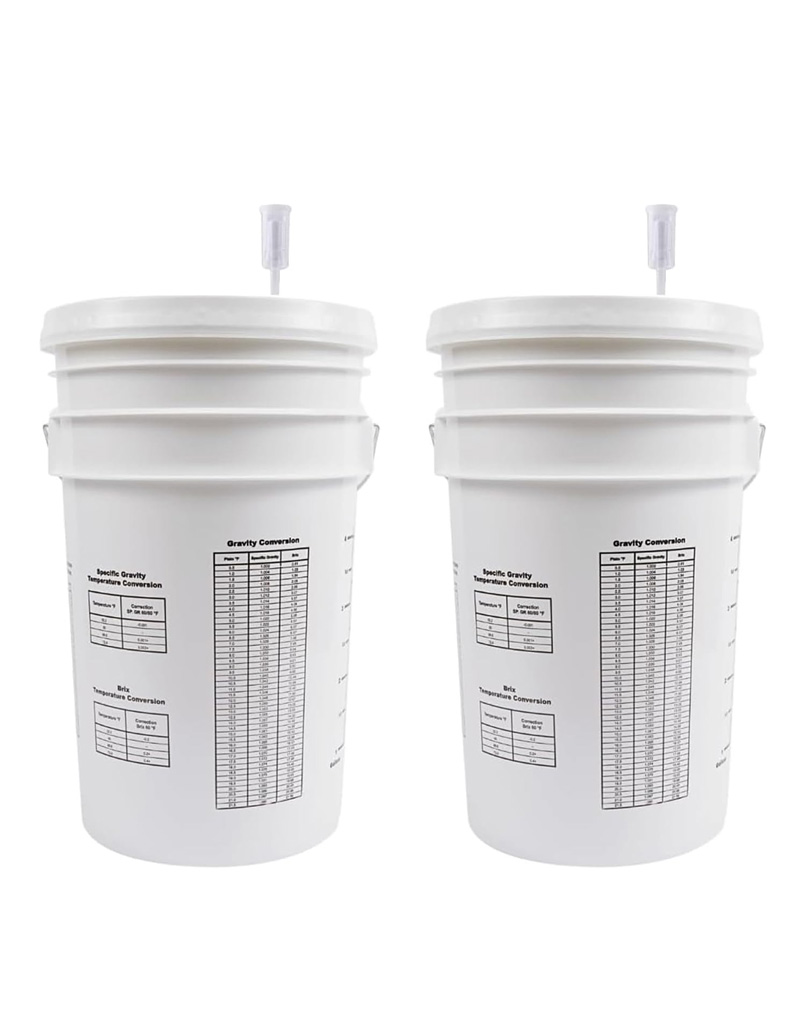
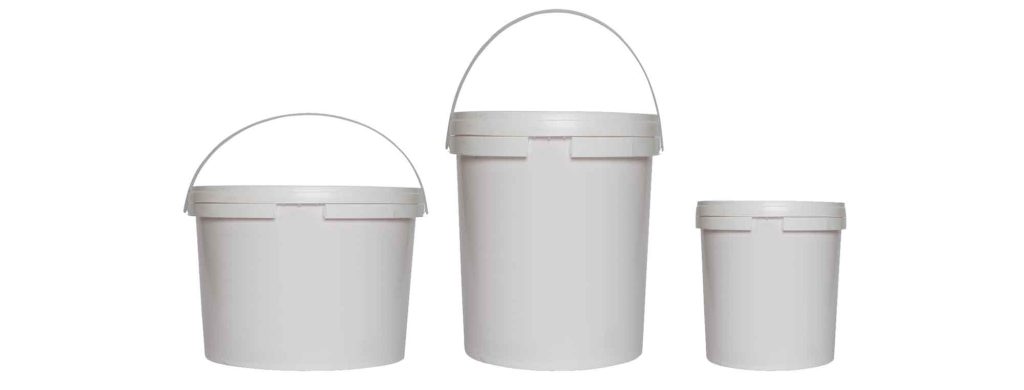
For most beginners making large batches, the best fermenter is a 6.5-gallon food-grade plastic fermentation bucket with a lid and airlock. For advice on smaller batches, see our other article on fermentation buckets.
It is inexpensive, light, easy to clean, and easy to use.
A bucket also gives you plenty of room for the foam, or krausen, that forms during fermentation. The American Homebrewers Association has long recommended a 6.5- to 7-gallon food-grade plastic bucket as a basic beer fermenter.
For a typical 5-gallon batch, this is the fermenter I would recommend to a first-time brewer.
The Short Answer
If you are buying your first fermenter, look for:
- 6.5-gallon capacity
- Food-grade plastic
- Tight-fitting lid
- Rubber grommet
- Airlock
- Wide opening
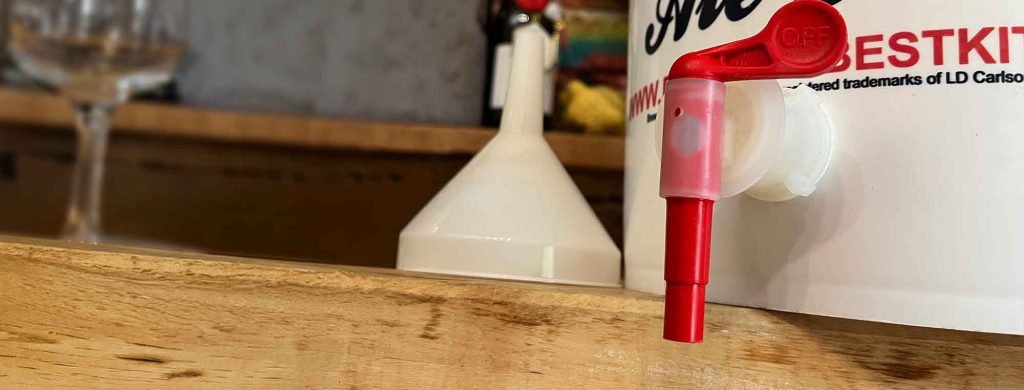
- Optional spigot
You can use this fermenter for:
- Beer
- Cider
- Mead
- Fruit wine
You can make many batches before you need to consider an upgrade.
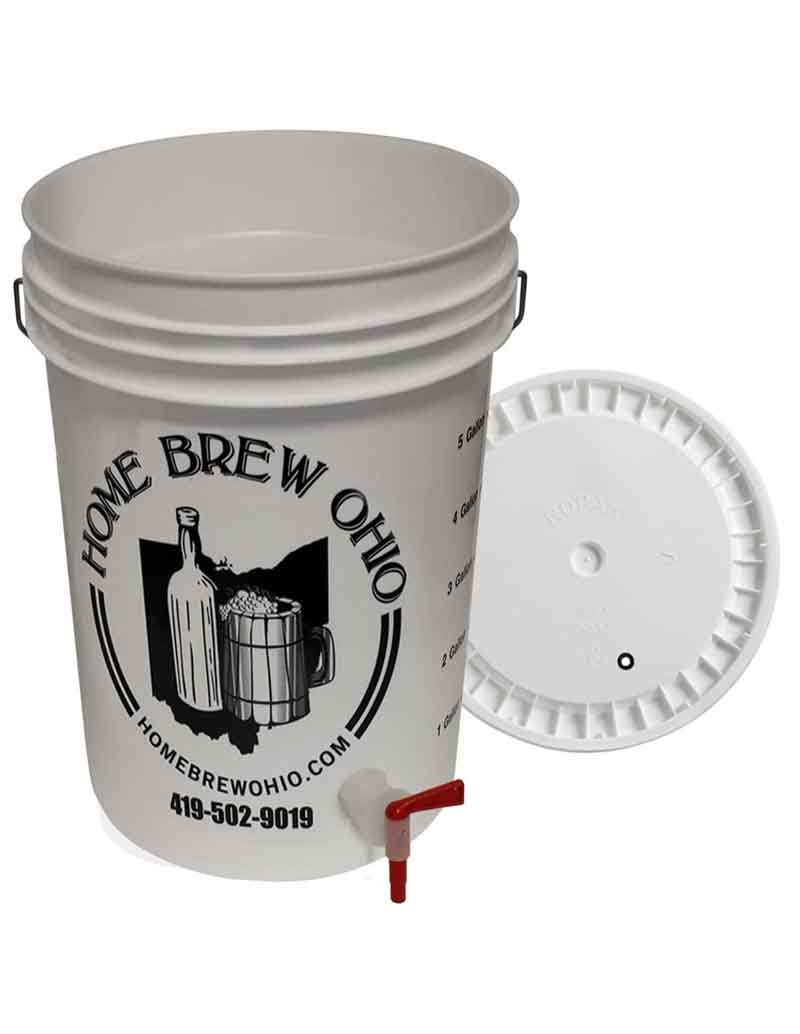
Why a 6.5-Gallon Bucket Is the Best Beginner Fermenter
A fermentation bucket solves several problems at once.
It Is Inexpensive
A basic fermentation bucket costs much less than many stainless-steel fermenters.
This lets you spend money on equipment that can have a larger effect on your beer.
For example:
- Temperature control
- A good thermometer
- A hydrometer
- Brewing sanitizer
- Brewing cleaner
- Better ingredients
It Is Easy to Clean
The wide opening is one of the biggest advantages. You can put your hand inside the bucket. You can see the bottom. You can easily remove dried krausen, gunk, and yeast.
This is much easier than cleaning the narrow opening of a traditional carboy.
It Is Lightweight
A full fermenter is heavy. A plastic bucket is much easier to move than a glass carboy.
This matters when you need to:
- Move the fermenter
- Take a gravity reading
- Transfer the beer
- Clean the fermenter
It Does Not Shatter
Glass carboys can break. A full glass carboy is also heavy.
A plastic bucket can be dropped without creating a large amount of broken glass. This is one reason many experienced brewers prefer plastic fermenters.
What Size Fermenter Do I Need?
For a standard 5-gallon batch:
Use a 6.5-gallon fermenter.
Do not buy a 5-gallon fermenter for a 5-gallon batch. Fermentation creates foam. The yeast can produce a large krausen layer above the fermenting brew. You need space for this foam.
A 6.5-gallon bucket provides useful headspace.
Some homebrew equipment suppliers recommend 6.5-gallon buckets because they provide enough room for a full 5-gallon batch and fermentation activity.
Why Not Use a 5-Gallon Bucket?
A 5-gallon bucket is too small for a normal 5-gallon batch. You may be able to use one for smaller batches.
For example:
- 2-gallon batch → 3-gallon fermenter
- 3-gallon batch → 5-gallon fermenter
- 5-gallon batch → 6.5-gallon fermenter
The fermenter should provide enough headspace for active fermentation.
Does a Bigger Fermenter Work?
Yes.
You can ferment a 5-gallon batch in a larger vessel.
However, there is little reason for a beginner to buy a very large fermenter.
A 6.5-gallon bucket is a good balance.
What Comes With a Beginner Fermenter?
A basic fermentation bucket usually includes:
- Bucket
- Lid
- Airlock
- Rubber grommet
Some kits also include:
- Spigot
- Thermometer
- Bottle filler
- Hydrometer
- Cleaning equipment
You do not need every accessory.
Do I Need an Airlock?
An airlock is strongly recommended for a sealed fermentation vessel.
During fermentation, yeast converts sugar into alcohol and carbon dioxide. The carbon dioxide needs to escape. The airlock allows gas to leave while helping prevent outside air and contaminants from entering.
What Is an Airlock?
An airlock is a small device that attaches to the fermenter. It contains liquid. Carbon dioxide pushes through the liquid and escapes.
Air has more difficulty moving back through the liquid. This provides a simple barrier between the fermenting beer and the surrounding environment.
Do I Need a Rubber Grommet?
If your bucket lid has a hole for an airlock, you need an appropriate grommet. The grommet creates a seal around the airlock. Make sure the grommet and airlock are compatible with the lid.
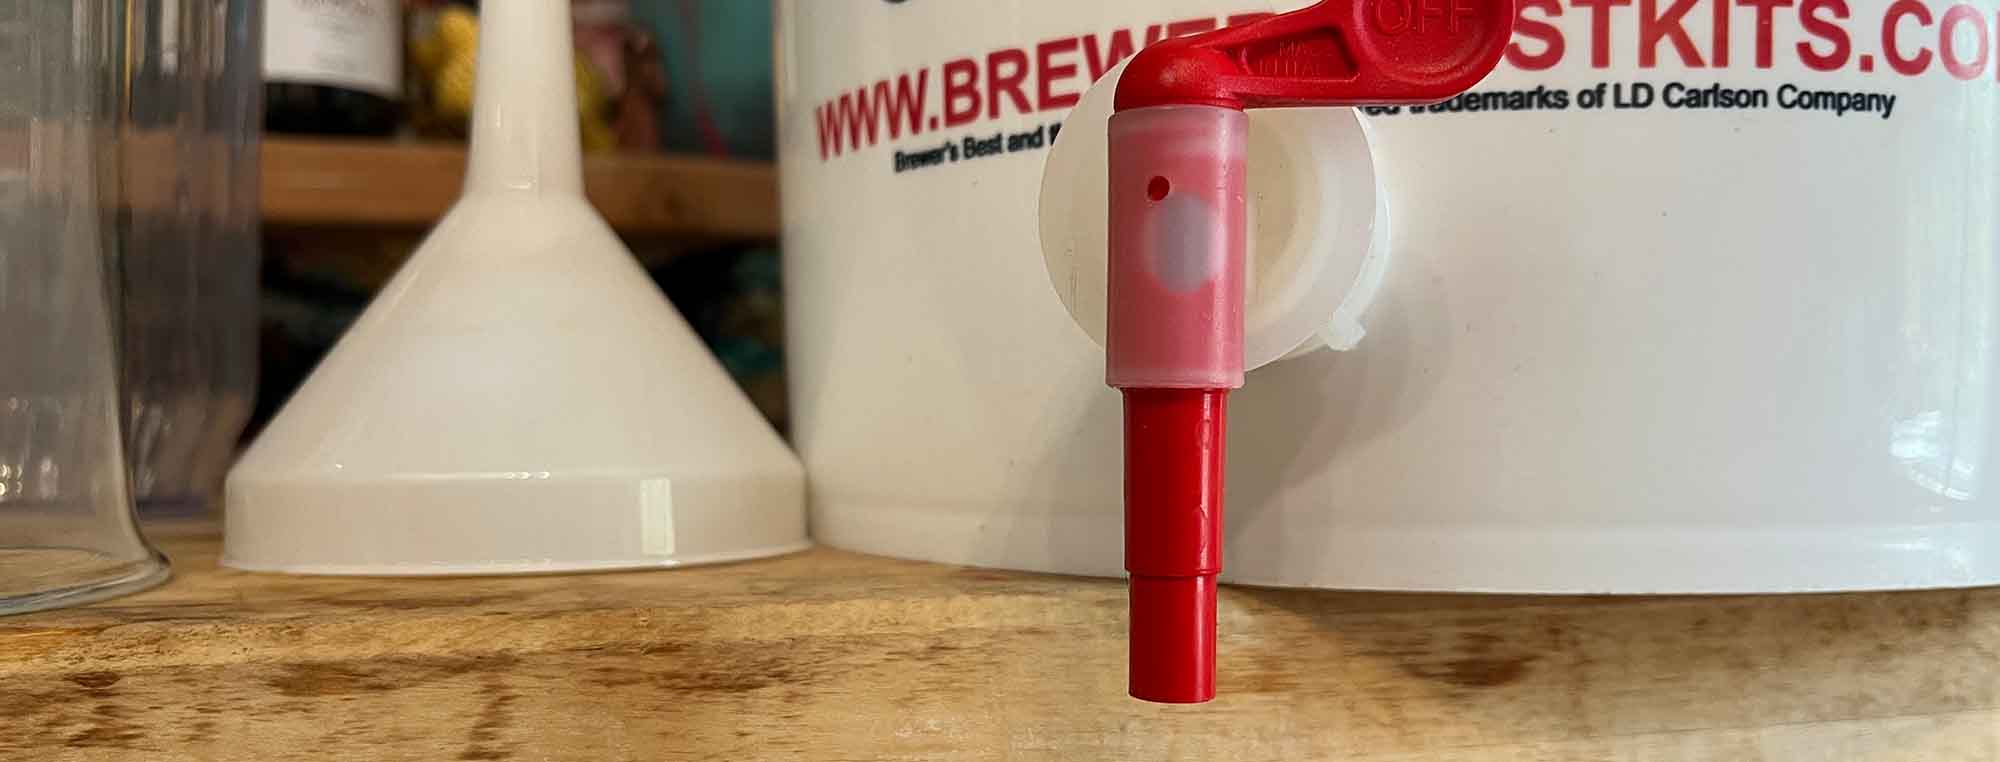
Should I Buy a Bucket With a Spigot?
A spigot is convenient.
It can make transferring beer easier. However, it is not required. A bucket without a spigot can use an auto-siphon and tubing.
A bucket with a spigot can connect to:
- Tubing
- Bottling wand
- Kegging equipment
For a beginner who plans to bottle beer, a spigot can be useful.
Is a Spigot a Possible Source of Contamination?
Yes.A spigot adds another component that must be cleaned and sanitized. Remnants from your brew can remain inside the valve.
If you choose a bucket with a spigot:
- Clean it after every batch.
- Disassemble it when appropriate.
- Clean the internal passages.
- Sanitize it before use.
- Check for leaks.
A spigot is convenient, but convenience comes with another cleaning requirement.

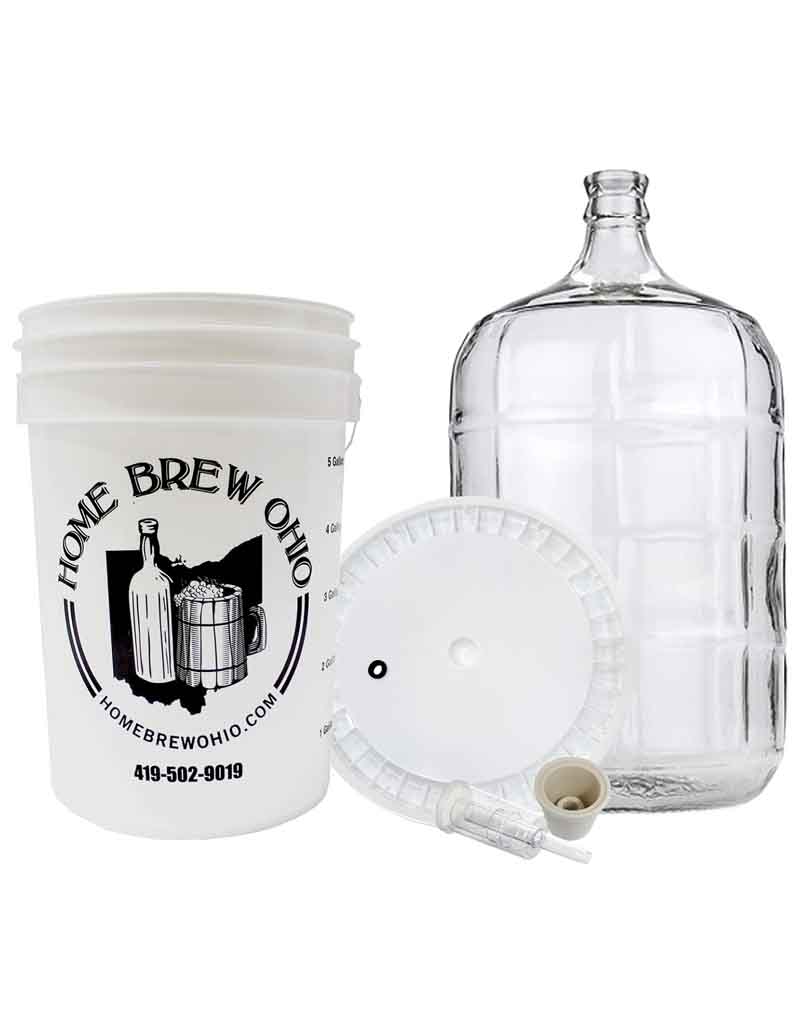
Plastic Bucket vs. Glass Carboy
This is the classic homebrewing comparison. Both can ferment beer successfully.
The main difference is convenience.
| Feature | Plastic Bucket | Glass Carboy |
| Beginner friendly | Excellent | Good |
| Cost | Low | Higher |
| Weight | Light | Heavy |
| Breakage risk | Very low | High |
| Cleaning | Easy | More difficult |
| Visibility | No | Yes |
| Wide opening | Yes | No |
| Long-term aging | Good with appropriate practices | Excellent |
| Adding ingredients | Easy | More difficult |
| Primary fermentation | Excellent | Excellent |
Buckets are generally easier to clean and handle.
Carboys provide visibility and can be useful for certain long-term aging applications.
Are Glass Carboys Better Than Plastic Buckets?
Not for most beginners.
Glass has some advantages. You can see the fermentation. Glass is also essentially impermeable to oxygen.
However, glass is heavy and breakable. The narrow opening can also make cleaning and adding ingredients more difficult.
A plastic bucket is simpler.
Should I Buy a Glass Carboy?
You can.
There is nothing wrong with using a glass carboy for fermentation. But it is not necessary.
If you are spending your first homebrewing budget, I would buy the plastic bucket first.
You can always buy a carboy later.
What About PET Carboys?
PET carboys are another option. They combine some advantages of glass and plastic.
They are:
- Lightweight
- Clear
- Impact resistant
- Relatively easy to move
They can be a good choice for brewers who want to see the fermentation. However, they are more expensive than a basic bucket.
For a first fermenter, the bucket remains the simplest choice.
What About Stainless-Steel Fermenters?
Stainless steel is excellent.
- It is durable.
- It is easy to clean.
- It is resistant to scratches.
- It can also be used with advanced fermentation systems.
The problem is price.
A stainless fermenter can cost several times more than a basic bucket. A beginner does not need one to make excellent beer.

What About Conical Fermenters?
A conical fermenter has a cone-shaped bottom. This allows yeast and sediment to collect in one area.
Some models allow you to remove yeast without transferring the beer. This can be useful for advanced brewing. However, a conical fermenter is not necessary for your first batch.
It adds cost and complexity. Start with a bucket.
What About Pressure Fermenters?
Pressure fermenters allow beer to ferment under pressure.
They can provide advantages for certain fermentation methods. They can also allow closed transfers and other advanced techniques. But pressure fermentation is not necessary for a beginner.
You first need to learn:
- Yeast pitching
- Temperature control
- Gravity measurement
- Sanitation
- Fermentation management
You can learn pressure fermentation later.
Do I Need a Secondary Fermenter?
Usually, no.
For many beers, wines, and ciders, you can leave the brew in the primary fermenter until fermentation and conditioning are complete.
You do not need to automatically transfer to a secondary vessel.
A secondary vessel can be useful for specific situations, such as:
- Long-term aging
- Adding fruit
- Some specialty beers
- Certain clarification procedures
But transferring creates another opportunity for oxygen exposure and contamination. A beginner can keep the process simpler by using one primary fermenter.
Can I Use the Same Bucket for Secondary Fermentation?
Yes, if the vessel is appropriate for the beer and process.
However, you should not transfer beer to a large bucket simply because a recipe says “secondary.” Headspace matters more when fermentation has finished.
For long aging, a vessel with less headspace can be preferable.

What Equipment Do I Need With My Fermenter?
A basic fermentation setup includes:
- 6.5-gallon fermentation bucket
- Tight-fitting lid
- Airlock
- Rubber grommet
- Brewing sanitizer
- Brewing cleaner
- Thermometer
- Hydrometer
- Hydrometer test jar
- Auto-siphon
- Food-safe tubing
A spigot can replace the need for a siphon in some setups.
Do I Need a Blow-Off Tube?
Not always. A normal airlock is sufficient for many beers.
However, some fermentations produce a large amount of krausen. This can clog the airlock. A blow-off tube gives the foam and gas a larger path out of the fermenter.
It is particularly useful for:
- High-gravity beers
- Wheat beers
- Very active yeast strains
- Very full fermenters
A larger fermentation vessel also gives you more headspace.
Should I Buy a Blow-Off Tube With My Fermenter?
It is inexpensive and useful to have.
You can connect tubing to the fermenter and place the other end in a container of sanitizer.
If fermentation becomes very active, the foam can travel through the tube instead of clogging the airlock.
How Much Headspace Should I Leave?
There is no single correct amount for every drink you’ll ferment.
The goal is to provide enough space for fermentation activity. For a normal 5-gallon batch, a 6.5-gallon bucket provides approximately 1.5 gallons of nominal headspace. Some fermentations will need more.
A very active fermentation can still produce enough krausen to reach the lid.
Can I Ferment a 5-Gallon Batch in a 6.5-Gallon Bucket?
Yes.
This is one of the main reasons the size is popular. The extra space helps contain fermentation foam.

How Do I Clean a Plastic Fermenter?
Clean the fermenter immediately after use.
Rinse out:
- Beer
- Yeast
- Krausen
- Hop material
Use a brewing cleaner if residue remains. A soft sponge or cloth can remove stubborn material. Avoid abrasive scrubbers.
Why Should I Avoid Scratching a Plastic Fermenter?
Deep scratches can make cleaning more difficult. They can provide places for unwanted microorganisms to remain.
Do not use steel wool or abrasive cleaning tools. Use a soft cloth or sponge and an appropriate brewing cleaner.
Can I Use a Scratched Bucket?
It depends on the condition.
A few superficial marks do not automatically make a bucket unusable. However, deep scratches are a reason to replace it.
A new plastic fermentation bucket is inexpensive compared with the cost of a batch of beer.

How Do I Sanitize a Plastic Fermenter?
The process is simple:
- Clean the fermenter.
- Rinse it.
- Mix brewing sanitizer.
- Apply sanitizer to the interior.
- Sanitize the lid and airlock.
- Allow the required contact time.
- Drain.
- Add your cooled wort.
Do not sanitize a dirty fermenter and assume the problem is solved. Star San in a spray bottle can be super helpful.
Can I Pour Hot Wort Into a Plastic Fermenter?
Only if the fermenter is specifically designed to handle the temperature.
Do not assume that ordinary plastic can safely hold boiling wort.
For extract brewing, cool the wort to an appropriate temperature before transferring it to the fermenter unless the fermenter manufacturer specifically states that it can accept hot wort.
Where Should I Put My Fermenter?
Choose a location that is:
- Clean
- Stable
- Away from direct sunlight
- Away from extreme temperature changes
- Easy to access
A full fermenter is heavy.
Do not put it somewhere that makes it difficult to move safely.
What Is More Important Than the Fermenter?
For beer quality, fermentation temperature control is more important than buying an expensive fermenter.
Yeast responds strongly to temperature.
A basic bucket with good temperature control can produce better beer than an expensive fermenter sitting in a room that is too warm.
For many beginner brewers, the next major equipment upgrade should be temperature control.
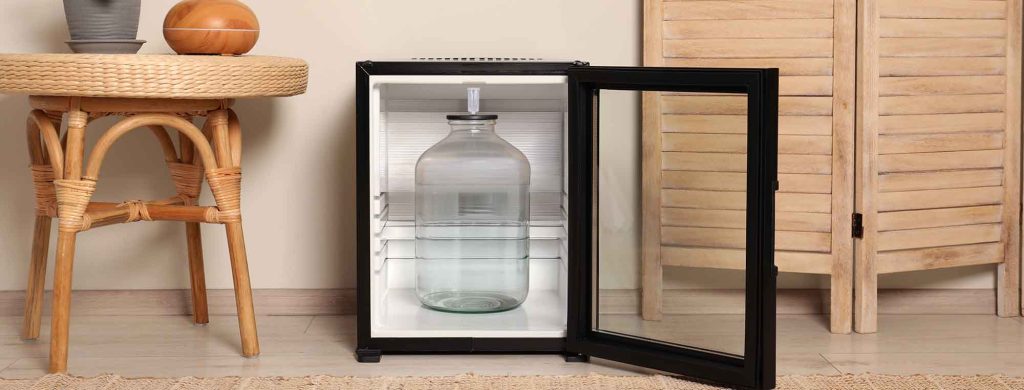
Do I Need a Fermentation Chamber?
No. You can make good beer without one. A cool basement or other stable location may work.
For more precise temperature control, you can later add:
- Refrigerator
- Temperature controller
- Heating device
- Fermentation chamber
The fermenter itself does not control temperature.
Can I Use a Food-Grade Bucket From a Hardware Store?
Be careful. Do not assume that every plastic bucket is suitable for fermenting beer.
Use a container specifically rated for food contact. A purpose-made brewing bucket is inexpensive and already has the correct lid and fittings.
Can I Use a Bucket From a Restaurant?
Potentially, if it is genuinely food-safe and has not contained chemicals or unsuitable materials.
However, you also need a suitable lid and airlock arrangement. For a beginner, buying a purpose-made fermentation bucket is easier.
Can I Use a 5-Gallon Water Jug?
Some food-safe plastic vessels can be used as fermenters.
However, they may not have an appropriate opening, lid, or airlock. A fermentation bucket is easier to clean and use.
Can I Ferment Beer in a Stainless-Steel Keg?
Yes.
Kegs can make excellent fermentation vessels. They are especially useful for brewers who already keg their beer.
However, they are unnecessary for a first setup.
Best Fermenter for a Beginner: My Recommendation
If you are making a normal 5-gallon batch, buy:
A 6.5-gallon food-grade plastic fermentation bucket with a lid, airlock, and grommet.
A spigot is optional.
That is enough to make excellent beer. You can use the same type of vessel for many batches.
What Should I Look for When Buying One?
Look for:
1. Food-Safe Plastic
The vessel should be designed for food or beverage use.
2. 6.5-Gallon Capacity
This gives a typical 5-gallon batch useful headspace.
3. Wide Opening
A wide opening makes cleaning easier.
4. Good Lid
The lid should fit securely.
5. Airlock Hole
A grommeted hole makes adding an airlock easy.
6. Optional Spigot
A spigot can simplify transfers and bottling.
7. Volume Markings
Volume markings are convenient.
Do not treat them as laboratory measurements.
Beginner Fermenter Shopping List
If you want a simple shopping list:
- 6.5-gallon food-grade fermentation bucket
- Matching lid
- Airlock
- Rubber grommet
- Blow-off tube
- Brewing sanitizer
- Brewing cleaner
- Auto-siphon
- Food-safe tubing
- Hydrometer
That gives you everything you need to manage fermentation without buying advanced equipment.

Common Beginner Fermenter Mistakes
Buying a Fermenter That Is Too Small
A 5-gallon fermenter is not a good choice for a 5-gallon batch.
Buy a 6.5-gallon vessel.
Buying an Expensive Fermenter Too Soon
A stainless conical is nice.
It is not necessary.
Learn the basics first.
Using a Dirty Bucket
Clean after every batch.
Sanitize before every batch.
Scratching the Bucket
Do not use abrasive cleaning tools.
Ignoring Temperature
The fermenter cannot fix a bad fermentation temperature.
Filling the Fermenter Too High
Leave enough headspace for krausen.
Moving a Full Glass Carboy
Glass is heavy and fragile.
A plastic bucket is easier for a beginner.
Transferring to Secondary Without a Reason
You usually do not need to transfer beer simply because fermentation has slowed.
Keep the process simple.

Beginner Fermenter Checklist
Before buying:
- Food-grade plastic
- 6.5-gallon capacity
- Matching lid
- Airlock
- Grommet
- Wide opening
- Optional spigot
- Easy-to-clean design
Before fermentation:
- Fermenter is clean.
- Fermenter is sanitized.
- Lid is sanitized.
- Airlock is sanitized.
- Wort is at the correct temperature.
- Yeast is ready.
- Fermenter has enough headspace.
During fermentation:
- Temperature is appropriate for the yeast.
- Airlock is installed.
- Fermenter is protected from sunlight.
- Fermenter is not disturbed unnecessarily.
After fermentation:
- Beer has reached stable final gravity.
- Equipment is sanitized before transfer.
- Fermenter is cleaned promptly after use.
The Bottom Line
The best fermenter for a beginner is a 6.5-gallon food-grade plastic fermentation bucket with a lid and airlock.
It is not the most advanced fermenter. It is not the most expensive.
It is simply easy to use. That is exactly what you want when you are learning to brew.
A bucket is:
- Cheap
- Lightweight
- Durable
- Easy to clean
- Easy to sanitize
- Large enough for a 5-gallon batch
- Suitable for beer, cider, mead, and wine
Glass carboys, PET fermenters, stainless-steel fermenters, conicals, and pressure fermenters all have useful applications. But none is required for your first batch.
Start with the bucket. Learn fermentation. Control your temperature. Make good beer. Upgrade your fermenter when you have a reason to upgrade.
That approach will save you money and make your first homebrewing experience much easier.