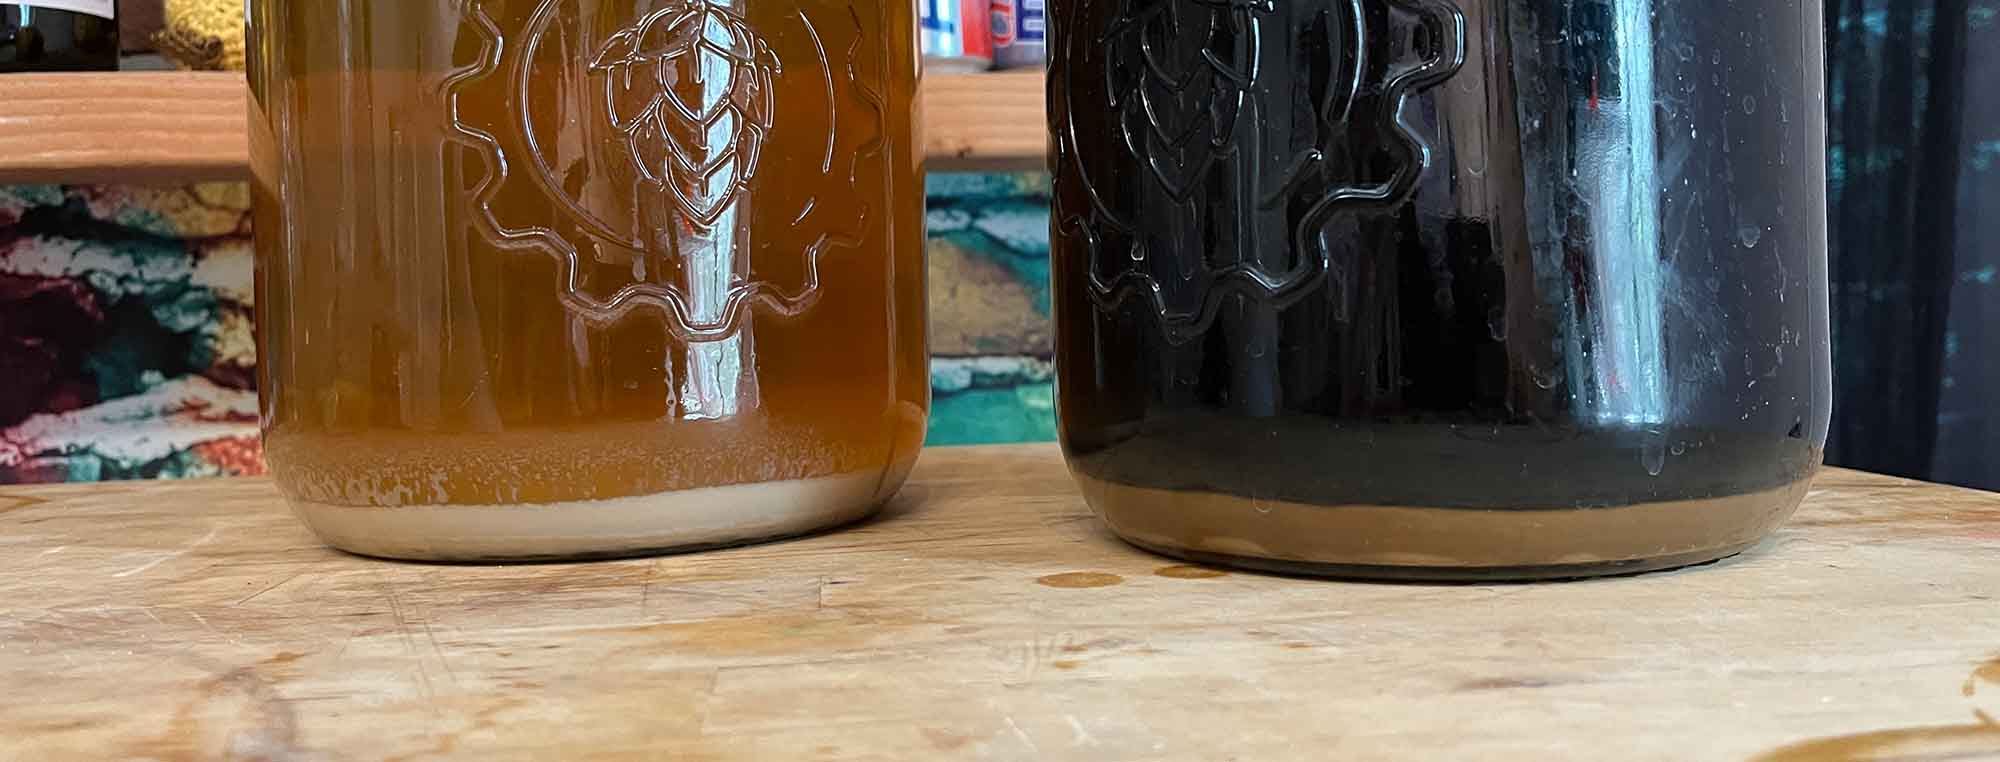
Oxidation is one of the most common problems in bottled homebrew.
It happens when oxygen reacts with compounds in your beer, cider, wine, or mead. Some oxygen exposure is unavoidable. The goal is not to create a perfectly oxygen-free bottle.
The goal is to keep oxygen exposure as low as practical. This becomes especially important after fermentation.
During fermentation, yeast consumes oxygen and produces carbon dioxide. A finished fermenter is usually full of CO₂. Once you start transferring and bottling, you can expose the finished beverage to air. That is when careful handling matters.
What Does Oxidation Do?
Oxidation can change the flavor, aroma, color, and shelf life of homebrew. The exact changes depend on the beverage.
Oxidized beer can develop:
- Stale flavors
- Papery or cardboard-like flavors
- Dull hop aroma
- Darker color
- Flattened malt character
- Loss of fresh flavor
Hop-forward beer is particularly sensitive to oxygen. Cider can lose fresh apple character and develop stale or sherry-like notes. Wine and mead can also develop oxidative flavors. Some wine styles are intentionally exposed to oxygen during production, so oxidation is not always automatically bad.
The important distinction is controlled oxygen exposure versus accidental oxygen exposure.
Related: Is My Homebrew Oxidized? How to tell!

Oxygen Is Most Dangerous After Fermentation
Oxygen is useful to yeast early in fermentation. It is a different story once fermentation is finished.
During active fermentation, yeast produces CO₂. That CO₂ helps protect the beverage from oxygen. After fermentation, you are no longer relying on active yeast to consume oxygen quickly. This means your transfer and packaging process becomes more important.
The basic rule is: after fermentation, avoid unnecessary contact with air.
The Biggest Bottling Mistake: Splashing
Splashing adds oxygen. Pouring finished beer from one container is a classic example. Dropping a siphon hose into the receiving vessel and allowing the beer to splash is another. Running beer into a partially filled bottle while it foams can also increase oxygen exposure. You want the liquid to move gently.
Think: Fill from the bottom.
Not: Pour from the top.
Use a Siphon
A siphon is one of the easiest ways to reduce oxygen exposure.
Place the receiving container below the fermenter. Start the siphon. Put the end of the tubing near the bottom of the receiving bottle or bottling bucket. Keep the outlet submerged below the surface of the liquid when practical. This allows the beverage to flow gently instead of falling through the air.
Avoid the “Waterfall”
A waterfall is what happens when beer, cider, wine, or mead falls through the air into your container.
You may see the liquid splashing against the sides. You may also see bubbles forming. This looks harmless. It is not ideal for finished homebrew.
The more your finished beverage splashes, the more opportunity you give oxygen to dissolve into it.
Fill Bottles From the Bottom
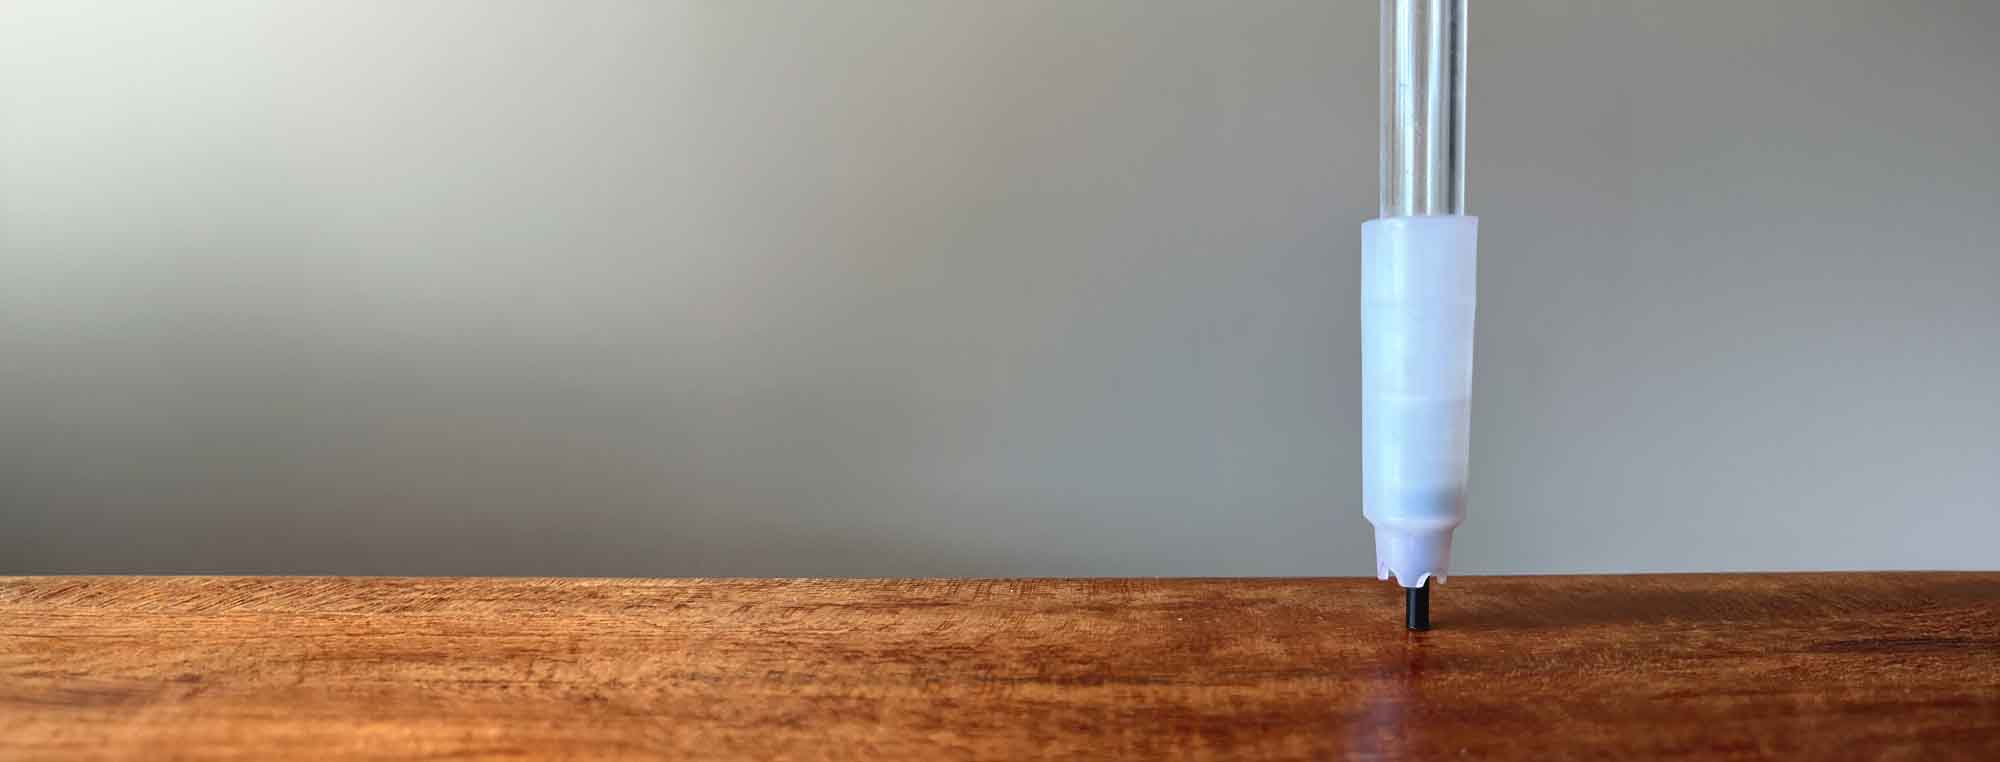
A bottling wand makes this much easier. A bottling wand attaches to the spigot on a bottling bucket or the tube of your siphon. When you press the wand against the bottom of the bottle, beer flows in from the bottom. As the bottle fills, the liquid rises.
This reduces splashing. It also gives you a consistent fill level.
Keep the bottle upright. Do not intentionally spray the beer against the sides of the bottle.
Do Not Leave a Large Headspace
You need some headspace, or “ullage,” in a bottle. You do not need a huge amount. Too much empty space means more gas above the beverage. That gas can contain oxygen.
For standard beer bottles, filling to the normal level used for commercial beer is a good starting point. A bottling wand usually makes this easy, as the wand displaces a small amount of the beverage when you remove it. This leaves a consistent amount of headspace.
Headspace Is Not the Same as “No Oxygen”
A common mistake is to think:
“There is CO₂ in the bottle, so oxygen does not matter.”
It can still matter. If you fill a bottle with a large pocket of air, that air contains oxygen. CO₂ can reduce the amount of oxygen in the headspace if you deliberately purge it, but simply assuming the bottle is full of CO₂ is not the same as removing oxygen.
Purge the Bottles With CO₂
If you have a CO₂ system, you can purge bottles before filling them.
The basic process is:
- Sanitize the bottle.
- Allow the sanitizer to drain.
- Add CO₂ to the bottle.
- Fill the bottle with minimal splashing.
- Cap it quickly.
CO₂ is heavier than air, but do not rely on gravity alone to keep oxygen out. A proper purge works by replacing much of the air in the bottle with CO₂. You can also use a bottle-purging device, like a counter-pressure filler, designed for this purpose. This is particularly useful for beers that are very sensitive to oxidation.
Purge the Bottling Bucket
If you transfer finished beer into a bottling bucket, you can also purge the bucket with CO₂. This is more useful when you have a way to perform a closed or semi-closed transfer.
The important part is to avoid filling a large empty container with finished beer and then stirring it around in contact with air.
If you are using a normal bottling bucket, focus first on gentle transfer and low splashing. Do not let the lack of CO₂ equipment stop you from bottling. Good technique still makes a major difference.

Keep the Siphon Tube Full
A siphon works best when the tubing remains full of liquid.
Air entering the tubing creates bubbles. Those bubbles can increase contact between the finished beverage and oxygen.
Start the siphon correctly. Keep the tubing submerged where practical. Avoid repeatedly stopping and restarting the siphon – except, of course, when using a hose clamp or bottling wand.
Do Not Stir Finished Homebrew
Stirring is useful during some parts of brewing. It is usually not useful after fermentation.
Do not stir finished beer, cider, wine, or mead unless the recipe or process specifically requires it. Stirring introduces air. It also breaks the liquid into smaller bubbles and increases the surface area exposed to air. If you need to mix something into finished homebrew, mix gently.
Priming Sugar and Oxidation
Bottle conditioning requires sugar. You need to distribute the priming sugar evenly through the finished beer or other carbonated beverage. The challenge is doing this without adding oxygen.
A common method is to dissolve the priming sugar in water and add it to a bottling bucket. Then transfer the finished beer into the bucket with the siphon hose positioned so that the incoming beer creates a gentle circular flow. This can mix the priming solution without aggressive stirring.
Do not stir the beer with a spoon after the transfer unless necessary. If you must stir, use a sanitized tool and make slow, gentle movements. Avoid whipping air into the brew.
Use the Right Amount of Priming Sugar
Too much priming sugar creates a different problem.
Excess carbonation can cause:
- Overly fizzy beer.
- Gushing bottles.
- Broken bottles.
- Bottle bombs.
Do not add extra sugar because you think more carbonation will protect the beer from oxygen. It will not. Use the correct priming sugar amount for your batch size, beverage, temperature, and desired carbonation level.
Priming Sugar Calculator
Cap the Bottle Quickly
Once the bottle is full, cap it. Do not fill ten bottles and then leave them sitting open while you prepare the caps.
- Fill.
- Cap.
- Move to the next bottle.
This reduces the amount of time oxygen can remain in contact with the beverage. This method is easiest with a friend's help.
Use Good Bottle Caps
Bottle caps create the final seal.
Inspect them before use. Do not use or reuse damaged caps. A poor seal can allow oxygen to enter the bottle during storage.
A bottle that slowly leaks CO₂ can also lose carbonation. Use clean, appropriate caps and a properly adjusted capper.
Related: Which is the Best Bottle Capper?
Crown Cap Liners Matter
Most standard beer caps contain a liner that seals against the bottle opening. The liner creates the barrier between the beverage and the outside environment.
If the liner is damaged or contaminated, the seal may not work correctly.
Store caps in a clean, dry place. Do not handle the inside sealing surface unnecessarily.
What About Corked Bottles?
Cork can work well for some beverages. It is common for wine, mead, and some specialty beers. But cork is not automatically better at preventing oxidation.
The quality of the cork, bottle, closure, and storage conditions all matter. If you use corks, use the correct corks and bottles for the application. Do not use a wine cork in a bottle that will hold significant carbonation unless the bottle and closure system are specifically designed for that pressure.
Bottle Conditioning Can Help
Bottle conditioning has one useful advantage when it comes to oxygen.
The yeast produces CO₂ during the conditioning fermentation. Since the yeast can produce CO₂ while consuming available oxygen, that fermentation and resulting CO₂ can help reduce oxygen exposure in the bottle.
This does not mean bottle-conditioned beer cannot oxidize. Oxygen can still enter during bottling. Think of bottle conditioning as helpful, not as an excuse for sloppy bottling.
Should I Add More Yeast?
Usually, no. You do not need to add yeast simply because you are worried about oxidation. There is normally enough yeast remaining in a properly fermented beer for bottle conditioning.
Adding yeast does not solve oxygen exposure. Focus on your bottling process first.

What About Wine and Mead?
Wine and mead require the same basic rule:
Avoid unnecessary oxygen after fermentation.
- Use a gentle siphon.
- Keep tubing below the liquid surface.
- Avoid splashing.
- Minimize headspace.
- Keep containers properly sealed.
The details can change depending on the style. Some wine-making processes intentionally use oxygen. Traditional styles can involve controlled oxidation. That is different from accidentally exposing a finished fruit wine or mead to air during every transfer.
Cider Can Oxidize Too
Fresh cider can lose some of its bright apple character when exposed to oxygen. This is especially noticeable in light, fresh-tasting ciders.
Use the same basic technique:
- Siphon gently.
- Avoid splashing.
- Keep the tubing submerged.
- Fill from the bottom.
- Keep headspace reasonable.
- Cap quickly.
- Store properly.
What About Beer?
Beer is often where oxidation becomes most obvious.
This is especially true with hop-forward beers. Hops contain volatile aroma compounds that can change when exposed to oxygen. If you spend money on nice hops, it makes sense to protect the finished beer from oxygen. This is one reason commercial breweries take closed transfers and low-oxygen packaging seriously. You can apply the same principle at home without buying commercial equipment.
What About Bottling From a Keg?
If you keg your beer, you have another option.
You can transfer the beer into bottles using a counter-pressure bottle filler or another low-oxygen bottling method. This allows you to carbonate the beer first and then fill bottles from the keg. You can also purge the bottles with CO₂ before filling.
This can greatly reduce oxygen exposure compared with simply pouring carbonated beer into an open bottle. If you already have a kegging system, this can be a useful way to package individual bottles.
Oxygen Absorbing Caps
Some bottle caps are sold as oxygen-absorbing caps.
These caps contain materials designed to react with oxygen after the bottle is sealed. They can be useful, but they should not replace good bottling technique. Do not treat an oxygen-absorbing cap as permission to splash your beer during bottling.
The best approach is: prevent oxygen exposure first. Use an oxygen-absorbing closure as an additional layer if appropriate.
Store Bottles Correctly
Your work is not finished when the bottle is capped. Storage conditions can affect oxidation.
Keep finished bottles:
- Sealed.
- Away from excessive heat.
- Away from direct sunlight.
- At a reasonably stable temperature.
Heat can accelerate chemical reactions. Light can also damage beer, although lightstruck beer is a different problem from oxidation.
For most homebrew, a cool, dark storage location is a good choice.
How Can I Tell If My Beer Is Oxidized?
Oxidation does not always produce one obvious flavor.
Possible signs include:
- Cardboard-like flavor.
- Papery flavor.
- Stale flavor.
- Loss of fresh hop aroma.
- Dull fruit character.
- Unusual darkening.
- Sherry-like flavors in some beverages.
- A beer that tastes noticeably fresher from a newly opened bottle than from an older bottle.
The timing can also provide a clue. If a beer tastes fresh immediately after packaging but becomes noticeably stale over the next few weeks or months, oxygen exposure may be part of the problem. Oxidation is not the only possible cause of stale flavors, so do not diagnose it from one symptom alone.
A Simple Low-Oxygen Bottling Process
For a normal bottle-conditioned batch, use this process.
1. Finish Fermentation
Make sure fermentation is complete and gravity is stable.
Do not bottle an actively fermenting beer just because the airlock has slowed down.
2. Prepare Your Bottles
Clean and sanitize the bottles. Prepare your caps.
Have everything ready before you begin transferring.
3. Prepare Priming Sugar
Calculate the correct amount. Dissolve it in water. Add it to the sanitized bottling bucket.
4. Transfer Gently
Siphon the finished beer into the bottling bucket.
Keep the outlet below the surface of the liquid. Avoid splashing.
5. Mix Without Adding Air
Allow the incoming beer to create a gentle mixing motion.
If necessary, use a sanitized spoon to make a few slow movements. Do not whip the beer.
6. Fill From the Bottom
Use a bottling wand.
Fill each bottle to the correct level. Try not to create foam.
7. Cap Immediately
Place the sanitized cap on the bottle.
Crimp it securely.
8. Store for Conditioning
Store the bottles at the temperature recommended for bottle conditioning.
Once carbonation is complete, move them to appropriate storage.

The Biggest Bottling Mistakes
Mistake 1: Pouring Into the Bottle
Pouring creates turbulence and exposes the beverage to air.
Fix: Use a bottling wand or another gentle filling method.
Mistake 2: Splashing During Transfer
A long drop from the siphon hose into the bottling bucket adds oxygen.
Fix: Keep the hose outlet below the liquid surface.
Mistake 3: Leaving Bottles Open
Open bottles sitting on the counter have direct contact with air.
Fix: Fill and cap each bottle promptly.
Mistake 4: Huge Headspace
A large pocket of air means more oxygen is available.
Fix: Use a consistent fill level.
Mistake 5: Assuming CO₂ Fixes Everything
CO₂ helps protect finished beer, but it does not magically remove oxygen.
Fix: Reduce oxygen exposure during the entire process.
Mistake 6: Stirring Aggressively
Stirring can mix oxygen into the beverage.
Fix: Use gentle mixing only when necessary.
Mistake 7: Moving Finished Beer Too Many Times
Every transfer is another opportunity for oxygen exposure.
Fix: Plan your process so you can make fewer transfers.
You Do Not Need Expensive Equipment
Low-oxygen bottling does not require a professional brewery.
The most important tools are simple:
- A good siphon.
- Clean tubing.
- A bottling wand.
- Clean bottles.
- Sanitizer.
- Good bottle caps.
- A properly adjusted capper.
CO₂ equipment gives you additional options. You can purge bottles, purge containers, and fill carbonated beer from a keg.
But technique comes first. A careful brewer with basic equipment can package good homebrew with very little oxygen exposure.
The Bottom Line
You cannot make bottling completely free of oxygen with normal homebrew equipment. But you can greatly reduce oxygen exposure.
The basic rules are simple:
- Do not splash finished homebrew.
- Use a siphon.
- Keep the transfer tube below the liquid surface.
- Fill bottles from the bottom.
- Use a consistent headspace.
- Cap bottles quickly.
- Use CO₂ purging when practical.
- Avoid unnecessary transfers.
- Store finished bottles properly.
Oxidation prevention is mostly about good habits. You do not need complicated equipment to start.
Move finished beer, cider, wine, or mead gently. Keep it away from air as much as practical. Your future self will be very glad you did.