You can make good wine from fruit that you buy at a grocery store or farmers market. You do not need a vineyard or a wine press.
You need fruit, juice, yeast, nutrients, and basic fermentation equipment. The simplest method is to use clean, ripe fruit and a wine yeast. You can ferment the fruit as a whole-fruit must or use ready-to-ferment juice.
This guide covers the complete process from brew day through secondary fermentation and bottling.
Equipment
You need:
- 1-gallon fermentation vessel
- 1-gallon secondary vessel
- Fermentation stopper or lid
- Airlocks
- Siphon or auto-siphon
- Siphon tubing
- Bottling bucket
- Bottle filler
- Wine bottles
- Wine bottle corks
- Corker
- Hydrometer
- Hydrometer test jar
- Digital scale
- Measuring spoons
- Measuring cup
- Long spoon or wine paddle
- Funnel
- Fine mesh strainer or fruit bag
- Potato masher or fruit crusher
- Thermometer
- Cleaner
- No-rinse sanitizer
A wine thief is useful but not required.
A refractometer is also useful for measuring fruit juice before fermentation. A hydrometer is easier to use during and after fermentation.
Ingredients and Products
For a simple 1-gallon batch, you need:
- 4–6 pounds of ripe fruit, or about 1 gallon of suitable juice
- Wine yeast
- Yeast nutrient
- Pectic enzyme
- Potassium metabisulfite
- Potassium sorbate
- Wine tannin, if needed
- Wine acid blend, if needed
- Sugar, if needed
- Wine fining agent, optional
The exact amount of fruit depends on the fruit and the recipe. Strong-flavored fruit can make good wine with less fruit. Mild fruit can need more fruit.
Choosing Fruit
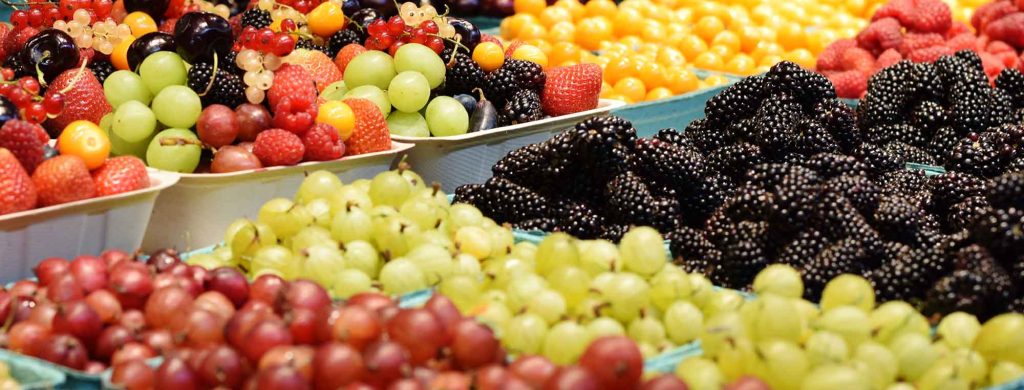
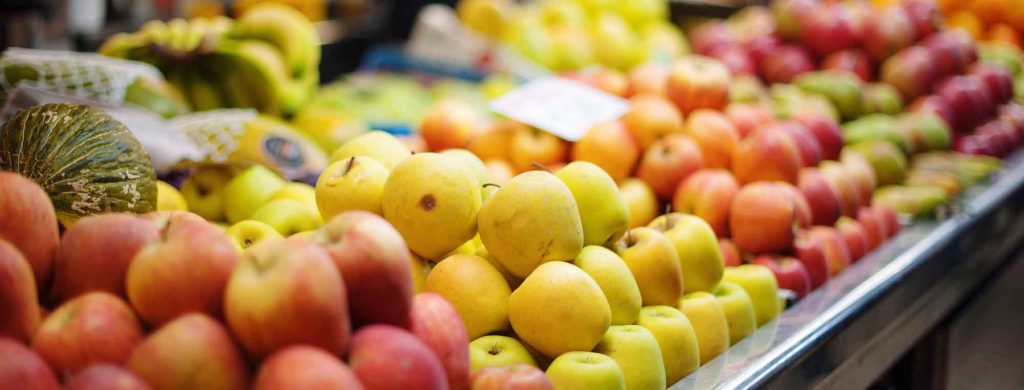
Use ripe fruit with good flavor. The wine will not taste better than the fruit.
Good choices include:
- Strawberries
- Blackberries
- Raspberries
- Blueberries
- Peaches
- Plums
- Cherries
- Pears
- Apples
- Grapes
- Mangoes
- Pineapple
Do not use fruit with mold. Do not use fruit that has a strong rotten or fermented smell.
Small bruises are usually not a problem. Cut away damaged areas.
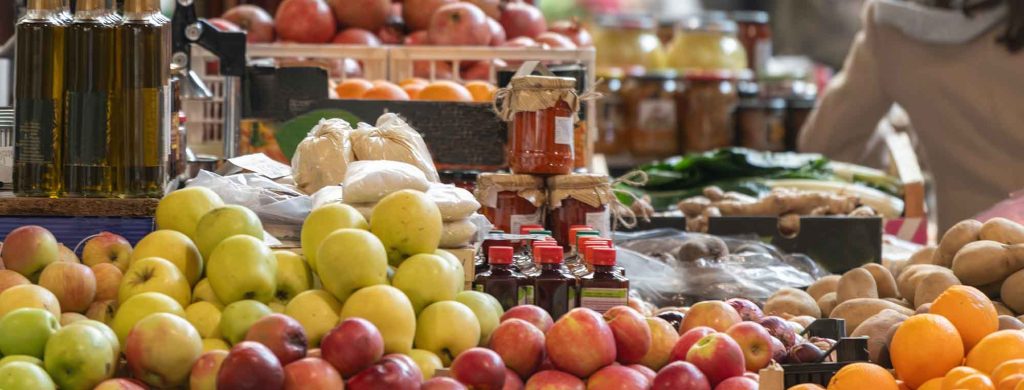
Farmers market fruit can work very well because it can have strong flavor. Grocery store fruit can also make good wine, depending on seasonality.
Choosing Juice
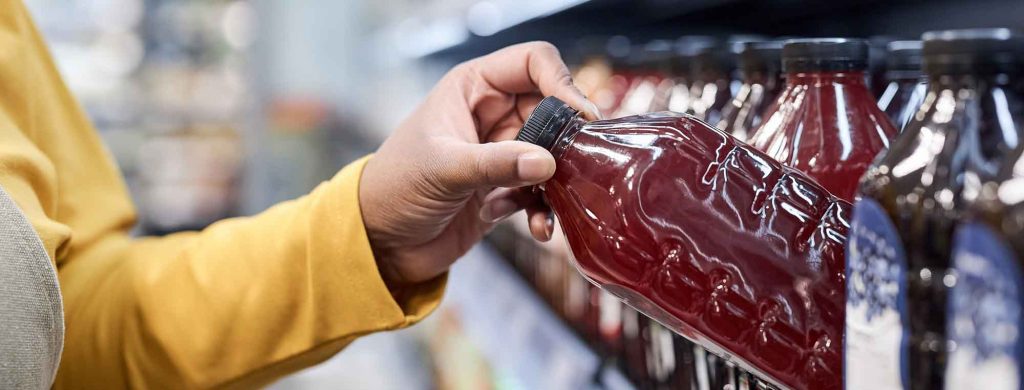
Juice is the easiest starting material.
Look for juice with no preservatives that prevent yeast fermentation.
Avoid juice that contains:
- Potassium sorbate
- Sodium benzoate
- Glycolipids
- Other preservatives that inhibit yeast
Pasteurized juice is usually fine.
Read the ingredient list before you buy it. And avoid “lite” juices as they typically contain nonfermentable sweeteners rather than sugar. Apple, grape, cherry, cranberry, pear, and other fruit juices can all be used as wine bases.
Do not assume that a juice labeled “100% juice” will have the correct sugar, acid, or nutrient levels for wine. You can adjust these levels before and after fermentation.
Cleaning and Sanitation
Cleaning and sanitation are different. Cleaning removes dirt and residue. Sanitizing reduces microorganisms.
Do both steps.
Clean the fermenter, spoon, siphon, airlock, hydrometer, test jar, and other equipment.
Then sanitize all equipment that will touch the fruit, juice, must, or finished wine. Follow the instructions for your sanitizer. A no-rinse sanitizer should not be rinsed with untreated water after use.
Good sanitation protects the wine from unwanted microorganisms.
Brew Day
Wine making does not require a traditional boil. The first day is usually called brew day because this is when you prepare the must. Sticklers will say that “only beer is brewed.”
The basic process is:
- Clean the equipment.
- Sanitize the equipment.
- Prepare the fruit or juice.
- Add the fruit or juice to the fermenter.
- Add sulfite if required.
- Add pectic enzyme.
- Measure the starting gravity.
- Adjust the sugar or acidity if needed.
- Add yeast nutrient.
- Add the wine yeast.
- Install the airlock.
1. Prepare the Fruit
Wash the fruit with clean water.
Remove:
- Stems
- Leaves
- Seeds when practical
- Pits
- Badly damaged areas
Do not crush fruit that contains large pits. Cherry, peach, plum, and other stone fruit should be pitted before fermentation unless you want the added boost of tannin from the pits. Never crush the pits.
Cut large fruit into small pieces. Crush soft fruit with a sanitized masher.
Place the fruit in a sanitized fermentation bucket or mesh fruit bag. A mesh bag makes it easier to remove the fruit later.
2. Add the Juice
If you use juice instead of whole fruit, pour the juice into the sanitized fermenter.
Leave enough empty space for fermentation foam. Do not fill the fermenter completely.
3. Add Potassium Metabisulfite (optional)
Potassium metabisulfite is commonly used in winemaking. It can reduce the activity of unwanted microorganisms and protect the must from oxidation.
Follow the product instructions for the correct dose. If you add sulfite before fermentation, allow the required contact time before you add the yeast. Do not add an excessive amount.
Some wine recipes do not require a sulfite addition before fermentation. In fact, these days, most don’t. But if working with foraged or questionable fruit, a little sulfite 24 hours before pitching your yeast can be good insurance.
4. Add Pectic Enzyme
Pectic enzyme breaks down pectin in fruit.
It can help:
- Increase juice extraction
- Improve clarity
- Reduce pectin haze
Add the amount specified by the product instructions. Add pectic enzyme before fermentation when possible.
Some products can be less effective after fermentation begins, as alcohol can denature the enzyme.
5. Measure the Starting Gravity
Use a sanitized hydrometer to measure the specific gravity. Record the value.
The starting gravity tells you how much fermentable sugar is present. It also lets you estimate the final alcohol level.
A common target for fruit wine is about 1.080–1.100 specific gravity.
Do not force every wine to this range. Different fruits and wine styles can use different starting gravities.
6. Adjust the Sugar
Fruit can have very different sugar levels. If the starting gravity is too low, you can add sugar.
Dissolve the sugar in a small amount of warm water or juice.
- Add it to the must.
- Mix well.
- Measure the gravity again.
Do not add large amounts of sugar without measuring. Too much sugar can create excessive alcohol and can make fermentation difficult.
7. Add Wine Tannin
Wine tannin is optional.
It can add:
- Structure
- Dryness
- Mouthfeel
- Astringency
Red fruits often provide enough tannin on their own. Some light fruit wines can benefit from a small tannin addition. Follow the product instructions.
It is easier to add more tannin later than to remove too much tannin.
8. Add Yeast Nutrient
Fruit juice does not always contain all the nutrients that wine yeast needs.
Add yeast nutrient according to the product instructions.
Some nutrient products contain nitrogen. Others provide vitamins and minerals. Some do both.
Follow the manufacturer’s dosing instructions. Do not assume that more nutrient will produce a healthier fermentation.
9. Add the Yeast
Choose a wine yeast that matches your target wine.
Common wine yeast strains include:
- Lalvin EC-1118
- Lalvin 71B
- Lalvin D-47
- Red Star Premier Rouge
- Red Star Premier Classique
Different yeasts produce different flavors and have different temperature and alcohol tolerances. For a simple fruit wine, use a yeast that is appropriate for the fruit and your desired alcohol level.
Add the yeast according to the package instructions.
A yeast starter is normally not necessary for a one-gallon batch.
10. Start Primary Fermentation
Cover the fermenter. Use an airlock if the fermenter is designed for one.
For fruit in an open fermentation bucket, use a sanitized lid or cloth cover that allows gas to escape while protecting the must from contamination.
Keep the must at the temperature recommended by the yeast manufacturer.
Primary fermentation can become vigorous. Fruit can create a large amount of foam. Leave enough headspace!
Primary Fermentation
Primary fermentation usually lasts about 7–14 days.
The exact time depends on:
- Fruit
- Sugar level
- Yeast
- Temperature
- Nutrient level
If you use whole fruit, punch down or stir the fruit cap once or twice each day during active fermentation. Use sanitized equipment. Keep the fruit wet. A floating layer of fruit, called the “cap,” can dry out and become more vulnerable to mold and other microorganisms.
Do not stir aggressively. Avoid unnecessary oxygen exposure after the early stage of fermentation.

Check the Gravity
After two weeks, begin checking the specific gravity.
Use a sanitized hydrometer. The gravity should decrease as the yeast consumes sugar. When the gravity approaches the expected end of primary fermentation, prepare for the transfer to secondary.
Do not transfer only because a certain number of days have passed. Use the gravity as your guide.
Transfer to Secondary
When primary fermentation is complete or nearly complete, transfer the wine to a sanitized secondary vessel.
Remove the fruit before or during the transfer. Squeeze a fruit bag only if the recipe recommends it. Aggressive squeezing can extract additional tannin and other compounds – and it might leak pulp.
Use a sanitized siphon. Do not splash the wine.
Keep the siphon outlet below the surface of the wine. The goal is to minimize oxygen exposure.
Fill the secondary vessel as close to the top as practical and install the stopper and airlock.
Secondary Fermentation
Secondary fermentation is a quieter stage. The yeast can continue to ferment the remaining sugar. The wine can also begin to clarify.
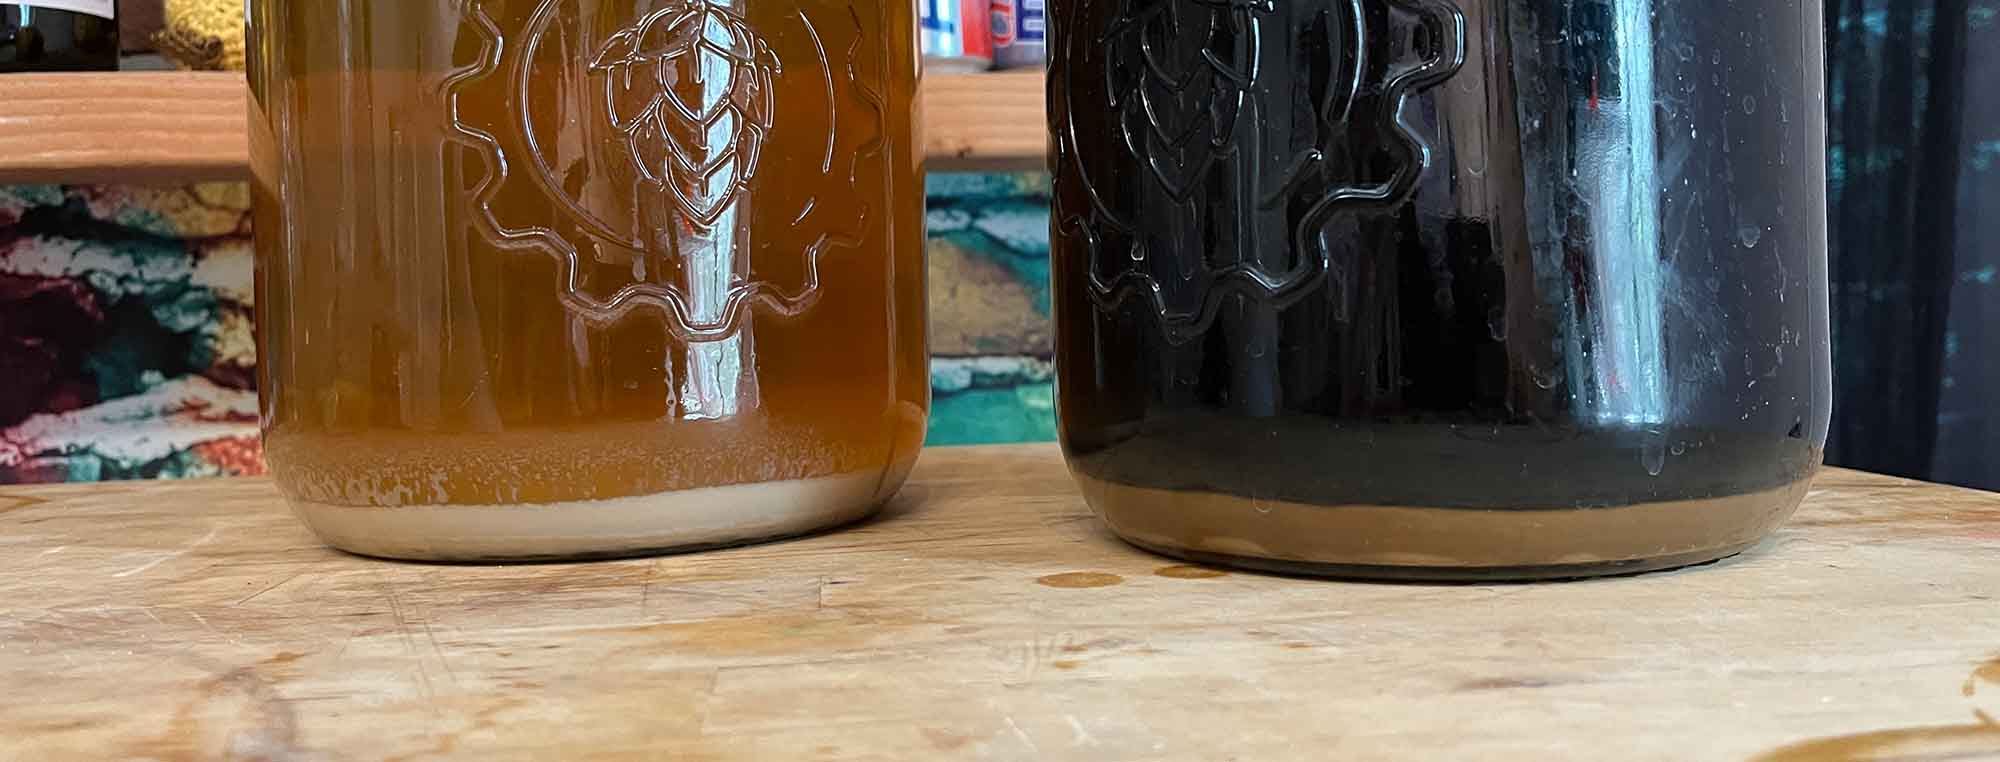
Sediment will collect on the bottom of the vessel. This sediment is called lees.
Secondary fermentation can take several weeks. Some wines need several months. Do not rush the process. It’s wine, after all.
Racking
If a thick layer of sediment forms, you can transfer the wine to another sanitized vessel.
This process is called racking. Use a sanitized siphon. Leave the sediment behind. Repeated transfers are not always better, wines are usually racked only one or two times prior to bottling. Every transfer creates another opportunity for oxygen exposure and contamination.
Rack only when there is a useful reason.
Stabilize the Wine
Before you sweeten the wine, confirm that fermentation is complete.
Take hydrometer readings several days apart. The readings should remain stable. A common finishing gravity for a dry wine is close to 1.000, but different wines can finish at different gravities. Do not use a specific gravity of 1.000 as the only test.
Once fermentation is complete, many winemakers add potassium metabisulfite and potassium sorbate before sweetening.
Potassium metabisulfite provides oxygen protection. Potassium sorbate helps prevent yeast from reproducing. These products do not instantly remove yeast from the wine. Follow the product instructions for dose and timing. Check out our full article on stabilization.
Sweetening
You can leave the wine dry. Dry wine contains little remaining fermentable sugar.
You can also sweeten the wine before bottling.
Common sweeteners include:
- Sugar
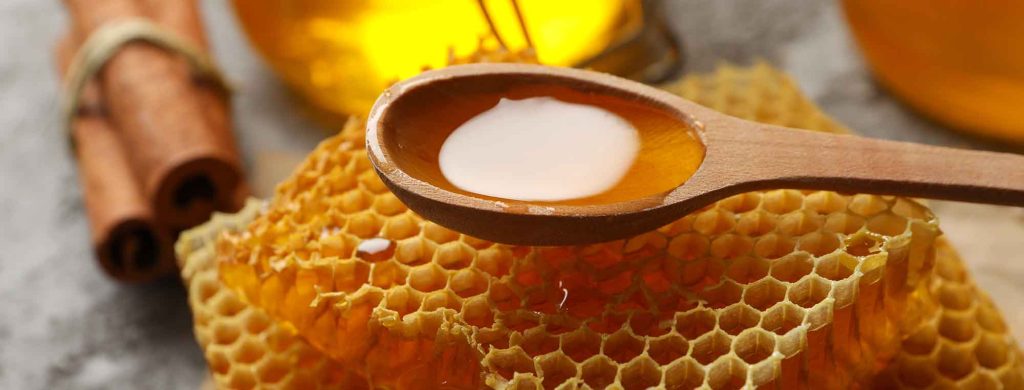
- Honey
- Fruit juice
- Fruit concentrate
- Simple syrup
If you add fermentable sugar, stabilize the wine first. Otherwise, the yeast can ferment the added sugar. This can cause renewed fermentation in the bottle. Renewed fermentation in a sealed wine bottle can create excessive pressure.
If you want to sweeten without adding fermentable sugar, you can use a non-fermentable sweetener.
Add small amounts. Taste the wine after each addition.
Clarification
A young fruit wine can look cloudy. This does not always mean that something is wrong. Time can allow many particles to settle naturally. You can also use a wine fining product.
Common fining products include:
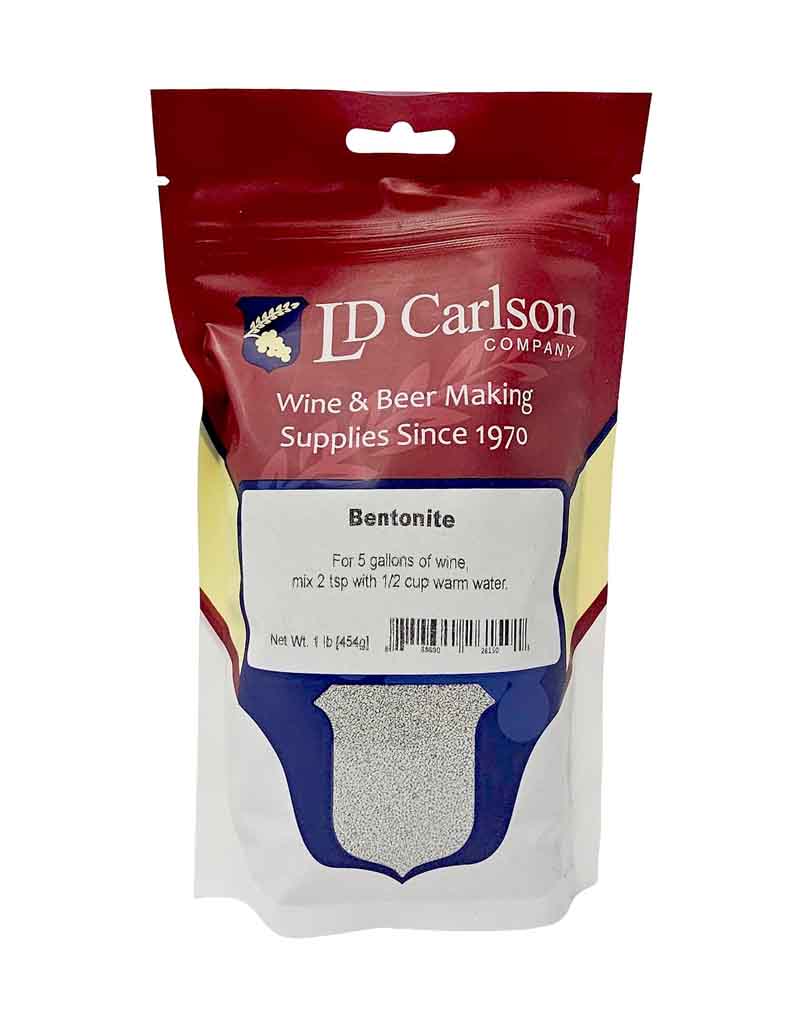
- Bentonite
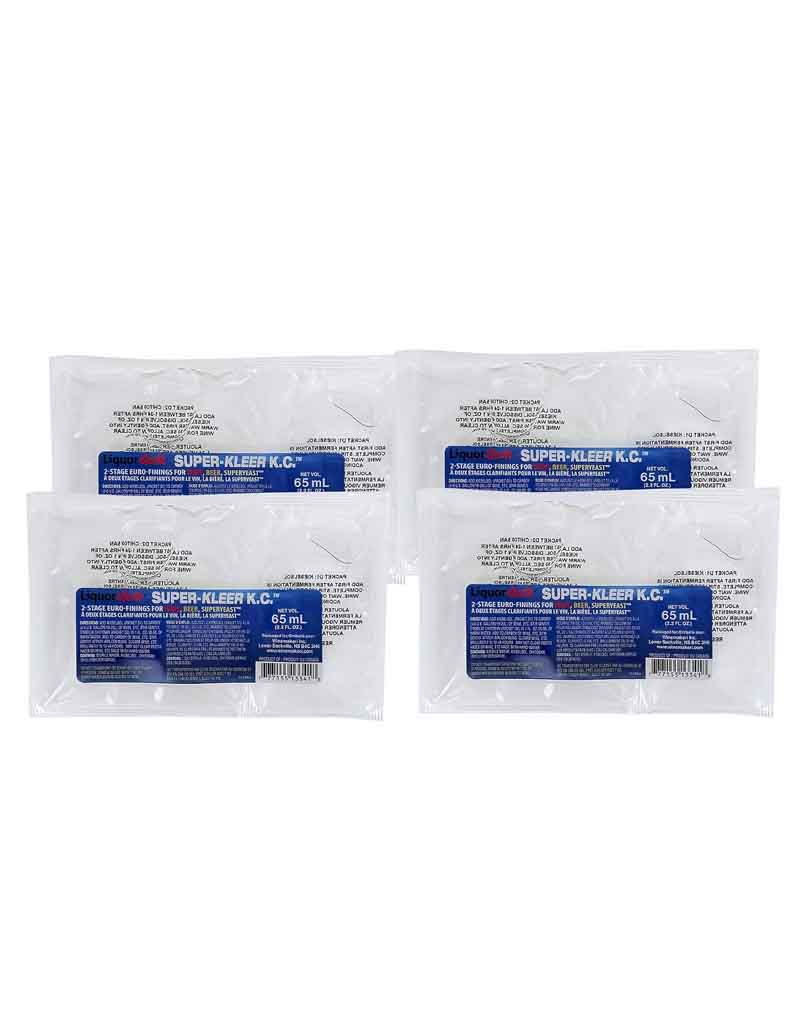
- Kieselsol
- Chitosan
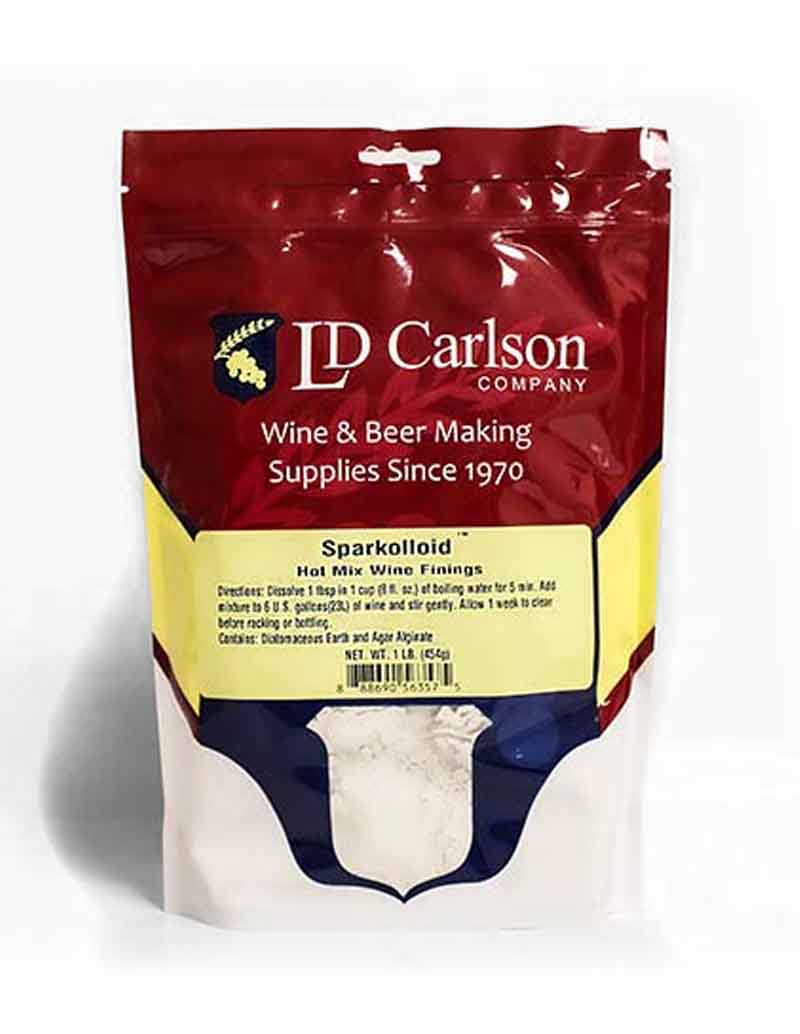
- Sparkolloid
Follow the product instructions. Different fining agents work in different ways. Do not use a fining product unless you need it. Clear wine is mostly an appearance goal.
Bottling
Bottle the wine only after fermentation is complete.
The wine should also be stable and clear enough for your desired presentation. Do not bottle a wine that still contains significant fermentable sugar unless you have a controlled method for carbonation.
Bottling Equipment
You need:
- Wine bottles
- Corks
- Corker
- Bottling bucket
- Siphon
- Bottle filler
- Sanitizer
You can use new corks or suitable wine corks that are in good condition.
Do not reuse corks that are damaged or contaminated.
1. Clean and Sanitize
Clean the bottles.
Sanitize the bottles, siphon, bottling bucket, and bottle filler.
Follow the sanitizer instructions.
2. Transfer the Wine
Place the wine above the bottling bucket.
Use a sanitized siphon to transfer the wine carefully.
Do not splash. Leave sediment behind.
3. Fill the Bottles
Attach the bottle filler – also called a “bottling wand.”
Fill each bottle. Leave the correct amount of headspace for the cork and bottle.
Remove the filler. The wine level will fall slightly.
4. Cork the Bottles
Insert the cork with a suitable wine corker.
Follow the corker’s instructions. Store newly corked wine upright for the period recommended for the cork type. After the cork has sealed correctly, store natural-cork wine on its side if the cork manufacturer recommends horizontal storage.
Aging
Young fruit wine can taste sharp, hot, or unbalanced. Aging can improve the wine.
Store the bottles in a cool, dark location and keep the temperature as stable as practical. Some fruit wines taste good after a few months while others can benefit from six months or more of aging.
Taste a bottle occasionally. The goal is not to age every wine for the same amount of time.
The Complete Process
The complete process is:
- Select ripe fruit or suitable juice.
- Clean the equipment.
- Sanitize the equipment.
- Prepare the fruit.
- Add the fruit or juice to the fermenter.
- Add potassium metabisulfite if required.
- Add pectic enzyme.
- Measure the starting gravity.
- Adjust the sugar if needed.
- Add wine tannin if needed.
- Add yeast nutrient.
- Add wine yeast.
- Start primary fermentation.
- Manage the fruit cap if you use whole fruit.
- Check the gravity during fermentation.
- Transfer the wine to secondary.
- Keep the wine under an airlock.
- Allow fermentation and clarification to continue.
- Rack the wine if necessary.
- Confirm that fermentation is complete.
- Add potassium metabisulfite and potassium sorbate if you plan to sweeten.
- Sweeten the wine if desired.
- Clarify the wine if desired.
- Clean and sanitize the bottling equipment.
- Transfer the wine to the bottling bucket.
- Fill the bottles.
- Cork the bottles.
- Allow the wine to age.
- Enjoy the wine.
Keep the First Batch Simple
You can make fruit wine without a large amount of equipment.
For a first batch, use:
- Ripe fruit
- Wine yeast
- Yeast nutrient
- Pectic enzyme
- Potassium metabisulfite
- Potassium sorbate
- Sugar if needed
- Acid blend only if needed
- A hydrometer
- A primary fermenter
- A secondary fermenter
- A siphon
- An airlock
- Bottles and corks
- Cleaner and sanitizer
The most important tools are the hydrometer and a good sanitation routine.
- Do not judge fermentation by bubbles in the airlock.
- Do not bottle based only on the number of days since brew day.
- Use gravity readings to confirm that fermentation is complete.
Fruit wine is simple when you control the basic variables.
Use good fruit. Use healthy yeast. Give the yeast enough nutrients. Control the temperature. Protect the wine from oxygen after fermentation. Measure and taste before you adjust.
Then give the wine time to become good.