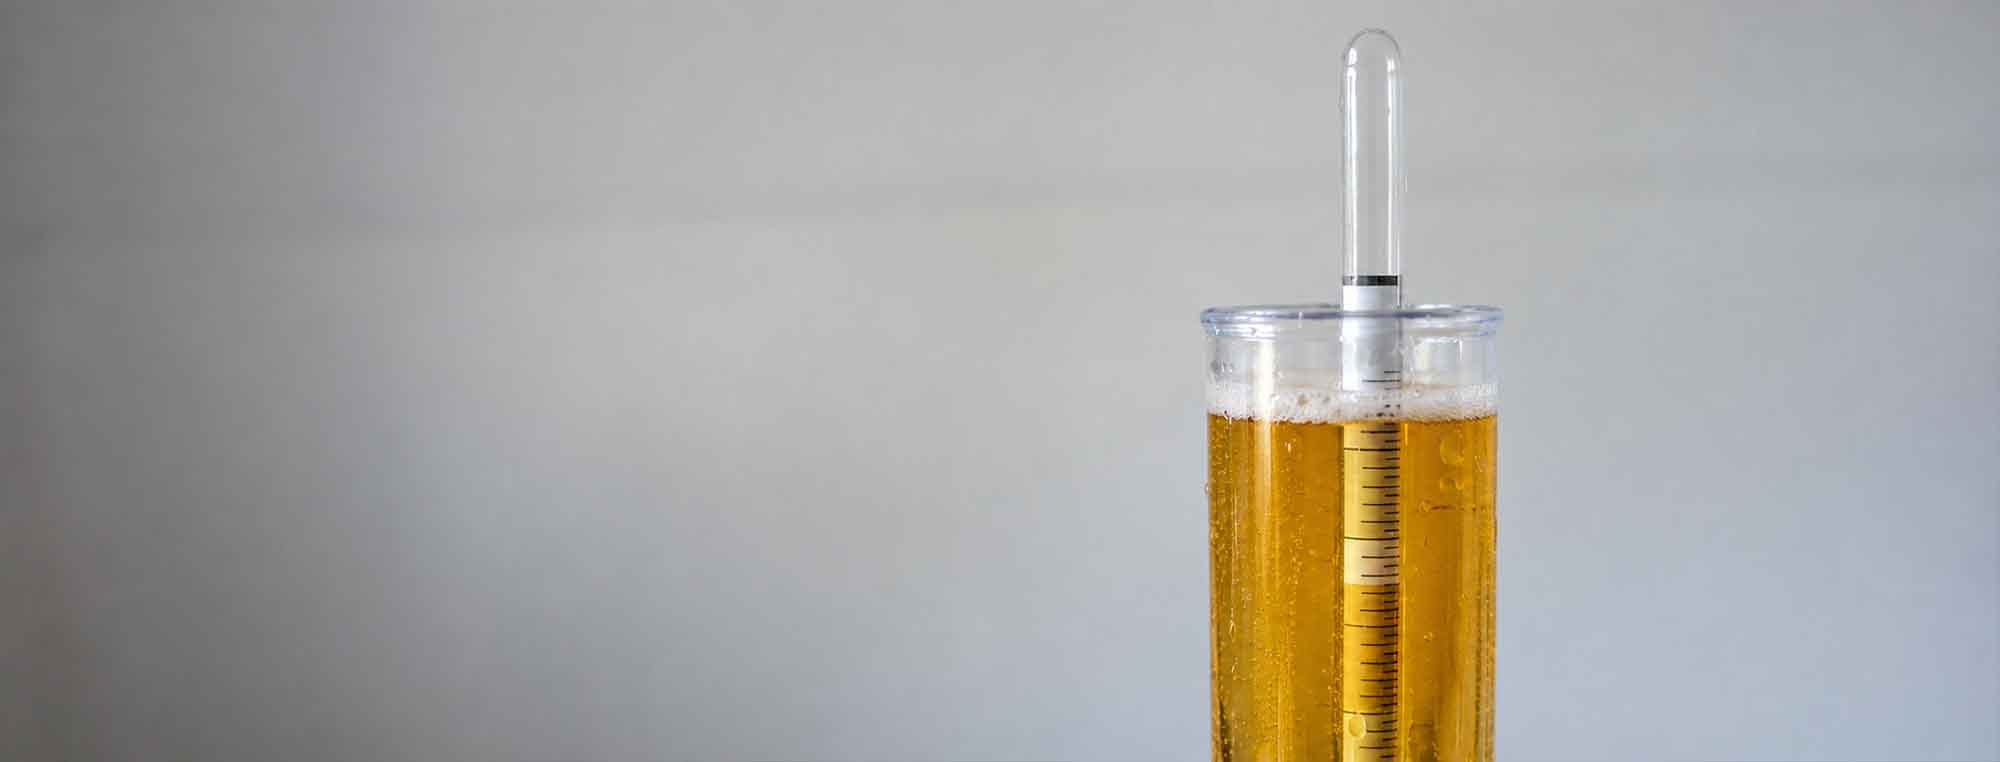
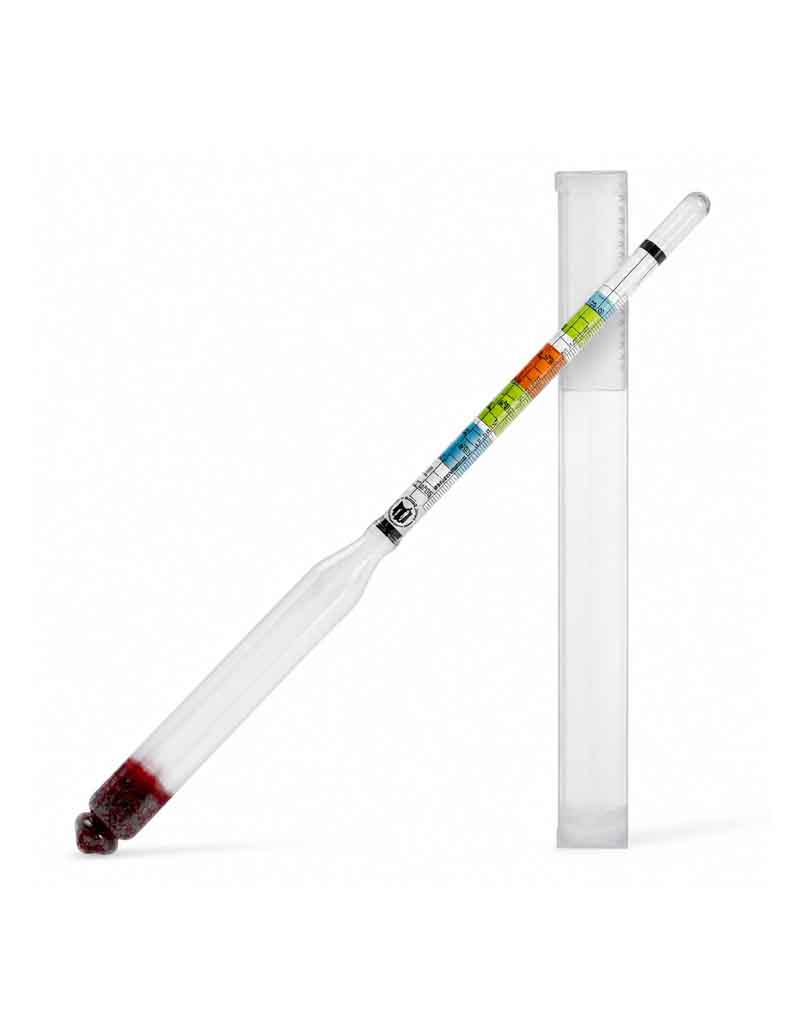
A hydrometer is one of the most useful tools in homebrewing.
It can tell you the specific gravity of your beer, mead, wine, or cider.
You can use it to measure:
- Original gravity.
- Fermentation progress.
- Final gravity.
- Approximate alcohol content.
- Changes in sugar concentration.
However, a hydrometer can look confusing the first time you use one.
There are several scales. The liquid surface can be difficult to read. Temperature can affect the result.
Small bubbles can also make the hydrometer float differently. The good news is that reading a hydrometer is simple once you know what to look for.
What Does a Hydrometer Measure?
A brewing hydrometer measures specific gravity. Specific gravity compares the density of your liquid with the density of water.
Water has a specific gravity of approximately 1.000. Wort, must, and juice contain dissolved sugars and other materials. These materials make the liquid denser.
A sugary liquid can therefore have a reading such as: 1.050
During fermentation, yeast consumes fermentable sugar. The liquid becomes less dense.
The specific gravity can then fall to something like: 1.010
What Does the Number Mean?
The numbers on a typical brewing hydrometer may look like:
- 1.000
- 1.010
- 1.020
- 1.030
- 1.040
- 1.050
- 1.060
- 1.070
You may also see smaller markings between these numbers. Each marking represents a smaller change in specific gravity.
For example, if the scale increases by 0.010 between major markings, each smaller line may represent 0.002. Always check your specific hydrometer, as different hydrometers can have different scales.

Why Does the Hydrometer Float?
A hydrometer is designed to float. The denser the liquid, the less deeply the hydrometer needs to sink. The less dense the liquid, the deeper it sinks.
This is why the reading changes during fermentation. As sugar is converted into alcohol, the liquid usually becomes less dense. The hydrometer sinks farther. The specific gravity reading therefore decreases.
What Equipment Do I Need?
You do not need much equipment.
A basic setup includes:
- A hydrometer.
- A hydrometer test jar.
- A sanitized sampling tool.
- A thermometer.
- A calculator or brewing software.
A wine thief or turkey baster can make sampling easier. You also need a suitable sanitizer for equipment that contacts your fermented beverage.
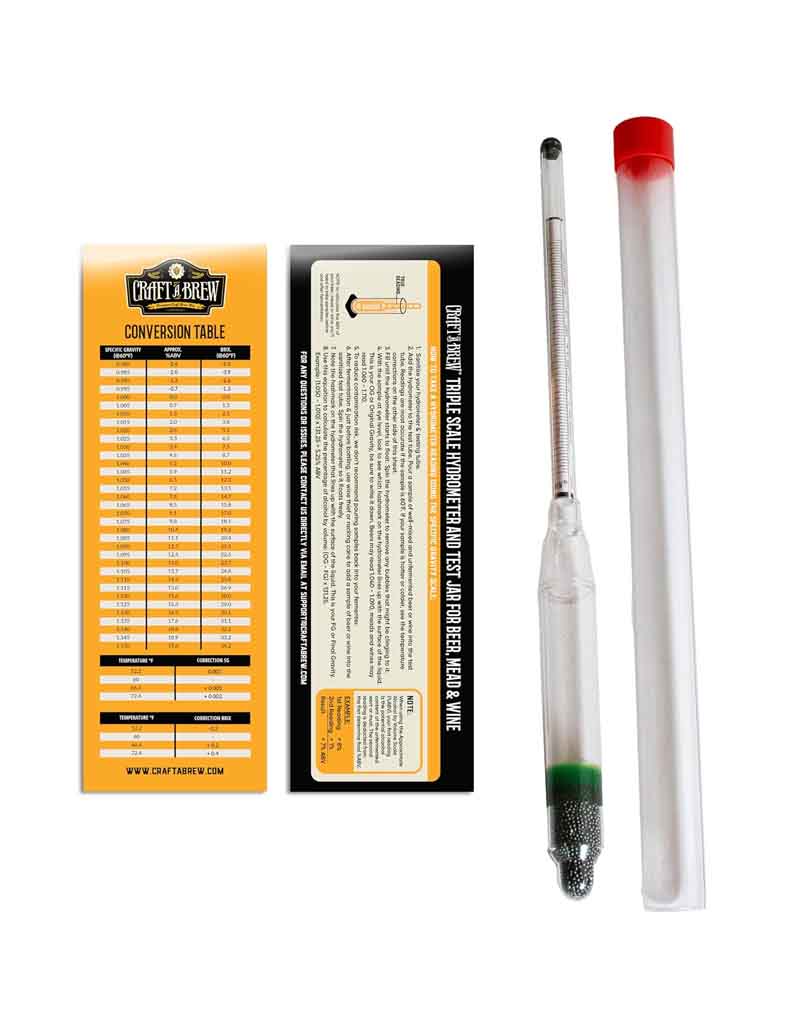
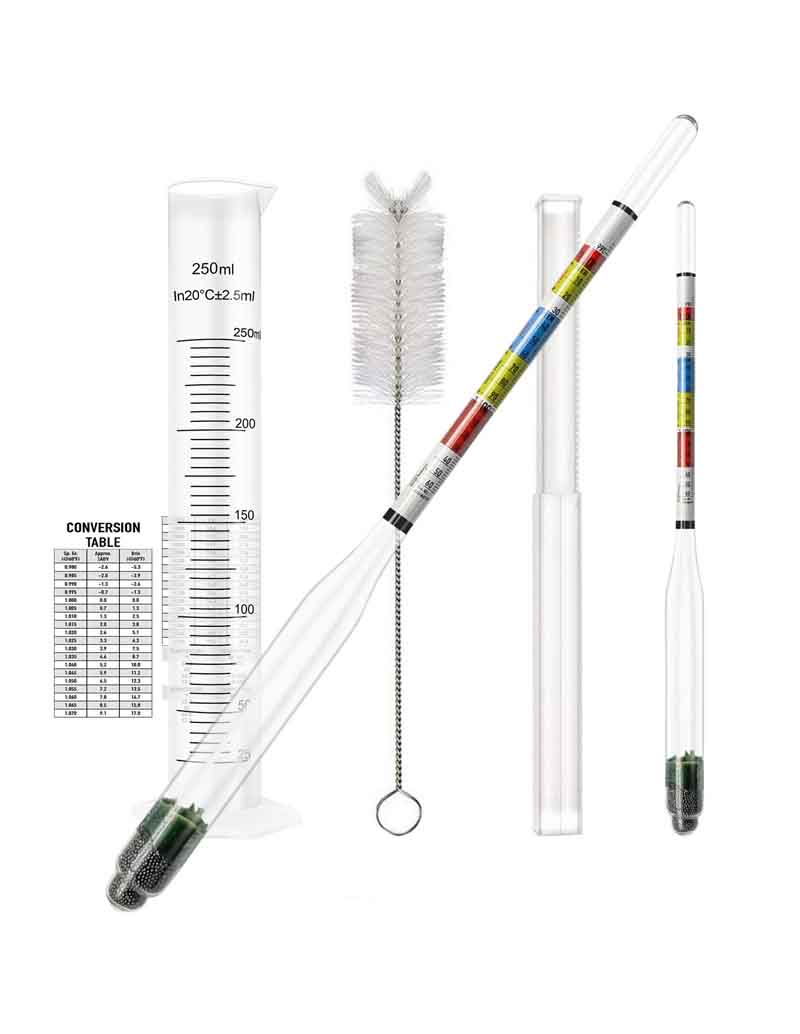
Step 1: Clean and Sanitize Your Equipment
Clean your hydrometer and test jar. Then sanitize them according to the instructions for your sanitizer. Also sanitize your wine thief, pipette, sample valve, or other sampling equipment. You do not want to introduce microorganisms into your fermenter.
Keep the hydrometer clean throughout the process.
Step 2: Take a Sample
Take a sample from your fermenter.
A wine thief is useful for carboys. A sample valve can make sampling easier from some fermenters. A pipette can work well for small batches.
Fill the hydrometer test jar enough for the hydrometer to float freely. You do not need to fill the jar to the top. You only need enough liquid for the hydrometer to float without touching the bottom.
Step 3: Remove Bubbles
Small bubbles can stick to the hydrometer. These bubbles can make it float higher than it should. That can produce an incorrect reading.
Gently spin the hydrometer in the sample. The spinning motion can help remove bubbles. Do not shake the sample aggressively. Avoid creating more foam.

Step 4: Let the Hydrometer Float
Place the hydrometer into the sample.
Make sure it is not touching:
- The bottom of the test jar.
- The sides of the test jar.
The hydrometer should float freely. Give it a moment to stop moving. If it touches the side, gently move it toward the center.
Step 5: Check the Temperature
Temperature matters. Hydrometers are calibrated at a specific temperature. The calibration temperature is normally printed on the hydrometer.
Common calibration temperatures include:
- 60°F (15.6°C).
- 68°F (20°C).
Check your hydrometer. If your sample is not at the calibration temperature, you may need to apply a correction.
Step 6: Read the Scale
This is the part that causes the most confusion. Do not read the hydrometer from the top of the liquid. Look at the bottom of the meniscus. The meniscus is the curved surface of the liquid around the hydrometer.
Read the point where the bottom of that curve meets the hydrometer scale. For most clear brewing liquids, this gives the correct reading.
What Is the Meniscus?
The meniscus is the curved surface of a liquid. When liquid touches the hydrometer, the liquid can climb slightly around the glass.
This creates a curved surface. It may look like a small bowl around the hydrometer. Read the bottom of the curve. Do not read the highest point on the liquid surface.
Why Does the Meniscus Matter?
The difference can be several gravity points. If you read the top of the meniscus instead of the bottom, your result may be too high. This can affect your calculations.
The easiest way to get a good reading is to place the test jar at eye level. Look directly across the liquid surface. Then read the bottom of the meniscus.
What Does 1.050 Mean?
A reading of 1.050 means the liquid has a specific gravity of 1.050. This is a common original gravity for beer. It means the liquid is denser than water. It does not mean that the beer contains 5% sugar.
Specific gravity and sugar percentage are different measurements.
What Does 1.000 Mean?
A reading of 1.000 means the liquid has approximately the same density as water. A fermented beverage can have a gravity near 1.000. This does not mean that it contains no alcohol.
Alcohol is less dense than water. A dry, fully-fermented wine or mead can even have a gravity below 1.000.
What Does 1.010 Mean?
A reading of 1.010 means the liquid is denser than water but much less dense than a typical 1.050 wort. For beer, 1.010 is a common final gravity. However, there is no universal correct final gravity.
The expected value depends on the recipe and yeast.

What Is Original Gravity?
Original gravity, or OG, is the gravity before fermentation.
For example:
OG = 1.050
This is your starting point. Record it. You will use it later when you calculate approximate alcohol content.
What Is Final Gravity?
Final gravity, or FG, is the gravity after fermentation is complete.
For example:
FG = 1.010
You can compare this with the original gravity. The difference helps show how much fermentation occurred.
How Do I Know When Fermentation Is Finished?
Do not rely on the airlock. A quiet airlock does not prove that fermentation is finished. Instead, take a hydrometer reading. Then take another reading later.
For example:
Day 1: 1.010
Day 3: 1.010
The stable readings suggest that fermentation is complete. If the reading changes, fermentation may still be active.
How Do I Calculate Alcohol?
You can estimate alcohol by comparing OG and FG.
A common formula is:
ABV ≈ (OG − FG) × 131.25
For example:
- OG = 1.050
- FG = 1.010
The calculation is:
(1.050 − 1.010) × 131.25
The estimated alcohol content is approximately: 5.3% ABV
This is an estimate.
What If My Hydrometer Has a Potential Alcohol Scale?
Some hydrometers include a potential alcohol scale. This scale estimates how much alcohol could result from the available sugar.
It can be useful for beginners. However, the scale is only an estimate. For accurate record keeping, use the specific gravity scale.
Record your OG and FG. Then calculate the approximate ABV.
What If My Hydrometer Has a Brix Scale?
Some brewing hydrometers have multiple scales.
You may see:
- Specific gravity.
- Brix.
- Potential alcohol.
Use the scale that your recipe requires. Most homebrew recipes in the United States use specific gravity.
If your recipe says an OG of 1.050, read the specific gravity scale. Do not substitute a Brix number without converting it.
What Is Brix?
Brix is another way to express the concentration of dissolved material. It is commonly used with refractometers, though a hydrometer can also have a Brix scale.
For example, a wort around 12° Brix has a specific gravity of roughly 1.048.
The conversion is an approximation. Before fermentation, Brix is easier to interpret. After fermentation, alcohol changes the relationship between Brix and specific gravity.
What If My Hydrometer Reads Backward?
Some hydrometer scales can look confusing because the numbers decrease as you move down the instrument.
This is normal. Do not assume that the largest number is always the correct direction.
Find the specific gravity scale. Locate the liquid level. Read the number at the bottom of the meniscus.
What If the Hydrometer Hits the Bottom?
The sample is not deep enough. Add more sample. The hydrometer must float freely.
Do not try to estimate the reading from a partially submerged hydrometer. If you are working with a small batch, choose a narrow hydrometer test jar.
What If the Hydrometer Touches the Side?
Move it gently toward the center. A hydrometer touching the side can produce an inaccurate reading.
It should float freely. A narrow test jar can make this easier.
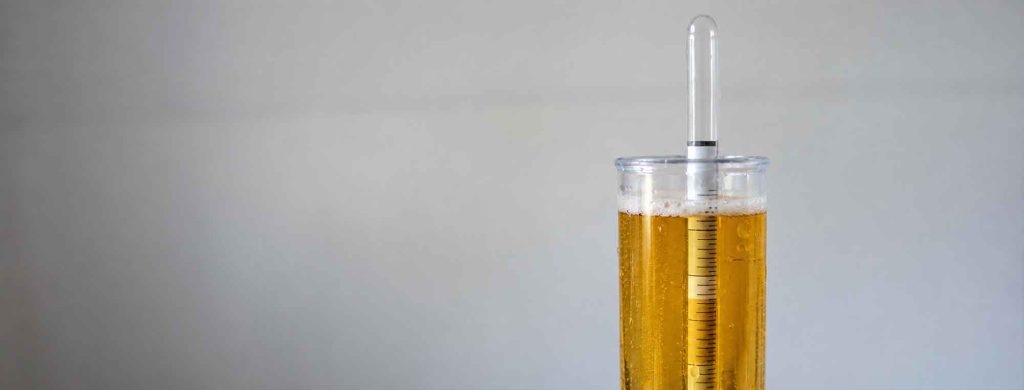
What If There Are Bubbles on the Hydrometer?
Remove them. Gently spin the hydrometer. Bubbles can make the hydrometer float higher. This can produce a gravity reading that is too high.
Beer and other fermented beverages can contain significant dissolved carbon dioxide. Degassing the sample can help produce a more reliable reading.
Should I Degas My Sample?
Often, yes.
Carbon dioxide can remain dissolved in fermented beer, wine, mead, and cider. The gas can form bubbles on the hydrometer and these bubbles can affect the reading.
Gently stir or swirl the sample to release dissolved carbon dioxide. Do not splash unnecessarily. You are measuring the sample, not trying to oxidize it.
What If My Sample Is Foamy?
Wait for the foam to settle. You can also gently remove excess foam. The hydrometer needs a clear liquid surface so you can read the meniscus. Do not try to read through a thick layer of foam.
Does Color Affect the Reading?
A dark beer can make the meniscus harder to see. This does not necessarily make the hydrometer inaccurate. It simply makes the scale harder to read.
Good lighting can help.
Place the test jar against a light background. Do not shine a light directly into your eyes.
Can I Read a Hydrometer in the Fermenter?
Usually, no, unless fermenting in a bucket.
You need enough depth for the hydrometer to float freely. A standard fermenter may not provide a convenient way to see the scale at eye level or to retrieve the hydrometer.
A hydrometer test jar is much easier. Some specialized floating digital hydrometers, like the Tilt, are designed to remain inside the fermenter.
Can I Put the Hydrometer Directly Into a Bucket?
You can if the bucket is deep enough and you can safely read the scale.
However, it is usually easier to take a sample. A test jar requires much less liquid. It also lets you inspect the sample.

Should I Put the Sample Back Into the Fermenter?
Only if you’re confident about your sanitizing practices..
Once the sample has been removed, it has been exposed to the outside environment. It may also have contacted equipment.
Alternatively, you may drink the sample or discard it.
How Much Sample Do I Need?
You need enough liquid for the hydrometer to float. The exact amount depends on your hydrometer and test jar.
A typical hydrometer sample may require several ounces. This is one reason some brewers prefer a refractometer. A refractometer can use only a few drops.
However, a refractometer requires additional calculations after fermentation begins.

Hydrometer vs. Refractometer
A hydrometer and refractometer both have useful applications.
A hydrometer:
- Uses a larger sample.
- Is simple to read.
- Measures specific gravity directly.
- Works well before and after fermentation.
- Is usually the best first tool for beginners.
A refractometer:
- Uses only a few drops.
- Gives very fast readings.
- Is excellent for pre-fermentation wort.
- Is useful for monitoring brewing efficiency.
- Requires alcohol correction after fermentation begins.
If you are buying your first gravity-measuring tool, a hydrometer is usually the simplest choice.
Can I Read a Hydrometer When the Wort Is Hot?
Do not use a hydrometer outside its rated temperature range.
Hot wort can damage some hydrometers. It can also make the reading wildly inaccurate.
- Take a sample.
- Cool it to an appropriate temperature.
- Then take the reading.
A refractometer can be more convenient for hot-side measurements, but you should still follow its temperature specifications.
How Accurate Does My Reading Need to Be?
Homebrewers often work in gravity points.
For example:
- 1.048
- 1.049
- 1.050
A difference of one or two points is usually not important for a normal homebrew batch.
Your recipe’s expected OG is an estimate. Your yeast may also produce a slightly different FG. Focus on consistent measurements.
Do not spend more time trying to decide between 1.049 and 1.050 than you spend making good beer.
What If My Reading Looks Wrong?
Check the simple things first.
Make sure:
- The hydrometer is floating freely.
- It is not touching the test jar.
- There are no bubbles attached to it.
- You are reading the bottom of the meniscus.
- The sample temperature is appropriate.
- The hydrometer is clean.
- You are reading the correct scale.
If the result still looks unusual, take another sample and measure it again.
How Do I Check My Hydrometer?
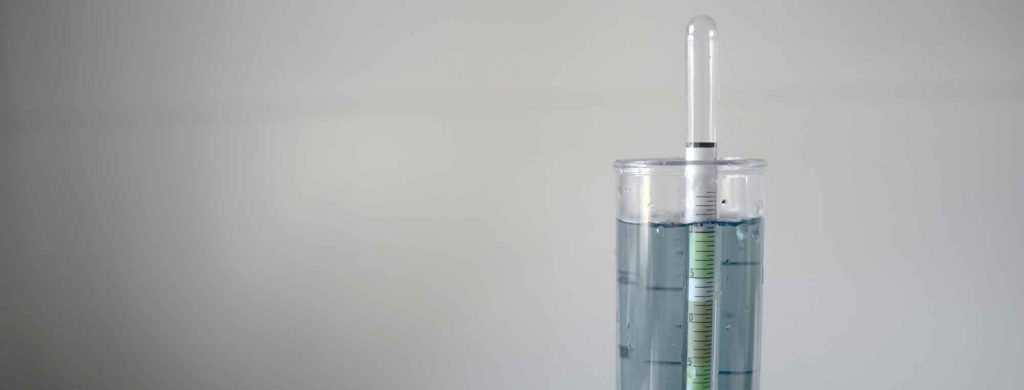
You can check a hydrometer in water.
At its calibration temperature, water should read approximately 1.000 on a standard specific gravity scale. If it reads significantly differently, check the manufacturer’s information.
The hydrometer may have a calibration offset. You can account for a small known error.
A damaged hydrometer should be replaced.
What If My Hydrometer Breaks?
Many brewing hydrometers are made from glass.
Handle them carefully. Do not force one into a test jar. Do not store it where it can easily fall.
If a glass hydrometer breaks in your brewing area, carefully clean up all glass. If glass enters your wort, beer, wine, mead, or cider, do not consume the beverage.
Safety is more important than saving a batch.
A Simple Hydrometer Reading Example
Suppose you brewed a beer and expect an OG of 1.050.
You take a sample.
The hydrometer floats at: 1.052
That is your measured original gravity.
Later, after fermentation, you take another reading.
It is: 1.012
You take another reading two days later.
It is still: 1.012
Your final gravity is approximately 1.012.
You can now use the OG and FG to estimate alcohol. The important part is not that the numbers exactly match the recipe, but rather that you have measured the fermentation.
The Bottom Line
Reading a hydrometer is not difficult.
The basic process is:
- Clean and sanitize your equipment.
- Take a sample.
- Fill the hydrometer test jar.
- Remove bubbles from the hydrometer.
- Let the hydrometer float freely.
- Check the sample temperature.
- Look at the bottom of the meniscus.
- Read the specific gravity scale.
- Record the result.
- Clean and sanitize your equipment.
Use the reading to track your fermentation.
Take an original gravity reading before fermentation. Take additional readings as fermentation progresses. Take final gravity readings until the number is stable.
Most importantly, do not use the airlock as your measuring tool. The airlock can tell you that gas is escaping. The hydrometer can tell you whether the gravity is changing.
For a new homebrewer, learning to read a hydrometer is one of the most useful skills you can develop. Once you know how to read one, you can stop guessing what your fermentation is doing and start measuring it.