A kegerator or keezer lets you store and serve draft beer, mead, cider, wine, or other carbonated drinks.
A kegerator is a refrigerator that holds kegs.
A keezer is a chest freezer that holds kegs. The name combines “keg” and “freezer.”
Both systems use the same basic equipment. The main difference is the cooling system and the way you install the dispensing hardware.
A kegerator is usually easier to use. A keezer can hold more kegs and can provide more storage space.

How a Draft System Works
A draft system has four main parts:
- A cold keg
- A carbon dioxide supply
- A gas line
- A beverage line
Carbon dioxide enters the keg through the gas line. The pressure pushes the drink out of the keg through the beverage line. The beverage then travels to the faucet.
The basic path is:
CO₂ tank → regulator → gas line → keg → beverage line → faucet
The refrigerator or freezer keeps the keg cold.
Option 1: Build a Kegerator
A kegerator starts with a refrigerator. You can buy a refrigerator made for draft service, or you can convert a normal refrigerator.
A purpose-built kegerator is easier to install. A converted refrigerator can cost less and can give you more control over the design.

Equipment for a Kegerator
You will need:
- Refrigerator
- Keg
- Carbon dioxide tank
- Carbon dioxide regulator
- Gas line
- Gas disconnect
- Beverage line
- Beverage disconnect
- Faucet
- Faucet shank
- Faucet handle
- Tower or faucet mounting hardware
- Beer line cleaning equipment
- Cleaning solution
- Sanitizer
- Wrenches
- Tubing clamps
You may also need:
- Drill
- Drill bit or hole saw
- Thermometer
- Temperature controller
- Gas manifold
- Additional regulators
- Additional kegs
- Drip tray
The exact equipment depends on the refrigerator and keg system.
Choose the Refrigerator
Measure the inside of the refrigerator before you buy the keg equipment.
A keg must fit inside the refrigerator. Even better, 2-3 would fit inside.
Measure:
- Width
- Depth
- Height
- Door clearance
- Space around the compressor area
Do not assume that a refrigerator can hold a certain number of kegs because it has enough total volume. The shape of the interior is important. A refrigerator with a freezer compartment can limit the available keg space.
A compact refrigerator without a freezer can often provide more useful space for kegs.
Check for Refrigerant Lines
This is one of the most important steps.
Do not drill into a refrigerator until you know where the refrigerant lines are located. Refrigerant lines can run through the walls of a refrigerator. If you drill through a refrigerant line, you can damage the refrigerator and release refrigerant.
The location of the lines depends on the refrigerator design. Check the manufacturer’s information when possible.
Some refrigerator conversions avoid this problem by installing a draft tower through the door, by using an existing opening, or by using picnic taps on each keg inside.
Install the Faucet
A faucet must connect to the beverage line.
There are two common ways to install a faucet on a converted refrigerator.
Faucet Through the Door
You can install a shank through the refrigerator door. The shank passes through the door and connects to the faucet on the outside. The beverage line connects to the shank inside the refrigerator.
This method can work well on many refrigerators.
Before drilling, check the door for wiring and refrigerant lines.
Draft Tower
A draft tower sits on top of the refrigerator. You’ll often see this in dorm or hotel room sized fridges.
The tower contains one or more faucets. The beverage lines pass through the top of the refrigerator.
A draft tower can provide the appearance and function of a commercial draft system.
The installation requires careful drilling. Check for internal components before you drill.
Install the CO₂ Tank
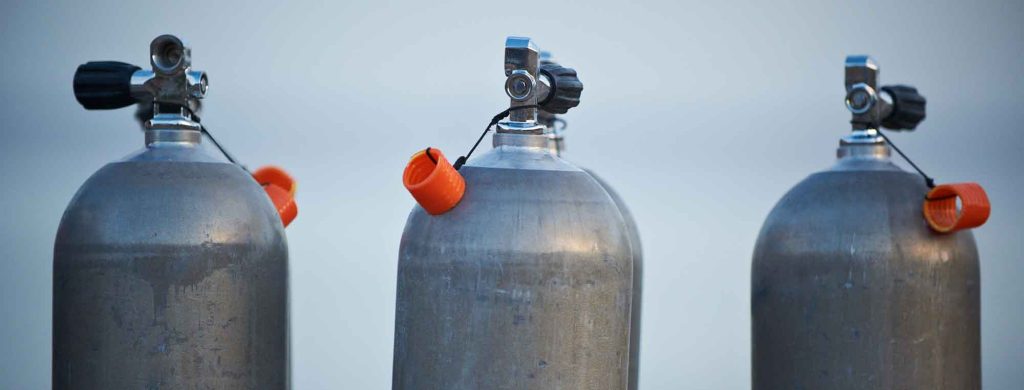
The carbon dioxide tank supplies gas to the keg.
Keep the tank upright. Secure the tank so that it cannot fall over. This can involve mounting the tank to the rear of the fridge and running lines into it or putting the tank inside the fridge with the kegs (much simpler).
Connect the regulator to the tank. The regulator controls the pressure supplied to the keg.
Do not connect a gas line directly to a CO₂ tank without a suitable regulator.
Install the Gas Line
Connect the regulator to the gas disconnect. The gas disconnect connects to the gas post on the keg.
Use tubing that is suitable for carbon dioxide and beverage service.
Secure the connections with appropriate clamps or fittings.
Install the Beverage Line
The beverage line connects the keg to the faucet.
The beverage disconnect connects to the liquid post on the keg. The other end connects to the faucet shank or draft tower.
The length and diameter of the beverage line affect dispensing. A line that is too short can cause excessive foam. Start with a longer line. You can shorten it later if needed, but you’ll get less over-foaming with a longer line.
Add a Drip Tray
A drip tray catches liquid below the faucet. It keeps the area around the kegerator clean. A removable drip tray is easy to clean.
You can mount the tray below the faucet or use a freestanding tray.
Option 2: Build a Keezer
A keezer starts with a chest freezer.
A chest freezer is useful because it provides a large open space. You can often fit more kegs into a chest freezer than into a refrigerator of similar size. The main disadvantage is that the top opens upward. It’s not fun lifting five-gallon kegs up and over the edge into a keezer.
A faucet cannot normally be installed directly through the freezer without modifying the lid or adding a wooden collar between the body and the lid.
Equipment for a Keezer
You will need:
- Chest freezer
- Kegs
- Carbon dioxide tank
- Carbon dioxide regulator
- Gas line
- Gas disconnects
- Beverage lines
- Beverage disconnects
- Faucets
- Faucet shanks
- Faucet handles
- Wooden collar
- Insulation
- Food-safe sealant
- Hinges
- Screws
- Weather stripping
- Drip tray
- Thermometer
- Temperature controller
- Beer line cleaning equipment
- Cleaning solution
- Sanitizer
- Wrenches
- Tubing clamps
You may also need:
- Gas manifold
- Secondary regulators
- Casters
- Wood finish
- Exterior paint
- Fan
- Circulation system

Build the Keezer Collar
The collar is a frame that sits between the freezer body and the lid. The collar provides a place to mount the faucets, and generally you can re-hinge the lid directly to the collar.
This technique allows you to avoid drilling into the freezer body. This is important because refrigerant lines can run through the freezer walls.
Measure the Freezer
Measure the top opening of the freezer. The collar must match the dimensions of the freezer.
Measure the width and length of the top surface. Also measure the height of the collar that you want to build.
A taller collar provides more space for fittings and beverage lines. A shorter collar takes less space but gives you less room to work.
Build the Frame
A common collar uses dimensional lumber. Build a rectangular frame that matches the top of the freezer. The frame must sit flat.
Use screws or other suitable fasteners to hold the frame together. Seal the joints if needed.
The collar must provide a good seal around the freezer opening – a thin layer of silicone caulking between the top of the freezer body and the collar can make this easy.
Add Insulation
The collar should have insulation. Insulation reduces heat transfer through the collar. Rigid foam insulation can work well.
Cut the insulation to fit inside the collar. Do not block the opening or interfere with the lid.
Seal the Collar
Install weather stripping between the freezer and the collar. The goal is to reduce air leakage.
Seal gaps in the collar with a suitable sealant.
Do not create openings that allow warm air to enter the freezer.
Attach the Lid
The freezer lid normally attaches to the collar. Use the original hinges when possible.
Make sure the lid opens correctly. Check that the lid does not hit the faucets or other equipment. The lid should close completely and create a good seal.
Install the Faucets
Drill holes through the front of the collar. Install the faucet shanks through the holes. Attach the faucets to the outside.
Connect the beverage lines to the shanks inside the keezer.
A common keezer can have two, three, four, or more faucets. The number depends on the size of the freezer and the number of kegs.
Install the CO₂ System
The CO₂ tank can sit inside or outside the keezer. Keeping the tank outside provides more space for kegs.
If the tank is outside, run the gas lines through the collar or another suitable opening. Do not drill through the freezer body.
A gas manifold can divide one CO₂ supply between several kegs.
For example:
CO₂ tank → regulator → manifold → several kegs
This allows one regulator to supply multiple kegs at the same pressure.
Multiple Pressures
Different beverages may require different serving pressures. A secondary regulator can provide separate pressure control.
For example, one keg can receive a higher pressure while another receives a lower pressure. This is useful when you serve different beverages with different carbonation requirements.
Temperature Control
A chest freezer is designed to freeze its contents. A keezer must therefore have temperature control if it does not have built-in temperature regulation. A temperature controller turns the freezer on and off to maintain a higher temperature.
The temperature probe measures the temperature inside the keezer while the controller turns the freezer on when the temperature becomes too high and turns the freezer off when the temperature reaches the selected temperature.
Follow the instructions for the specific temperature controller. Many people use Inkbird products.
Do not allow the freezer to operate below the temperature you want for your beverages.
Optional: Add a Fan
A fan can improve air circulation inside a keezer.
Cold air can collect near the bottom of a chest freezer. A small fan can move air around the interior.
This can reduce temperature differences between different areas of the keezer and can be useful when the keezer contains many kegs.
Choose the Correct Kegs
Cornelius kegs are common for home draft systems.
Two common types are:
- Ball-lock kegs
- Pin-lock kegs
The two systems use different disconnects. Do not buy a ball-lock disconnect for a pin-lock keg. Ball-lock kegs are most commonly used.
Used kegs can be less expensive. Inspect used kegs before use. Replace damaged o-rings and clean+sanitize the keg before filling it.
Carbon Dioxide Equipment
A basic CO₂ system includes:
- CO₂ tank
- Regulator
- Gas line
- Gas disconnect
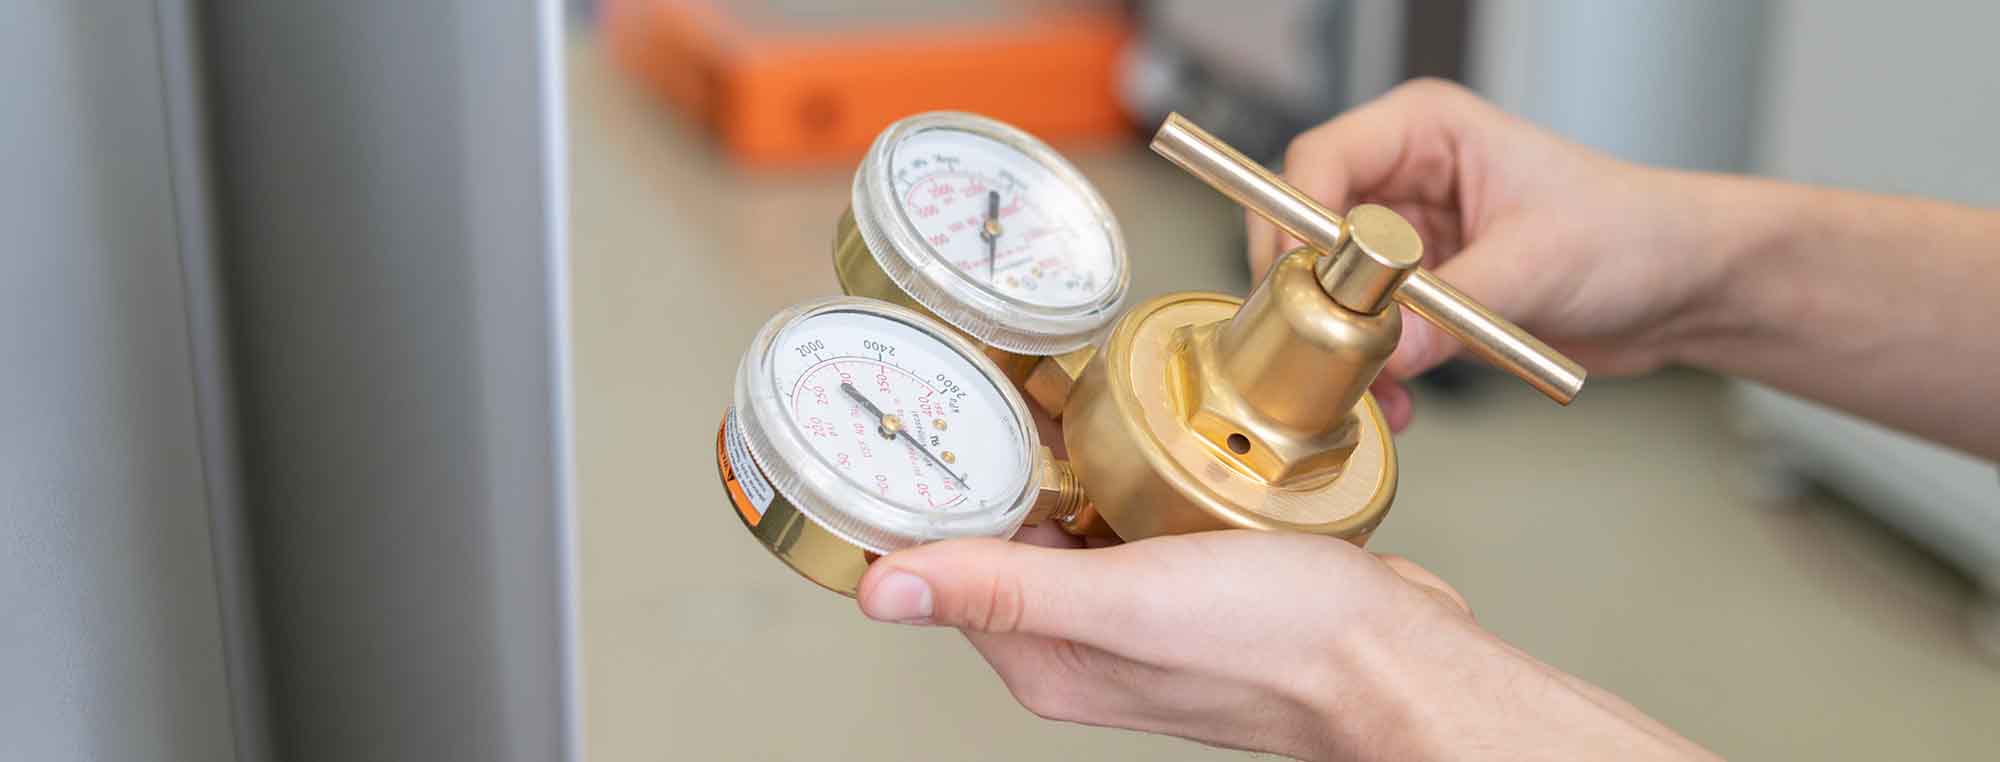
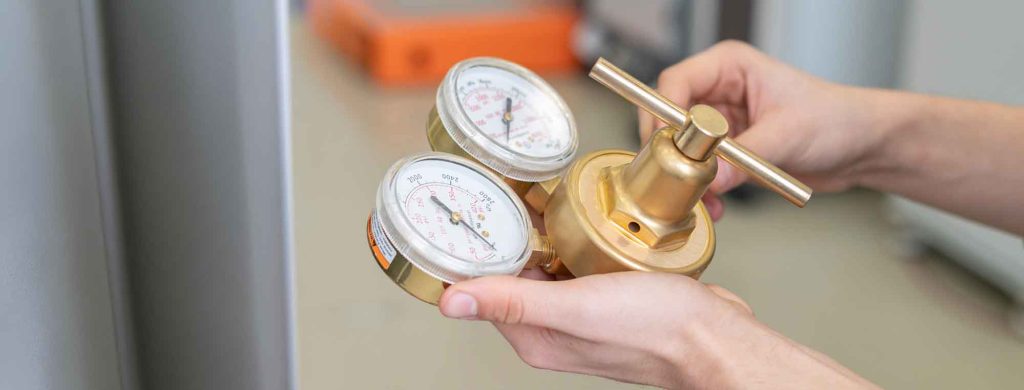
The regulator has a pressure gauge.
Some regulators have two gauges. One gauge shows the pressure supplied to the keg. The other gauge shows the approximate pressure remaining in the CO₂ tank.
The tank pressure does not provide a precise measurement of how much CO₂ remains – so don’t trust that. Often when a CO₂ gets low it will jump from full to empty (per the regulator) in moments. CO₂ is stored as a liquid inside the tank. The tank pressure can remain fairly constant until most of the liquid has been used.
Gas Manifolds
A gas manifold divides one gas supply into several lines.
For example:
Regulator → four-port manifold → four kegs
Each outlet should have a shutoff valve.
A manifold is useful when one CO₂ regulator supplies several kegs.
Use check valves when appropriate. They can help prevent liquid from moving back toward the regulator.
Beverage Lines
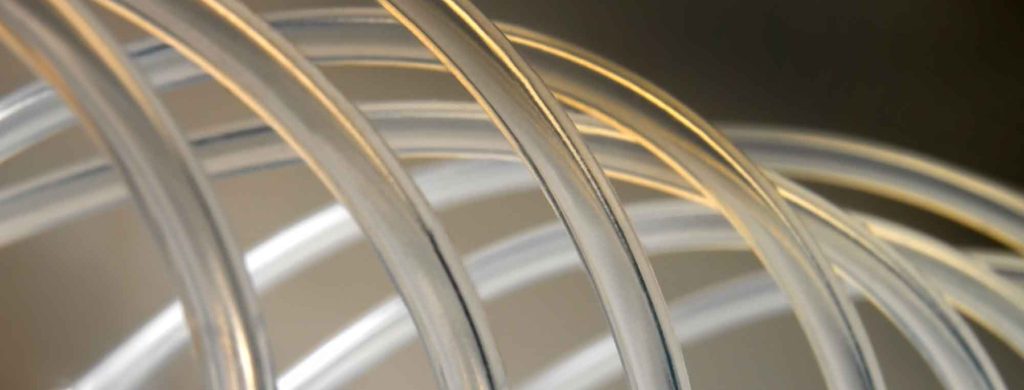
The beverage line connects the keg to the faucet.
The line must be clean and free from damage.
The length of the line affects the flow rate and foam level. If a draft system produces too much foam, do not immediately increase the CO₂ pressure or reduce the line length.
First check:
- Beverage temperature
- Keg pressure
- Beverage line length
- Beverage line condition
- Faucet cleanliness
- Keg connections
Foam is usually a system problem, not a problem that can be solved by one adjustment.
Cleaning the Draft System
Clean the draft system regularly. Beer and other beverages can leave residue inside the beverage line. A dirty line can affect flavor and can support microbial growth.
A basic cleaning system includes:
- Cleaning keg
- Cleaning solution
- Beverage disconnect
- Gas connection
- Beverage line cleaning equipment
- Faucet wrench
- Faucet brush
When cleaning your lines:
- Disconnect the beverage line from the keg.
- Connect the line to the cleaning system.
- Push the cleaning solution through the beverage line. Follow the cleaner manufacturer’s instructions.
- Rinse the system with clean water.
- Sanitize the parts before returning them to service.
Note: Clean the faucet as well as the beverage line.
Kegerator vs. Keezer
Both systems can work well.
A kegerator is usually better when you want a simple system. A keezer is usually better when you want several kegs.
| Feature | Kegerator | Keezer |
| Starting equipment | Refrigerator | Chest freezer |
| Installation | Usually simpler | Requires collar |
| Keg capacity | Usually lower | Usually higher |
| Faucet location | Door or tower | Collar |
| Top access | No | Yes |
| Temperature control | Often built in | Usually required |
| Floor space | Usually smaller | Usually larger |
| Customization | Moderate | High |
A Basic Kegerator Shopping List
For a single-keg system, you need:
- Refrigerator
- One keg
- CO₂ tank
- CO₂ regulator
- Gas line
- Gas disconnect
- Beverage line
- Beverage disconnect
- Faucet
- Faucet shank or tower
- Drip tray
- Beer line cleaner
- Sanitizer
- Wrenches
- Tubing clamps
A Basic Keezer Shopping List
For a single-keg keezer, you need:
- Chest freezer
- One keg
- CO₂ tank
- CO₂ regulator
- Gas line
- Gas disconnect
- Beverage line
- Beverage disconnect
- Faucet
- Faucet shank
- Wooden collar
- Insulation
- Weather stripping
- Sealant
- Temperature controller
- Drip tray
- Beer line cleaner
- Sanitizer
- Wrenches
- Tubing clamps

Safety
Carbon dioxide is a gas that can be dangerous at high concentrations. Use CO₂ equipment in a well-ventilated area. Do not store a CO₂ tank where it can fall over.
Secure the tank in an upright position and check all gas connections for leaks using dish soap in a spray bottle.
Do not use a damaged regulator, hose, keg, or fitting.
Chest freezers and refrigerators use electrical power. Follow the manufacturer’s electrical and safety instructions. Most importantly, do not drill into a refrigerator or freezer wall unless you know that no refrigerant line or electrical component is in that location.
Start Simple
A draft system does not need to be complicated. A one-keg kegerator can use one regulator, one gas line, one beverage line, and one faucet. A larger keezer can use several kegs, multiple regulators, a gas manifold, and several faucets.
Build the system around the number of beverages you want to serve.
Start with one keg if that is all you need. You can add more faucets and kegs later.
The goal is simple: Keep the beverage cold. Keep the system clean. Apply the correct pressure. Serve the beverage without excessive foam.