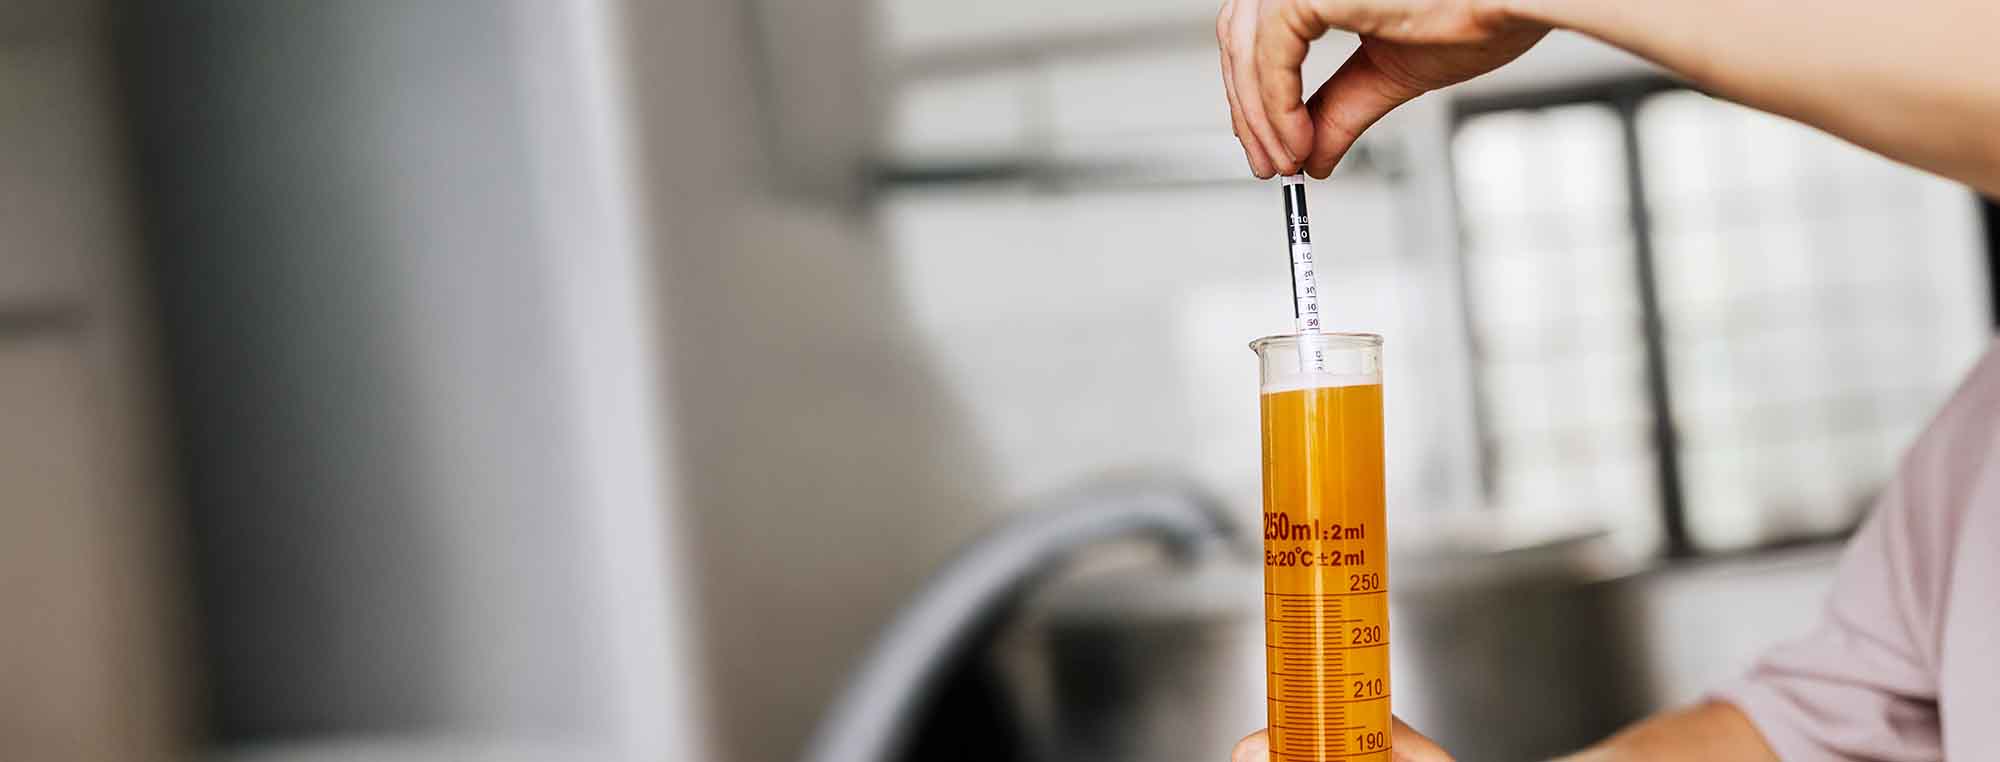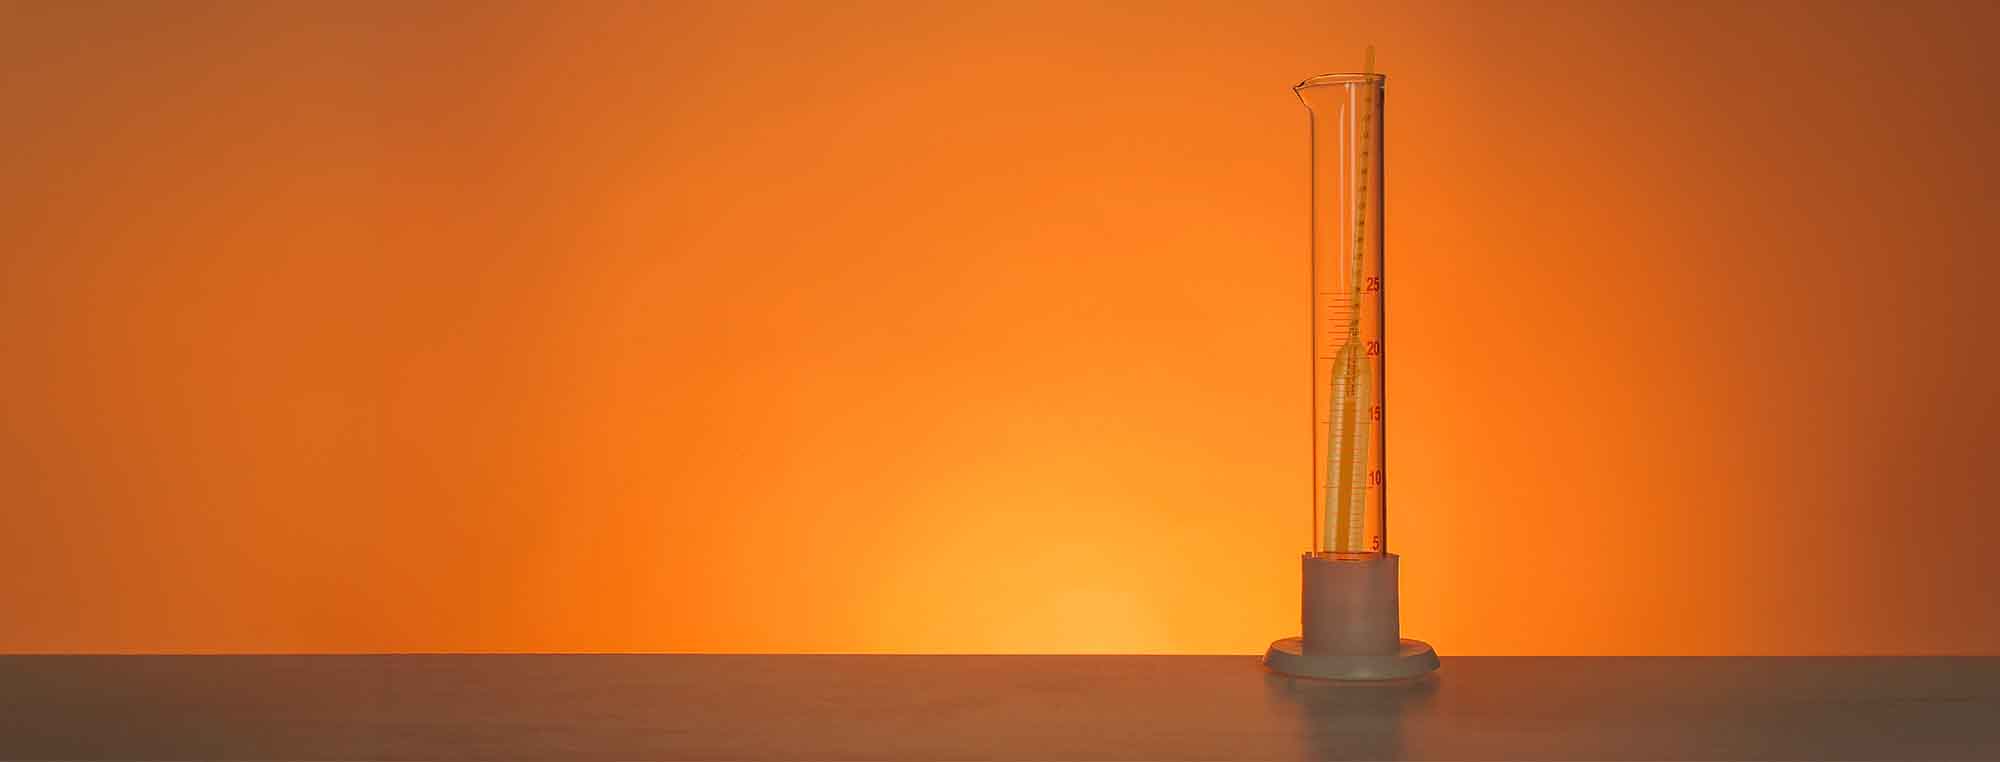
A hydrometer is a simple instrument that measures the density of a liquid.
Homebrewers use hydrometers to measure the amount of dissolved sugar in beer, cider, mead, and wine.
A hydrometer can help you determine:
- How much sugar is in a liquid
- How fermentation is progressing
- Whether fermentation is complete
- The approximate alcohol content of a finished drink
For a new homebrewer, a hydrometer is one of the most useful pieces of equipment you can buy.
It is also inexpensive and easy to use.
How Does a Hydrometer Work?
A hydrometer is usually a sealed glass tube with a weighted bottom. It floats in liquid. The denser the liquid, the higher the hydrometer floats. The less dense the liquid, the farther the hydrometer sinks. This allows the hydrometer to measure the density of the liquid.
Water has a specific gravity of approximately:
1.000
A sugary liquid is denser than water. For example, unfermented beer wort might have a specific gravity of:
1.050
During fermentation, yeast consumes the sugar and the liquid becomes less dense.
The gravity may eventually decrease to:
1.010
The change in gravity gives the brewer useful information about fermentation.
What Is Specific Gravity?
Specific gravity is a measurement that compares the density of a liquid with the density of water.
It is normally written as a number such as:
- 1.040
- 1.060
- 1.080
- 1.100
A higher number means the liquid is denser than water. A lower number means the liquid is less dense than water. Homebrewers usually use specific gravity rather than trying to calculate the actual density of the liquid.
Why Does Sugar Change the Gravity?
Dissolved sugar increases the density of water.
Imagine two containers. The first contains plain water. The second contains water with a large amount of sugar dissolved in it.
The sugar solution is denser. A hydrometer floats higher in the sugar solution. This is why hydrometers are useful for brewing.
Before fermentation, wort, must, or juice contains fermentable sugar. After fermentation, much of that sugar has been converted into alcohol and other fermentation products. The gravity decreases.
What Does Yeast Have to Do With It?
Yeast consumes fermentable sugar.
During fermentation, yeast produces:
- Alcohol
- Carbon dioxide
- Other fermentation compounds
The conversion of sugar into alcohol changes the density of the liquid. This allows a brewer to track fermentation by measuring gravity.
For example:
Starting gravity: 1.060
Later gravity: 1.030
Final gravity: 1.010
The decreasing gravity shows that fermentation is progressing.
What Is Original Gravity?
Original gravity is usually abbreviated OG. It is the specific gravity before fermentation begins.
- For beer, this is normally the gravity of the finished wort before yeast is added.
- For mead, it is the gravity of the honey and water mixture before fermentation.
- For cider, it is the gravity of the juice before fermentation.
- For fruit wine, it is the gravity of the prepared fruit must.
Original gravity is important because it gives you a starting point. Check out our complete article on Original Gravity for more info.
What Is Final Gravity?
Final gravity is usually abbreviated FG. It is the gravity after fermentation has finished.
For example:
OG: 1.050
FG: 1.010
The difference between these measurements shows how much the gravity changed during fermentation. Final gravity can also tell you whether a beer, cider, wine, or mead may still contain fermentable sugar. We also have a comprehensive article on Final Gravity.

Why Is a Stable Gravity Important?
A single gravity reading does not prove that fermentation is complete.
Take a reading. Wait two or three days. Take another reading.
If the readings are the same, fermentation is probably complete.
For example:
| Day | Gravity |
| Day 10 | 1.010 |
| Day 13 | 1.010 |
The stable reading suggests that fermentation has finished.
If the readings are:
| Day | Gravity |
| Day 10 | 1.015 |
| Day 13 | 1.009 |
Fermentation is still occurring.
Why Does This Matter Before Bottling?
This is one of the most important uses of a hydrometer.
If you bottle beer before fermentation is complete, the yeast can continue to consume sugar inside the bottle. The yeast produces carbon dioxide. The carbon dioxide increases pressure.
Too much pressure can cause:
- Overcarbonated beer
- Foaming
- Leaking bottles
- Broken bottles
A hydrometer helps you determine when fermentation is actually complete. Do not rely on the airlock. And do not rely on the number of days since brewing. Use stable gravity readings.
What Is Alcohol by Volume?
Alcohol by volume is normally abbreviated ABV. It tells you approximately how much of the beverage is alcohol.
For example: 5% ABV means that approximately 5% of the beverage’s volume is ethanol. A hydrometer can help you estimate ABV by comparing the original gravity with the final gravity.
A common approximation is:
ABV = (OG − FG) × 131.25
For example:
OG = 1.060
FG = 1.010
The calculation is:
(1.060 − 1.010) × 131.25 = 6.56%
The finished beer would therefore be approximately 6.6% ABV.
This is an estimate. The actual alcohol level can vary slightly.
Why Does Alcohol Affect the Reading?
Alcohol is less dense than water. During fermentation, sugar is converted into alcohol.
This creates two opposing effects:
- Sugar increases density.
- Alcohol decreases density.
The final gravity reflects both effects. This is why you cannot determine the alcohol content of a finished beer simply by looking at its final gravity. You need the original gravity as well.

Can a Hydrometer Measure Alcohol Directly?
No.
A standard brewing hydrometer does not directly measure alcohol. It measures liquid density.
You estimate alcohol by comparing the original and final gravity.
A hydrometer placed in finished beer cannot simply tell you, “This beer is 6.5% ABV.” The calculation requires information about the starting gravity.
What Does a Hydrometer Look Like?
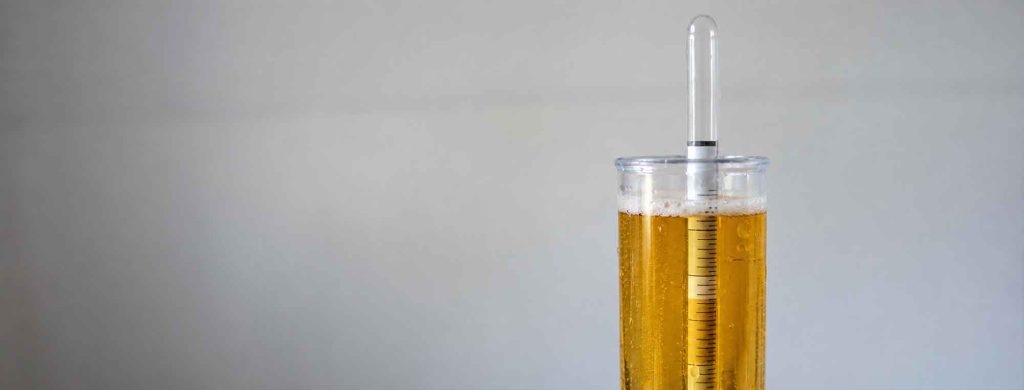
Most brewing hydrometers are long glass tubes.
They have:
- A weighted bottom
- A narrow stem
- A printed scale
- A sealed glass or polycarbonate body
The weighted bottom allows the hydrometer to float upright. The scale is visible above the liquid. Some hydrometers contain several scales.
What Scales Are on a Hydrometer?
A brewing hydrometer may contain several different scales.
Common scales include:
- Specific gravity
- Brix
- Plato
- Potential alcohol
For most homebrewers, the specific-gravity scale is the most useful.
Make sure you are reading the correct scale, as a hydrometer may show several numbers that are not interchangeable.
What Is Brix?
Brix is another way to describe dissolved solids.
It is commonly used in:
- Winemaking
- Fruit production
- Brewing
- Food production
One degree Brix approximately represents one gram of sucrose per 100 grams of solution in a simple sucrose solution.
Brix is useful – however, most beginning homebrewers can use specific gravity instead.
What Is Plato?
Plato is commonly used in professional brewing. It expresses the concentration of extract in wort.
A hydrometer designed for brewing may include a Plato scale. You do not need to understand Plato to use a standard homebrew hydrometer, as specific gravity is sufficient for most homebrew recipes and calculations.

What Equipment Do You Need?
A basic hydrometer setup needs:
- Hydrometer
- Hydrometer test jar
- Beverage sample
- Sanitizer
You may also want:
- Wine thief
- Siphon
- Thermometer
- Digital scale
- Hydrometer storage container
You do not need expensive equipment.
What Is a Hydrometer Test Jar?
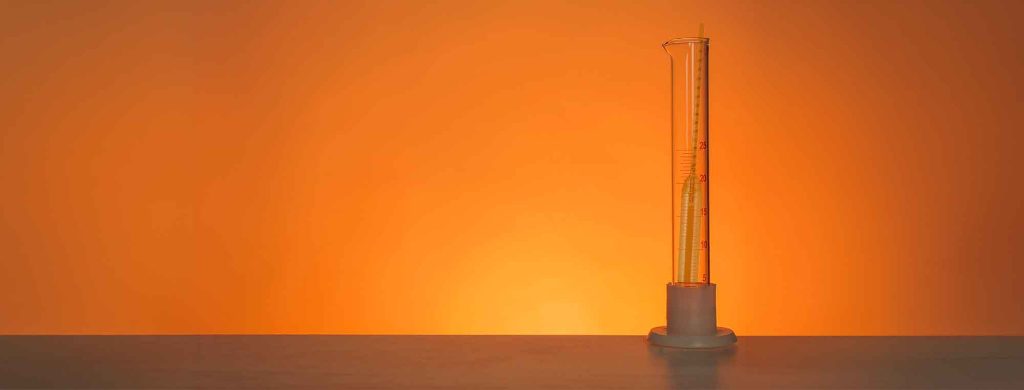
A hydrometer test jar is a narrow container that holds the liquid while the hydrometer floats. The jar must be tall enough for the hydrometer to float without touching the bottom. It should also be wide enough for the hydrometer to move freely.
Both plastic and glass test jars are available, generally styled like a graduated cylinder. A plastic jar is often a good choice for beginners because it is less likely to break.
How Do You Use a Hydrometer?
The process is simple.
- Clean the hydrometer.
- Sanitize the hydrometer.
- Clean and sanitize the test jar.
- Take a sample of the liquid.
- Fill the test jar.
- Place the hydrometer into the sample.
- Spin the hydrometer gently.
- Allow it to settle.
- Make sure it does not touch the jar.
- Read the scale at eye level.
- Record the result.
Why Should You Spin the Hydrometer?
Small bubbles can attach to the hydrometer, and these bubbles can affect how the hydrometer floats.
A gentle spin can help remove the bubbles. Do not spin it aggressively. If your hydrometer is made of glass it can break.
How Do You Read a Hydrometer?
Place the test jar on a level surface.
Look at the hydrometer at eye level. The liquid forms a curved surface around the hydrometer. This is called the meniscus.
Read the bottom of the meniscus unless your hydrometer’s instructions specify a different method. Do not read the hydrometer from above. The viewing angle can produce an inaccurate result.
Why Does Temperature Matter?
Hydrometers are calibrated at a specific temperature.
Common calibration temperatures include:
- 60°F
- 68°F
Check the calibration temperature printed on your hydrometer. The density of liquid changes with temperature. A sample that is much warmer or colder than the calibration temperature can produce an inaccurate reading.
Do You Need to Correct Every Reading?
No. If the sample is close to the calibration temperature, the correction may be very small. If the sample is significantly warmer or colder, use a temperature correction chart or calculator.
For example, do not assume that a reading from hot wort is accurate without correction.
Better yet, cool the sample before measuring it.
Never Put a Hydrometer in Boiling Wort
A glass hydrometer can break from thermal shock. Hot wort can also cause serious burns.
If you need an original-gravity reading, remove a sample and cool it before measuring it. A hydrometer is not designed to measure boiling liquid.
How Much Liquid Do You Need?
The amount depends on the hydrometer and test jar.
Most standard brewing hydrometers require several ounces of liquid. The hydrometer must be able to float freely. You should have enough liquid that the bottom of the hydrometer does not touch the bottom of the jar.

What Should You Do With the Sample?
Do not return the sample to the fermenter unless you are very confident about your sanitizing practices.
The sample has been exposed to:
- Air
- The hydrometer
- The test jar
- Your brewing environment
Returning a tainted sample can introduce contaminants. Instead, you can taste it or discard it. Tasting gravity samples is also a useful way to learn how fermentation changes the beverage.
However, most homebrewers will return the sample to the fermenter. I certainly do.
Can You Use a Hydrometer for Mead?
Yes. A hydrometer is particularly useful for mead.
Honey contains a large amount of sugar. A hydrometer can tell you the starting gravity of the honey and water mixture. You can then track the fermentation.
For example:
OG: 1.100
After fermentation: 1.020
The change indicates that the yeast has consumed a substantial amount of sugar. Mead can take longer to ferment than beer. Regular gravity measurements can help you determine whether fermentation is progressing.
Can You Use a Hydrometer for Cider?
Yes. A hydrometer works well with cider. Apple juice contains natural sugar.
Measure the juice before adding yeast. Then measure the cider later. A typical dry cider may finish close to 1.000 or slightly below. A sweet cider may have a higher final gravity.
Can You Use a Hydrometer for Wine?
Yes. Wine makers commonly use hydrometers. They can measure the sugar content of:
- Grape juice
- Apple juice
- Berry must
- Peach must
- Other fruit musts
Fruit contains more than sugar. It can also contain pulp, acids, and other dissolved material. These compounds can affect the reading, though the hydrometer is still a useful fermentation tool.
Can You Use a Hydrometer for Beer?
Beer is one of the most common applications.
Measure: Original gravity before fermentation.
Then measure: Final gravity after fermentation.
The difference helps you estimate alcohol content. It also tells you whether fermentation has progressed.
What If the Gravity Is Not Changing?
A stable gravity can mean that fermentation is complete. It can also indicate a stalled fermentation.
For example:
OG: 1.080
Current gravity: 1.040
If the gravity remains at 1.040 for several days, the fermentation may have stalled.
Check:
- Fermentation temperature
- Yeast strain
- Yeast health
- Nutrient availability
- Starting gravity
- pH when appropriate
Do not assume that the airlock is the problem.
What If the Gravity Changes Very Slowly?
Slow fermentation is not necessarily a problem. Some fermentations are naturally slow. Mead and high-gravity beer can take longer than a typical ale. A cold fermentation can also progress slowly.
If the gravity continues to decrease, fermentation is still occurring. Give the yeast time unless there is another reason to intervene.
What If the Gravity Is Lower Than Expected?
Several things can cause a low final gravity.
The yeast may have:
- Fermented more sugar than expected
- Attenuated more than expected
- Fermented at a different temperature
- Been given a different wort composition
Recipe calculations are estimates. Do not assume that every beer must finish at a specific gravity.
The hydrometer tells you what actually happened.
What If the Gravity Is Higher Than Expected?
A high final gravity can have several causes.
The yeast may have:
- Stopped early
- Been stressed
- Been under-pitched
- Been exposed to an unsuitable temperature
- Encountered a high starting gravity
- Encountered an insufficient nutrient supply
A beer can also naturally finish high because of its recipe. A high final gravity is not automatically a failed batch.
Hydrometer vs. Airlock
This is an important distinction.
- An airlock tells you that gas is moving.
- A hydrometer tells you about the density of the liquid.
Consider this example. Your airlock stops bubbling. You take a gravity reading. The gravity has decreased from 1.070 to 1.012. Three days later, it remains at 1.012. The fermentation is probably complete.
Now consider another example.
The airlock stops bubbling. The gravity is still 1.050. Three days later, it is still 1.050.
You may have a stalled fermentation. The hydrometer gives you much more useful information.

Hydrometer vs. Refractometer
A refractometer is another tool for measuring sugar concentration. It requires only a few drops of liquid. This is particularly useful on brew day.
However, alcohol changes how a refractometer reads a fermented beverage. You need a correction calculation after fermentation begins. A hydrometer is easier for most beginners because it can directly measure the specific gravity of fermented liquid.
Do You Need Both?
No. A beginner can make excellent homebrew with a hydrometer alone.
A refractometer can become useful later. If you only want one instrument for measuring fermentation gravity, buy a hydrometer.
How Accurate Is a Hydrometer?
A typical homebrew hydrometer is accurate enough for normal homebrewing.
However, several things can affect the measurement:
- Temperature
- Bubbles
- Reading angle
- Hydrometer touching the jar
- Dirty equipment
- Incorrect scale
- Damaged hydrometer
Use consistent measurement practices. You do not need laboratory-level precision to make good homebrew.
How to Test a Hydrometer
You can test a hydrometer with water. Use clean water at the calibration temperature.
The reading should be close to:
1.000
If it reads:
1.002
the hydrometer may have a small calibration offset. If the error is consistent, you can account for it. If the reading is significantly different, inspect the hydrometer for damage or a shifted internal paper scale.
Take Care of Your Hydrometer
Most brewing hydrometers are made of glass. They can break easily. Store the hydrometer in a protective container.
Do not leave it loose in a drawer with heavy equipment. Do not drop it into the test jar. Do not use a cracked hydrometer.
A broken hydrometer can create sharp glass fragments.
A Hydrometer Is a Measurement Tool, Not a Brewing Requirement
You can ferment beer, cider, wine, or mead without a hydrometer. However, you lose useful information.
Without a hydrometer, you cannot reliably know:
- The original gravity
- How much fermentation has occurred
- Whether fermentation is complete
- The approximate alcohol content
This is why experienced homebrewers often consider a hydrometer basic equipment.
The Simple Homebrew Hydrometer Kit
A beginner does not need an expensive setup.
A useful kit consists of:
- Standard brewing hydrometer
- Plastic hydrometer test jar
- No-rinse sanitizer
- Small wine thief or sample tube
That is enough to start measuring fermentation. A digital thermometer is also useful.

The Most Important Hydrometer Rule
The hydrometer provides you useful information only if you understand how to use the numbers.
- Measure the original gravity.
- Measure the gravity near the end of fermentation.
- Take another reading several days later.
If the readings are stable, fermentation is likely complete.
This simple process can prevent one of the most common homebrewing mistakes: bottling before fermentation has finished.
Final Thoughts
A hydrometer is a simple glass instrument that measures liquid density.
For homebrewers, that simple measurement provides a great deal of information.
- It can tell you how much sugar was present before fermentation.
- It can show whether yeast is consuming that sugar.
- It can help you estimate alcohol content.
- It can help you determine whether fermentation is complete.
Most importantly, it replaces guesswork with a measurement. If you are starting a homebrewing setup, a hydrometer should be near the top of your equipment list. It costs little, takes only a few minutes to use, and can help you understand what is happening inside your fermenter.
The airlock can tell you that something is happening. The hydrometer can tell you what is happening.