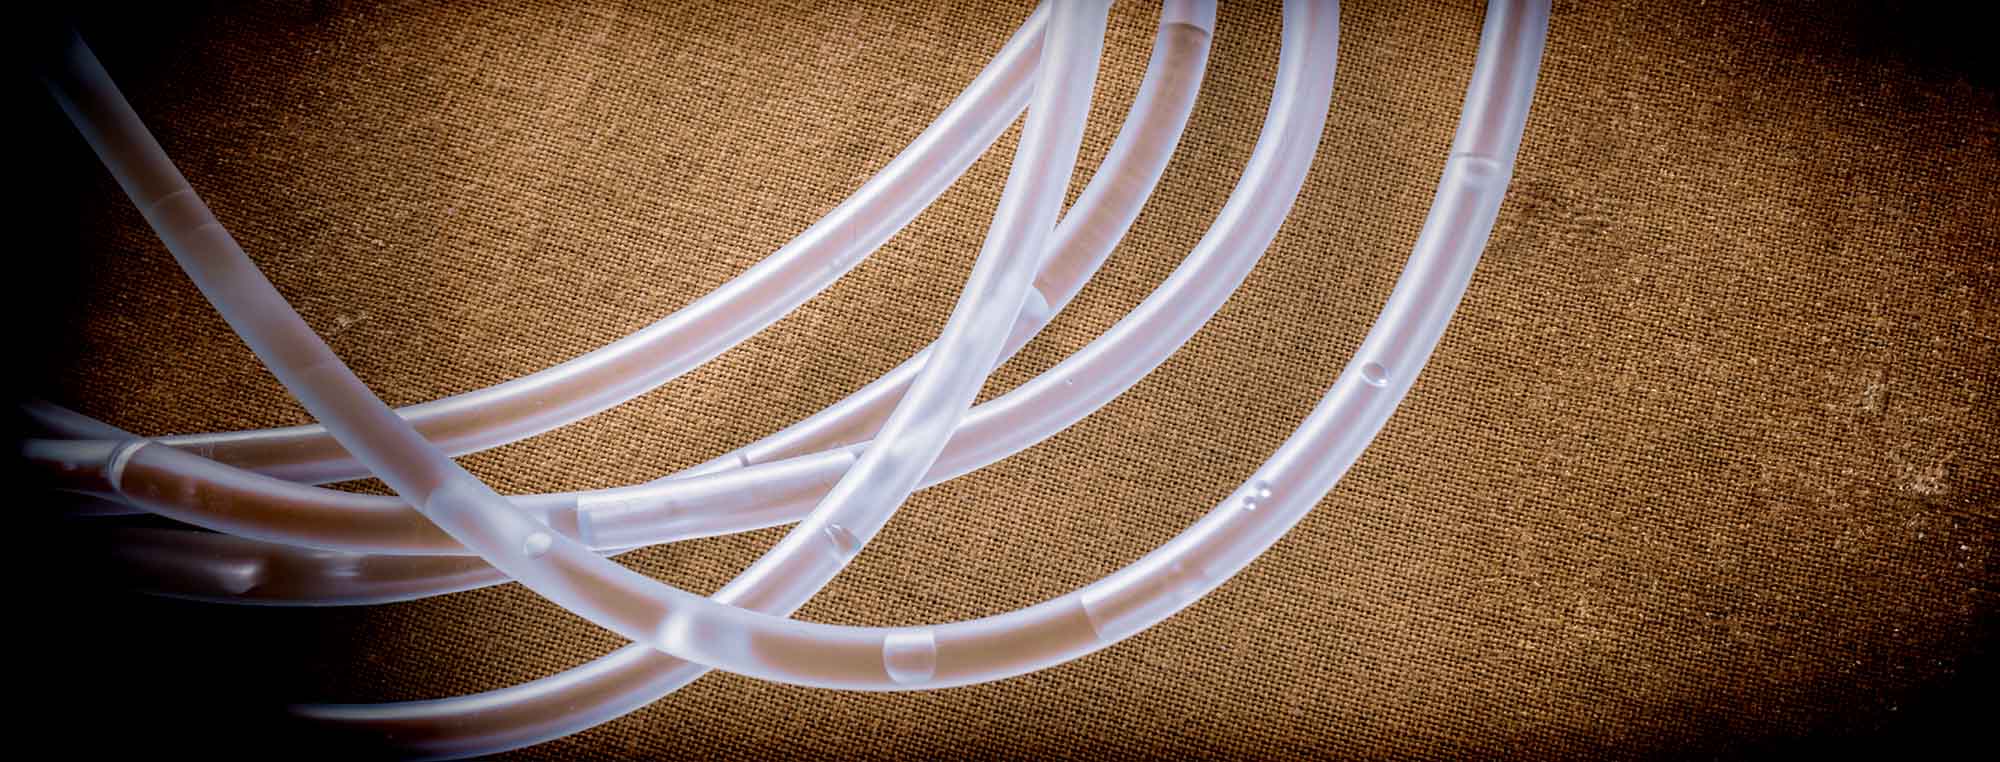
Homebrew tubing looks simple. It is not.
Beer, wort, yeast, fruit, and other material can collect inside the tubing. The inside of the tube is difficult to inspect. A small amount of residue can support microorganisms that can spoil your next batch.
For this reason, homebrew tubing needs regular cleaning. The good news is that the process is simple.
The basic process is:
Rinse → clean → rinse → inspect → sanitize
Do not confuse cleaning with sanitizing. Sanitizer does not replace cleaning.
Why Homebrew Tubing Needs Cleaning
Tubing can carry beer from one part of your brewing system to another.
Common uses include:
- Siphoning
- Racking
- Bottling
- Kegging
- Draft beer
- Wort transfer
- Cleaning and sanitation
Beer can leave a thin layer of organic material inside the tube.
Over time, this material can become:
- Yeast residue
- Hop residue
- Dried wort
- Beer stone
- Biofilm
A tube can look clean on the outside and still be dirty inside.
What You Need
You do not need special equipment.
Useful supplies include:
- Brewing cleaner such as PBW
- OxiClean Free or another fragrance-free oxygen cleaner
- Clean water
- No-rinse sanitizer
- Tubing brush
- Tubing or bottle-cleaning pump
- Bucket or container
- Clean drying rack
A tubing brush is optional. A pump can make cleaning long tubing much easier.
Clean the Tubing Immediately
The best time to clean tubing is immediately after you use it. Do not leave beer inside the tube. Do not put the tube aside and plan to clean it later. Fresh beer residue is much easier to remove than dried residue.
As soon as you finish a transfer, run clean water through the tube. Keep flushing until the water leaves the tube without visible beer, yeast, or other material. This simple step can prevent many difficult cleaning problems.
Step 1: Rinse the Tubing
Start with clean water. Run water through the entire length of the tubing. Make sure water exits the other end.
If you use a siphon, pump the water through the system. Do not only rinse the outside. The inside of the tubing is the important part. Continue until the water runs clear.
Use Warm Water
Warm water can help remove beer residue. Do not use extremely hot water unless the tubing manufacturer says that the material can tolerate it.
Some soft tubing can become damaged or distorted by high temperatures. Follow the manufacturer’s temperature limits.
Step 2: Prepare the Cleaner
PBW is an excellent choice for homebrew tubing.
OxiClean Free can also work well. A plain, unscented powdered dish detergent can work for some cleaning applications. Avoid scented products. You do not want perfume or other unnecessary additives inside your tubing.
Mix the cleaner according to the product instructions. Do not assume that a stronger solution is always better. A correct concentration gives you predictable results.
Step 3: Run Cleaner Through the Tubing
This is the most important part.
The cleaner must contact the entire inside surface. Put one end of the tubing into the cleaning solution. Run the solution through the tube. Allow the cleaner to remain inside the tubing for the recommended contact time. For long tubing, repeat the process several times.
Do not clean only the end of the tube. The entire inside surface needs contact with the cleaner.
Soaking
You can also place the entire tube in a container of cleaner.
Make sure the cleaner enters the tube. A tube that is full of air will not clean itself. Fill the tube with cleaning solution. Allow the solution to soak for the recommended time.
For stubborn residue, a longer soak can be more useful than aggressive scrubbing.
Step 4: Scrub the Tubing
Most tubing does not require aggressive scrubbing.
However, a tubing brush can help with stubborn material.
Use a brush designed for the tubing. Do not use a brush that can scratch the inside surface. Scratches can create places where residue and microorganisms can remain. If the inside of the tube is heavily stained or contains visible buildup that you cannot remove, replace the tubing. Tubing is inexpensive compared with a batch of beer.
Step 5: Rinse the Tubing
After the cleaning step, flush the tubing with clean water. Continue until there is no visible cleaner residue.
If the tubing has a strong chemical smell, continue rinsing. Do not assume that a rinse is unnecessary because you plan to use sanitizer.
Sanitizer is not a substitute for rinsing away cleaner.
Step 6: Inspect the Tubing
Hold the tubing up to a light and look at the inside.
Check for:
- Cloudy areas
- Dried residue
- Dark spots
- Flakes
- Scratches
- Slimy material
- Persistent stains
If you see residue, clean the tubing again.
If you cannot get the tubing clean, replace it.

What About Staining?
Some tubing can become discolored over time.
Discoloration does not automatically mean that the tubing is dirty. Look for actual residue or deposits. A clear tube can help because you can inspect the inside. Opaque tubing can make inspection more difficult.
Step 7: Sanitize Before Use
Cleaning removes organic material. Sanitizing reduces microorganisms. It is important to know how to sanitize your homebrew bottles.
Before you use the tubing for a post-boil transfer, run sanitizer through it.
Fill the entire inside of the tubing. Follow the sanitizer manufacturer’s instructions for concentration and contact time. If you use a no-rinse sanitizer, do not rinse it afterward unless the product instructions specifically require it. Keep the tubing protected after sanitation – do not place sanitized tubing on a dirty countertop.
How to Dry Homebrew Tubing
After cleaning, you can allow tubing to drain and dry. Hang the tube so water can drain from the entire length.
Do not store wet tubing in a sealed container. Moisture can remain trapped inside the tube. Allowing the tubing to dry completely can make storage easier. However, you should still clean and sanitize it before the next use.
Do Not Blow Into the Tubing
Do not blow through sanitized tubing with your mouth. Your breath contains microorganisms. It can contaminate the tubing after you sanitize it. Allow gravity or a clean drying system to remove water.
Cleaning a Siphon
An auto-siphon contains more parts than a simple piece of tubing.
You must clean:
- Tubing
- Siphon body
- Siphon tip
- Internal piston
- Seals
- Other removable components
Take the siphon apart according to the manufacturer’s instructions.
- Rinse the parts.
- Clean the parts.
- Rinse them again.
- Allow them to dry.
- Before the next use, sanitize all parts that will contact the beer.
Do not force a cleaning brush into a part if it can damage a seal.
Auto-Siphon Problems
If an auto-siphon becomes difficult to operate, residue may be inside the piston assembly.
Do not add lubricant unless the manufacturer recommends it. Some lubricants are not suitable for contact with beer.
Disassemble the siphon and clean the components. Replace damaged seals.
Cleaning Bottling Tubing
Bottling tubing can contain sugar and beer residue. Clean your homebrewing tubing immediately after bottling.
Run water through the tube. Then run cleaner through it. Rinse thoroughly and allow it to dry.
Before the next bottling session, sanitize the tube. A bottle filler should also be cleaned and sanitized. Do not clean only the tubing.
Cleaning Beer Lines
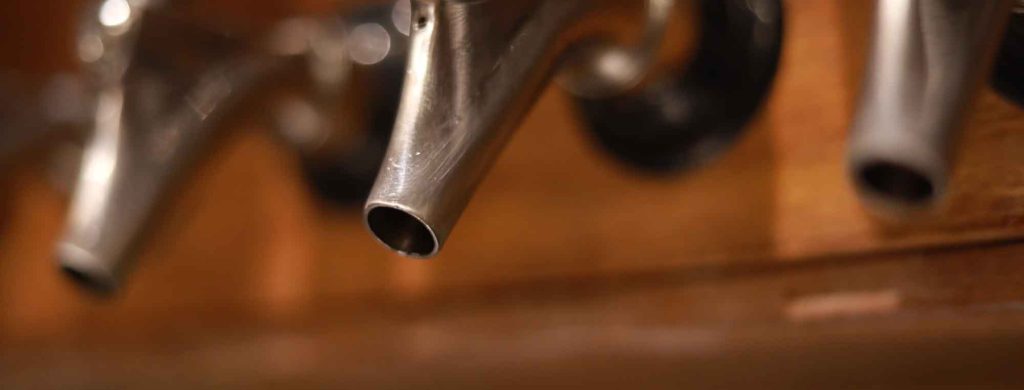
Beer lines need regular cleaning. Beer can leave deposits inside the line.
Over time, these deposits can affect:
- Flavor
- Aroma
- Foam
- Pour quality
- Beer freshness
Use a draft-line cleaner designed for the system.
- Run the cleaner through the complete beer line.
- Allow the recommended contact time.
- Flush the line with clean water.
- Sanitize before use.
Clean the faucet and keg connection components at the same time.
Do Not Forget the Connections
The ends of the tubing can be especially dirty.
Clean:
- Barbs
- Disconnects
- Clamps
- Bottle fillers
- Siphon tips
- Faucet connections
Remove these parts when possible. Clean the parts separately. A small amount of beer trapped in a fitting can contaminate an otherwise clean tube.
When Should You Replace Tubing?
Tubing is inexpensive. Do not try to save tubing that you cannot clean.
Replace tubing if:
- The inside remains dirty
- It has deep scratches
- It has cracks
- It has become brittle
- It has developed a persistent odor
- It contains permanent buildup
- You suspect it has developed a biofilm
Soft vinyl tubing can become cloudy and stained with use. A small amount of discoloration is not automatically a reason to replace it.
However, if you cannot confidently determine that the inside is clean, replacement is a reasonable choice.

Silicone Tubing
Silicone tubing is flexible and can tolerate higher temperatures than many vinyl tubes.
It is useful for hot-side brewing applications when the specific tubing is rated for the temperature. Silicone can also absorb some compounds and odors. Clean it promptly after use.
Check the manufacturer’s temperature and chemical compatibility information.
Vinyl Tubing
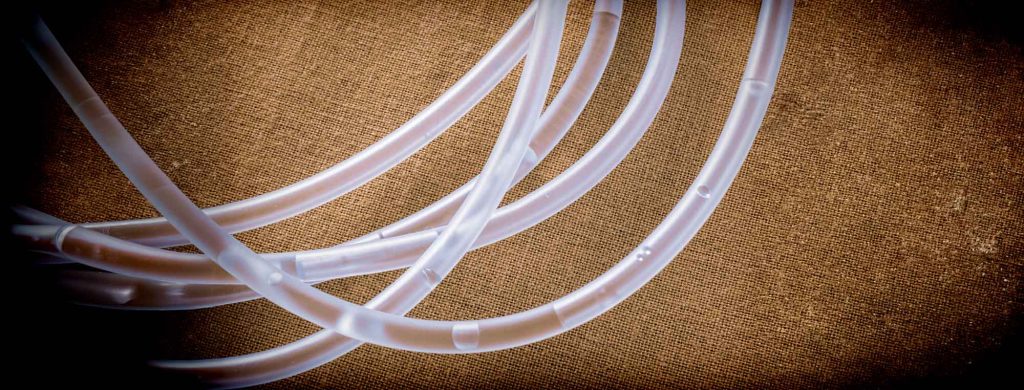
Clear vinyl tubing is inexpensive and easy to inspect.
It is common for:
- Siphoning
- Racking
- Bottling
- Cold-side transfers
It is not suitable for every hot-side application. Check the tubing’s temperature rating before exposing it to hot wort.
Can You Put Tubing in a Dishwasher?
Do not assume that you can.
The temperature and detergent can damage some tubing. Check the manufacturer’s instructions. Even when a tube survives the dishwasher, the tubing may not be cleaned effectively on the inside.
Running cleaner through the tubing is still important.
A Simple Tubing Cleaning Routine
For most homebrewers, use this routine:
Immediately After Use
- Rinse the tubing.
- Flush water through the entire tube.
- Remove visible residue.
Cleaning
- Run brewery cleaner through the tube.
- Fill the tube with cleaner.
- Allow the cleaner to work.
- Flush the tube with clean water.
Before Storage
- Inspect the inside.
- Hang the tube to drain.
- Allow it to dry completely.
Before the Next Use
- Sanitize the tubing.
- Keep the sanitized tubing away from dirty surfaces.
PBW or OxiClean Free?
Both can be useful.
PBW is an excellent choice for difficult brewing residue and routine brewery cleaning.
OxiClean Free is a lower-cost oxygen-cleaner option that many homebrewers use successfully. For a full breakdown on how to clean homebrewing equipment, check out our simple guide
A plain, unscented powdered dish detergent can also work for some cleaning jobs.
The important points are:
- Use a product without fragrance.
- Follow the product instructions.
- Use the correct concentration.
- Make sure the cleaner contacts the entire inside of the tubing.
- Rinse the tubing thoroughly.
- Sanitize before use.
The Most Important Rule
Do not treat homebrew tubing as disposable after every batch. You can get many uses from good tubing if you clean it correctly. But do not treat tubing as permanent equipment either.
If you cannot clean it, replace it.
The best routine is simple:
Rinse immediately → clean thoroughly → rinse → inspect → dry → sanitize before use.
A few minutes of cleaning after every brew day can prevent contamination, off-flavors, and much more expensive problems later.