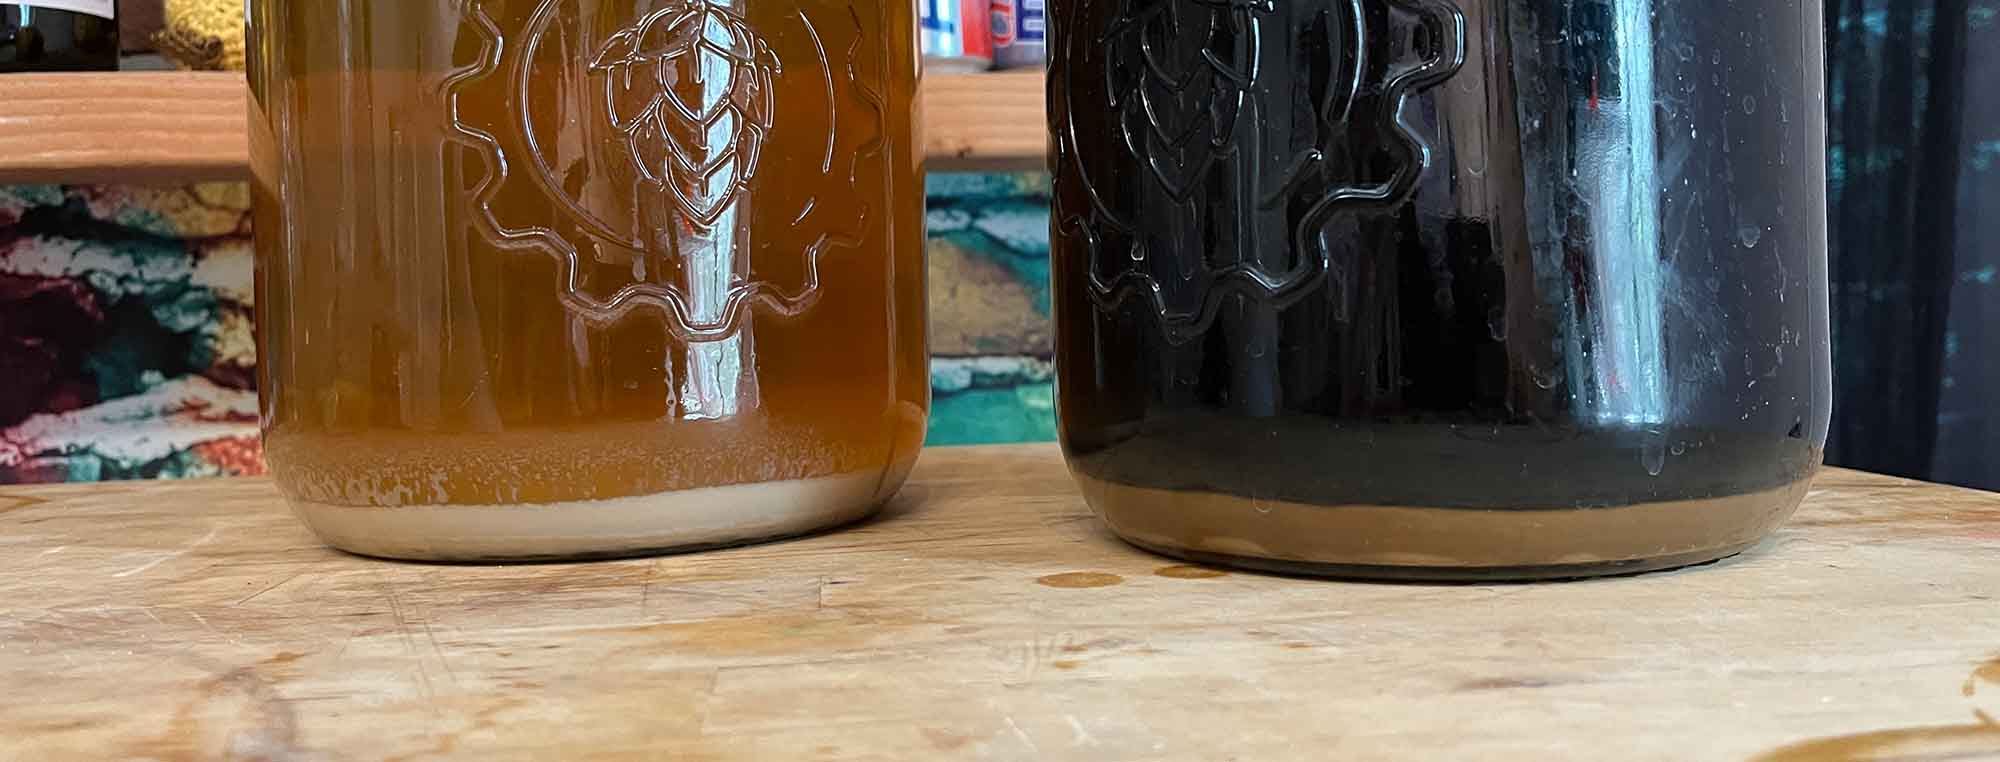
A yeast starter is a small amount of prepared wort or must that you use to grow or prepare yeast before you pitch it into your main batch.
The goal is simple:
Start fermentation with enough healthy yeast to do the job.
A starter can increase yeast cell count. It can also help wake up yeast, especially when the yeast has been stored for a long time.
But not every yeast needs a starter.
A liquid beer yeast may benefit from a traditional wort starter. A fresh packet of dry beer yeast usually does not need one. Wine and mead yeast often use a different process based on rehydration and sterol protection.
This guide covers the main methods:
- Wort starters
- Canned starters such as Propper Starter
- SNS-style starters
- Vitality starters
- Go-Ferm
- Sterol Flash
- Dry yeast rehydration
- Building starters from yeast slurry
- When you should not make a starter
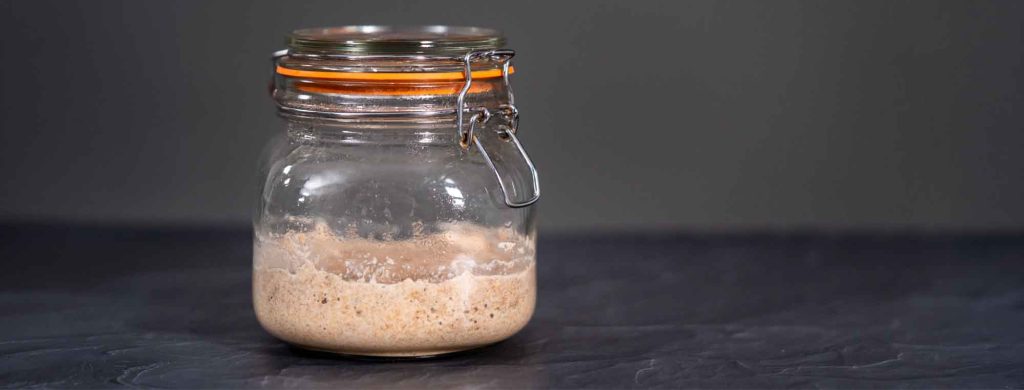
What does a yeast starter do?
A yeast starter gives yeast food, water, and the right conditions to grow before you pitch it into your main batch.
For beer, that food is usually diluted malt extract wort.
For wine and mead, the process is often different. The yeast may first be hydrated in water with a yeast rehydration nutrient such as Go-Ferm. The goal is not always to grow a large population. The goal can be to give the yeast a strong start with the cell membranes and sterols it needs.
This difference is important. A yeast starter and yeast rehydration are not the same thing.
A traditional beer starter is mainly a cell-growth tool. A wine or mead rehydration process is mainly a yeast-health and survival tool.
Some methods do both.
Why make a yeast starter?
There are several reasons to prepare yeast before pitching.
Increase cell count
A liquid yeast package may not contain enough viable cells for a large or high-gravity batch. A starter gives those cells a chance to reproduce.
This can be useful for:
- Large batches
- High-gravity beer
- Older liquid yeast
- Lager fermentation
- Under-pitched batches
- Yeast strains that benefit from a healthy pitch
Improve fermentation performance
Healthy yeast can start fermentation faster and finish more reliably.
A good starter does not guarantee a perfect fermentation. It does give the yeast a better starting position.
Test the yeast
A starter can also show you whether the yeast is alive.
If a starter shows clear signs of fermentation, you know the yeast is active before you pitch it into the main batch. Do not use a starter as a substitute for proper yeast storage. A starter cannot repair badly damaged yeast.
Do you need a yeast starter?
Often, no. This is one of the most important things to understand. A starter is most useful when the amount of viable yeast you have is too low for the batch.
For example:
| Yeast | Typical approach |
| Fresh dry beer yeast | Usually pitch directly |
| Fresh liquid beer yeast | Starter may be useful |
| Old liquid beer yeast | Starter is often useful |
| Large lager | Starter often useful |
| High-gravity beer | Starter often useful |
| Wine yeast | Usually rehydrate according to manufacturer |
| Mead yeast | Usually rehydrate with a proper nutrient |
| Harvested slurry | Often pitch directly at an appropriate rate |
| Very old or questionable yeast | Starter can help test viability |
Always check the instructions for your specific yeast and your recipe.
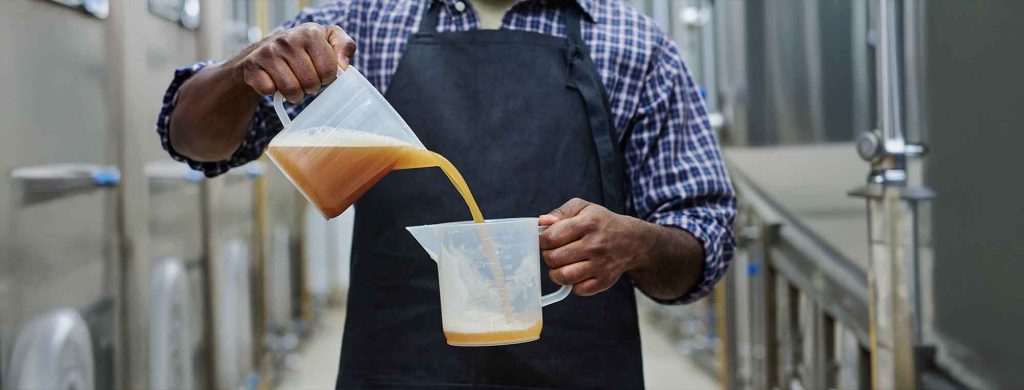
Method 1: The traditional wort starter
This is the classic beer yeast starter.
You make a small amount of low-gravity wort, cool it, add the yeast, and let the yeast reproduce.
What you need
- Dry malt extract
- Water
- Yeast
- Sanitizer
- Flask or sanitized container
- Foil or another suitable cover
- Optional stir plate
A typical starter uses wort around 1.035–1.040 specific gravity.
You do not need strong wort. The purpose of the starter is to grow yeast. High sugar concentration creates more stress and does not make a better starter.
How to make a wort starter
1. Make the starter wort
Mix dry malt extract with water.
A common starting point is about:
100 grams of DME per liter of water
This produces approximately 1.037 SG, although the exact gravity depends on the ingredients and volume. You do not need to hit an exact number for a normal starter.
2. Boil the wort
Boil the starter wort for about 10 minutes.
This sanitizes the wort and helps reduce contamination risk.
3. Cool the wort
Cool the wort to an appropriate temperature for the yeast.
Do not pitch yeast into hot wort.
4. Sanitize everything
Sanitize the flask or container, cover, thermometer, and anything that will contact the starter.
A starter is a small fermentation with a large amount of exposed surface area. Treat it as such.
5. Add the yeast
Add the yeast to the cooled starter wort.
6. Add oxygen
Yeast needs oxygen during the growth phase.
You can shake the container, use a stir plate, or use another suitable aeration method.
7. Let the yeast grow
Allow the starter to ferment.
You will usually see signs such as:
- Foam
- Bubbles
- Yeast sediment
- A change in appearance
- A change in gravity
A stir plate can keep yeast suspended and continuously expose it to oxygen.
Do you need a stir plate?
No. A stir plate is useful, but it is not required.
You can make a starter in a flask or jar and shake it periodically. The main advantage of a stir plate is that it keeps the yeast suspended and provides continuous gas exchange. A simple shaken starter can still work.
Do not buy a stir plate because you think your yeast cannot grow without one. It is a convenience and optimization tool. And something fun to look at!
How large should a wort starter be?
The correct starter size depends on:
- Yeast viability
- Yeast strain
- Batch size
- Original gravity
- Desired pitch rate
- Whether you are making beer or another fermented beverage
A small starter may be enough for a normal-strength batch. A large lager or high-gravity beer may require much more yeast.
For large starters, use a yeast-pitching calculator rather than guessing. Common calculators include tools from brewing software and yeast manufacturers.
The important idea is:
A starter should be sized for the batch.
A 1-liter starter is not automatically the correct starter for every beer.
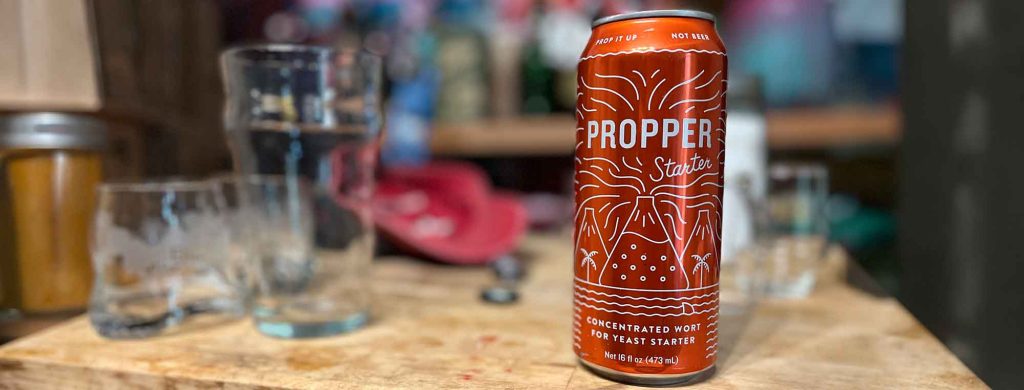
Method 2: Propper Starter and canned wort
Canned starter products such as Propper Starter make the traditional wort starter easier.
Instead of measuring DME, boiling wort, cooling wort, and cleaning the kettle, you open a can and dilute the concentrated starter wort with water according to the product instructions. The result is ready-to-use starter wort.
This is still a traditional wort starter. The difference is convenience.
Advantages
- No DME measuring
- No boiling
- No starter-wort cooling
- Consistent preparation
- Less equipment
- Less cleanup
This can be especially useful if you make starters often.
Disadvantage
The product costs more than making starter wort from DME. You are paying for convenience.
That is not a bad trade if convenience is what you want.
Method 3: SNS-style starters
A Shaken Not Stirred, or SNS, starter uses a container with enough headspace to allow vigorous shaking.
You prepare wort, add yeast, and shake the container aggressively. The goal is to put oxygen into the wort and keep yeast in suspension. You then allow the starter to ferment without using a stir plate. This method is simple.
It can also work well for brewers who do not want another piece of equipment. The important part is not the name of the method.
The important parts are:
- Appropriate starter gravity
- Clean equipment
- Enough oxygen
- Healthy yeast
- Enough starter volume
- Proper timing
Method 4: Vitality starters
A vitality starter is designed to make yeast highly active shortly before pitching.
Instead of trying to grow the largest possible yeast population, you use a relatively small amount of wort and pitch the active starter into the main batch while the yeast is still bulking up. The idea is to pitch actively growing yeast.
This can be useful when you have a healthy yeast culture but want to improve its activity before pitching. A vitality starter is different from a large traditional starter.
Traditional starter: Grow more yeast.
Vitality starter: Prepare existing yeast for active fermentation.
Do not assume that a vitality starter automatically provides enough cells for a large beer. Cell count still matters.
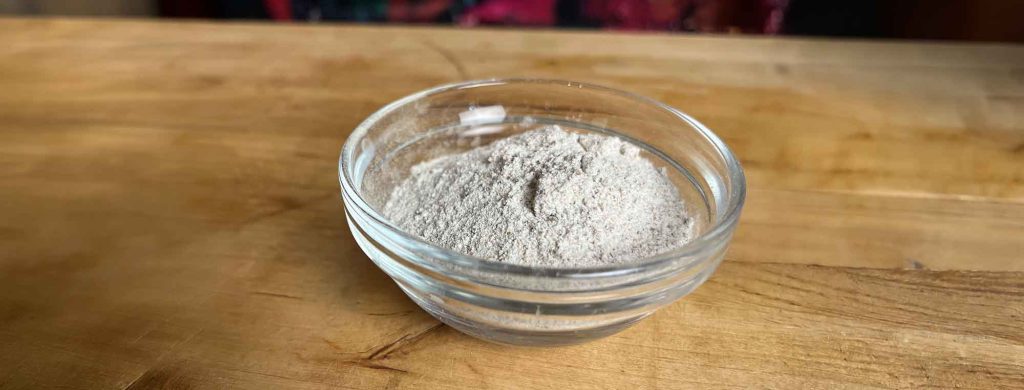
Method 5: Go-Ferm
Go-Ferm is not a traditional yeast starter. It is a yeast rehydration nutrient designed for wine and mead fermentation. This distinction matters.
When you rehydrate dry wine yeast, the yeast cells absorb water and rebuild their cell membranes. Go-Ferm provides nutrients that support this process.
It is especially useful when making:
- Mead
- Fruit wine
- High-gravity wine
- Nutrient-limited fermentations
Basic process
The exact procedure depends on the Go-Ferm product you use.
In general:
- Heat clean water to the recommended temperature.
- Add the appropriate amount of Go-Ferm.
- Mix thoroughly.
- Allow the solution to cool to the manufacturer’s recommended temperature.
- Add the dry yeast.
- Allow the yeast to rehydrate for the recommended time.
- Acclimate the yeast if required.
- Pitch into the main fermentation.
Follow the current product instructions for the exact water temperature, dosage, and timing.
Do not treat Go-Ferm as a normal beer starter. You are not making a large population of yeast. You are preparing dry yeast for a healthy fermentation.
Method 6: Sterol Flash
Sterol Flash is another yeast rehydration product used with dry wine and mead yeast. It is designed around the needs of yeast during rehydration and early fermentation.
Sterols are important components of yeast cell membranes. Healthy cell membranes help yeast tolerate fermentation stress. This matters even more in difficult fermentations such as high-gravity mead.
The basic concept is similar to standard Go-Ferm:
Prepare the yeast before you ask it to ferment the entire batch.
Follow the manufacturer’s instructions for the specific product. Do not combine rehydration products because you assume more nutrients will produce healthier yeast, as more is not automatically better.
Go-Ferm vs. Sterol Flash
These products are used for a similar part of the fermentation process, but they are not simply interchangeable recipes.
They are formulated differently. Use the dosage and preparation instructions for the product you have. For a normal mead fermentation, a proper yeast rehydration procedure can be more useful than trying to build a large traditional starter. This is one reason mead makers should not automatically copy beer-starter procedures.
Method 7: Dry yeast rehydration without a nutrient product
You can also rehydrate dry yeast without Go-Ferm or Sterol Flash. The yeast manufacturer may provide instructions for this.
However, modern dry yeast is often manufactured with enough reserves and protective compounds that direct pitching is also possible for many applications.
This creates an important distinction:
Rehydration is not automatically required.
Check the instructions for your yeast. If the manufacturer says to sprinkle the yeast directly onto the must, follow those instructions. If the manufacturer or recipe recommends rehydration, follow that procedure.
Method 8: Direct-pitch dry yeast
Modern dry brewing and wine yeasts are designed to be convenient. For many batches, you can simply open the package and pitch the yeast.
This is especially common with:
- Standard-strength beer
- Cider
- Wine
- Mead
The correct pitch rate still matters. If one packet is not enough for the batch, adding one packet to a starter is not always the best solution. You may be better off pitching the appropriate number of packets.
Dry yeast is relatively inexpensive compared with the cost of a large batch of beer, wine, or mead.
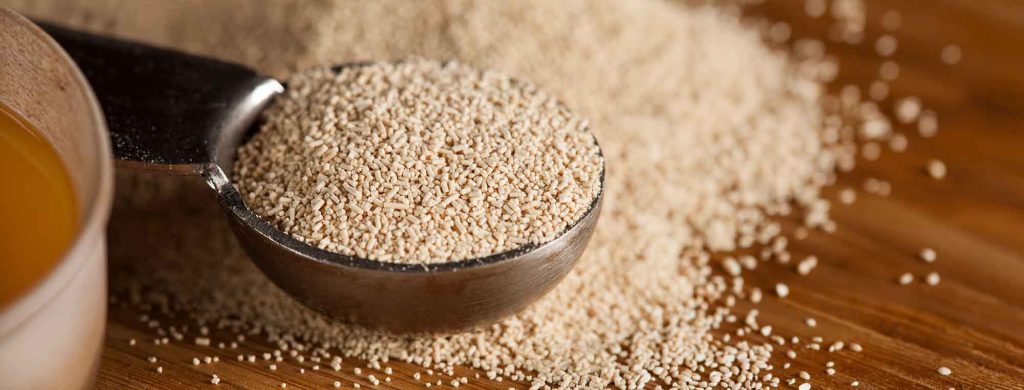
Can you make a starter from dry yeast?
Yes, but that does not mean you should.
Dry yeast manufacturers design dry yeast to be pitched directly. Growing dry yeast in a starter can consume some of the reserves and compounds that make dry yeast effective. If you need a large amount of dry yeast, buying enough yeast is often simpler.
For example, if a large lager requires more yeast than one packet provides, pitching two packets can be easier than making a starter. There are exceptions. You may have old yeast, limited yeast availability, or a specific reason to build a larger culture. But a starter should solve a real problem.
Do not make one just because liquid yeast usually needs one.
Method 9: Yeast slurry starters
You can also use yeast harvested from a previous fermentation.
This is commonly called yeast slurry. (Related: What is top-cropping yeast?)
A fresh, healthy slurry can contain a large number of viable yeast cells. You may be able to pitch it directly into another batch.
A starter can also be used if you need to wake the yeast or verify that it is active. However, harvested yeast has additional considerations.
You need to consider:
- Age
- Storage temperature
- Viability
- Contamination
- Yeast strain
- Previous beer
- Hop material
- Trub
- Alcohol exposure
Do not assume that every jar of old yeast is healthy because it contains a lot of white sediment.
What about adding yeast nutrient to a beer starter?
A normal malt starter already contains nutrients from the malt. You generally do not need to turn a beer starter into a high-dose nutrient experiment. A small amount of yeast nutrient can be used in some starter recipes, but more nutrient is not automatically better.
The goal is a balanced growth environment.
For wine and mead, nutrient management is more important because grape juice, honey, and some fruit bases can be low in yeast-available nutrients.
A starter is not the same as adding nutrient
This causes a lot of confusion.
Starter: You give yeast a separate fermentation before the main fermentation.
Nutrient addition: You add nutrients to the main fermentation or rehydration process.
They solve different problems. You can use both.
For example, you could:
- Make a beer starter.
- Pitch the starter into the beer.
- Manage the main fermentation normally.
Or you could:
- Rehydrate mead yeast with Go-Ferm.
- Pitch it into the must.
- Add additional mead nutrients according to a nutrient schedule.
These are different processes.
Should you pitch the whole starter?
Usually, you can.
For a small starter, pitching the entire volume is simple. For a large starter, the starter beer can have an effect on the finished beer. This is especially noticeable with delicate beers.
You can instead let the starter finish, refrigerate it, allow the yeast to settle, and pour off most of the liquid before pitching the yeast sediment. This is called decanting the starter.
When should you decant a starter?
Decanting is useful when the starter is large compared with the main batch. For example, you may not want a liter or two of oxidized, spent starter beer going into a delicate lager.
You do not need to decant every starter. A small starter going into a normal-strength beer usually does not create a meaningful flavor problem.

How long does a starter take?
A starter does not need to ferment for a fixed number of days.
Watch the yeast. A traditional starter may show strong activity within a day.
The exact timing depends on:
- Yeast health
- Temperature
- Starter size
- Oxygen
- Yeast strain
- Storage age
If you need the yeast at a specific time, plan the starter around your brew day. Do not wait until brew day to decide that your old liquid yeast needs a large starter.
Can a starter revive dead yeast?
Not reliably.
A starter can show that yeast is alive. It cannot turn completely dead yeast into healthy yeast.
Old yeast may have low viability. A starter can allow the viable cells to reproduce, but this can take time. If the yeast culture is extremely old or has been stored poorly, replacement yeast may be the better option.
What about yeast nutrient in a starter?
For beer starters, malt extract provides most of what the yeast needs. For wine and mead, nutrient products are more important.
Honey is a good example. Honey contains a lot of fermentable sugar but can be low in the nutrients yeast needs for strong growth.
That is why mead makers often use a combination of:
- Proper yeast rehydration
- Oxygen at the correct stage
- Yeast nutrients
- Temperature control
- Appropriate pitch rate
Do not assume that adding honey to water creates an ideal yeast starter. It does not.
Why honey is usually a poor starter medium
A honey-water mixture can ferment. That does not make it a good yeast starter.
Honey provides sugar but does not provide the same nutrient profile as malt wort. A mead starter should not be treated as a miniature batch of mead unless you have a specific reason to do so. For most meads, proper yeast rehydration and nutrient management are more useful.
Starters for cider
Cider falls between beer and wine.
Apple juice usually contains enough sugar for fermentation but may have limited yeast nutrients. For a normal-strength cider, a healthy wine or cider yeast can often be pitched directly. For difficult fermentations, you may get better results from proper yeast preparation and nutrient management.
A traditional malt starter is usually unnecessary for a normal cider. If you use a wine yeast, follow that yeast’s rehydration instructions.
Starters for mead
Mead is where yeast preparation becomes especially important.
Honey must can be difficult for yeast because of:
- High sugar concentration
- Low nutrient availability
- Increasing alcohol
- Osmotic stress
- Low pH
For a normal-strength mead, use a healthy pitch of an appropriate yeast.
For a high-gravity mead, pay more attention to:
- Pitch rate
- Rehydration
- Nutrients
- Temperature
- Oxygen
- Osmotic stress
A Go-Ferm or Sterol Flash rehydration process can be more appropriate than a traditional malt starter. For very large or difficult meads, you may also need a larger yeast population.
Starters for wine
Most wine yeast is dry yeast. For many wines, direct pitching works well.
If you use a rehydration process, follow the yeast manufacturer’s instructions. A product such as Go-Ferm can be useful during rehydration.
You generally do not need to -or want to- make a traditional malt starter for wine yeast. Malt wort can also introduce flavors that you do not want in a wine fermentation.

Common yeast starter mistakes
Making the starter too strong
A starter is not a mini version of your finished beer.
High-gravity wort creates more stress. Use an appropriate starter gravity.
Making the starter too large
More wort does not automatically mean more useful yeast.
Size the starter for the batch.
Using a starter when dry yeast should be pitched directly
Dry yeast is already designed for convenient pitching.
Sometimes the best starter is no starter.
Using honey as a yeast starter
Honey provides sugar but can lack the nutrients yeast needs.
Use a proper yeast preparation method for mead.
Forgetting sanitation
A starter is an excellent food source for microorganisms.
Contamination in a starter can grow rapidly. Sanitize everything that touches it.
Pitching hot starter wort
Heat can damage or kill yeast.
Cool the starter before pitching.
Adding too much nutrient
More nutrient does not always produce healthier yeast.
Follow the product instructions.
Assuming airlock activity proves yeast health
A starter can ferment without producing dramatic activity.
Use appearance, gravity, timing, and the condition of the yeast together.
Leaving a starter exposed to oxygen for too long
Oxygen is useful during yeast growth.
That does not mean you should leave finished starter beer exposed to air indefinitely. Once the starter has done its job, pitch it or store it appropriately.

Which starter method should you use?
Use the simplest method that solves the problem.
| Situation | Practical method |
| Fresh dry beer yeast | Direct pitch |
| Fresh dry wine yeast | Direct pitch or manufacturer-recommended rehydration |
| Fresh dry mead yeast | Direct pitch or Go-Ferm/Sterol Flash rehydration |
| Fresh liquid beer yeast | Wort starter if needed |
| Old liquid beer yeast | Wort starter |
| Large lager | Appropriately sized wort starter |
| High-gravity beer | Appropriately sized wort starter |
| Small liquid-yeast batch | Small wort or vitality starter |
| No desire to boil starter wort | Canned starter such as Propper Starter |
| No stir plate | Shaken/SNS starter |
| Large starter for delicate beer | Ferment starter, then decant |
| Harvested healthy slurry | Direct pitch or starter if needed |
| High-gravity mead | Proper rehydration + nutrient management |
| Wine | Usually direct pitch or proper rehydration |
The simple decision tree
Start here:
Are you using dry yeast?
Yes:
Check the manufacturer’s instructions. If direct pitch is recommended, pitch it. If rehydration is recommended, rehydrate it.
For wine and mead, a product such as Go-Ferm or Sterol Flash may be appropriate.
Are you using liquid beer yeast?
Yes:
Determine whether you have enough viable yeast for the batch.
If you do not, make a starter.
Are you making a large or high-gravity beer?
Yes:
Calculate the required pitch rate.
Then make an appropriately sized starter or use enough yeast to reach the target pitch rate.
Are you using harvested yeast?
Yes:
Consider its age, storage, viability, contamination risk, and previous fermentation. Pitch directly if the culture is healthy and sufficient.
Use a starter if you need to assess or increase the culture.
The most important idea
A yeast starter is not a ritual. You do not need to make one because experienced brewers make one. You make one because your yeast needs preparation.
For liquid beer yeast, that often means growing more cells. For dry wine or mead yeast, that may mean proper rehydration and sterol protection. For a fresh packet of dry beer yeast, it may mean doing nothing except opening the package and pitching it.
The best method depends on the yeast, the batch, and the fermentation conditions.
- Use a wort starter when you need more beer yeast.
- Use proper rehydration when you need to prepare dry wine or mead yeast.
- Use canned starter wort when you want the convenience of a ready-made wort.
- Use Go-Ferm or Sterol Flash when the recipe and/or yeast manufacturer’s instructions call for that type of rehydration.
And when you already have enough healthy yeast?
Pitch it and brew.