Pasteurization can stop yeast from fermenting the sugar in a sealed bottle.
This makes it possible to have a beverage that is:
- Sweet.
- Naturally carbonated.
- Bottled before all of the sugar is fermented.
It can also be dangerous. A sealed bottle contains pressure. Heating that bottle increases the pressure. If the bottle is already overcarbonated, damaged, or not designed to hold pressure, heating it can cause the bottle to break.
For this reason, pasteurization should be treated as an advanced homebrewing technique. If you can avoid it, you often should.
See our article on why we do not recommend pasteurizing homebrew for safer alternatives.
What Does Pasteurization Do?
In homebrewing, pasteurization is sometimes used to deactivate yeast after the beverage has been bottled.
For example, you might make a sweet cider and bottle it while some fermentable sugar remains. The yeast continues to consume that sugar and the result is more carbonation. If you allow this to continue indefinitely, pressure can become dangerous.
Pasteurization uses heat to deactivate the yeast and stop that fermentation. Simply put, it stops the yeast from eating up any remaining sugars.
Pasteurization Should Be the Last Step
This is one of the most important rules. Pasteurize after you have finished making the beverage.
That means:
- Ferment.
- Adjust flavor.
- Add sugar or honey if desired.
- Bottle.
- Allow carbonation to develop if desired.
- Pasteurize the sealed bottles.
Do not pasteurize your fermenter and then open it to add honey. That defeats part of the purpose. Once you heat the fermenter, you still have to open it. Opening the fermenter can introduce microorganisms – especially when adding sugars, a thing microorganisms live on.
You then have to transfer the beverage again. You also expose the finished beverage to oxygen.
The safest process is to put the final beverage into its final sealed package first. Then pasteurize that package.
Do Not Pasteurize an Open Carboy
You may see advice that says to:
- Heat the carboy.
- Cover the opening with foil.
- Pasteurize the beverage.
- Let it cool.
- Add honey.
- Bottle it.
Do not use this as your normal process. The foil does not keep an open carboy sterile. You can introduce microorganisms when you open the container. You can also introduce oxygen.
If you need to add honey, fruit, sugar, or another ingredient, do it before bottling. Then seal the bottles. Then pasteurize.
How Hot Does It Need to Get?
Temperature and time work together. A lower temperature requires more time. A higher temperature requires less time.
For homebrew applications where the goal is to deactivate yeast, a commonly used low-temperature target is approximately 140°F (60°C) for 22 minutes.
A higher temperature can accomplish the same general goal more quickly, but higher temperatures also increase bottle pressure and can cause more heat damage to delicate flavors and aromas.
Here are useful reference points:
| Temperature of the beverage | Approximate hold time |
| 140°F (60°C) | 22 minutes |
| 145°F (63°C) | 7.5 minutes |
| 150°F (66°C) | 2.8 minutes |
| 155°F (68°C) | 1 minute |
| 160°F (71°C) | 30 seconds |
Measure the temperature of the beverage, not the water surrounding the bottles.
These times are practical low-temperature pasteurization targets for homebrewing. They should not be treated as a universal food-safety schedule for every beverage or microorganism. Commercial cider pasteurization uses validated time/temperature combinations for specific pathogens and pH conditions. For example, published cider guidance includes 160°F for 6 seconds for cider at pH 4.0 or below.
For homebrew, 140°F for 22 minutes is a useful conservative starting point when the goal is to deactivate yeast.
There is no reason to heat the bottles to boiling temperatures.
How Do I Know When When my Bottles are Carbonated?
If you bottle-condition your homebrew, use a plastic test bottle to check carbonation before you pasteurize. Fill one clean plastic soda bottle from the same batch. Leave the same headspace you would leave in your glass bottles. Squeeze out the air and cap it tightly.
As the yeast produces CO₂, the plastic bottle will become firm.
- Soft bottle: Not fully carbonated yet.
- Firm bottle: Carbonation is developing.
- Very hard bottle: The bottle may be highly carbonated.
The plastic bottle gives you a way to check pressure without opening a glass bottle. You can squeeze it each day and compare it with the same bottle before fermentation.
Once the test bottle reaches your desired firmness, cool it in the refrigerator and then open it up to check the carbonation. If it’s just right, cool one glass bottle and open it up if you want to confirm the actual carbonation level. Then you will pasteurize the sealed bottles.
Important
The plastic bottle is a rough carbonation indicator. It does not tell you the exact CO₂ volume.
If the bottles are already excessively carbonated, do not pasteurize them. The safer option is to chill them and consume them within a few days. Great reason to have some friends over for dinner!
The Easy Stovetop Method
You can pasteurize bottles with a large stock pot.
You need:
- A large stock pot.
- A thick towel.
- Sealed, pressure-rated bottles.
- One clean, open bottle.
- Water.
- An instant-read thermometer or probe thermometer.
- Heat-resistant gloves.
Step 1: Put a Towel in the Pot
Place a thick towel in the bottom of the stock pot. The towel keeps the bottles from sitting directly on the hot bottom of the pot. It also provides some protection from bumps.
A canning rack can serve the same purpose.
Step 2: Add the Bottles
Place your sealed bottles in the pot. Leave enough space between them that you can handle them without banging them together. Do not use bottles that are chipped, cracked, or obviously damaged. Use bottles designed to hold carbonation.
Step 3: Add a Temperature Bottle
Put an additional bottle in the center of the pot. Leave this bottle open.
Fill it with the same liquid as the bottles you are pasteurizing, or use water as a temperature reference. In my opinion, it is best to start with cold water so you have a trusted reference.
Put your thermometer probe into this open bottle. This gives you a much better estimate of the temperature inside the sealed bottles than measuring the surrounding bath.
Step 4: Add Cold Water
Add cold water to the pot. Bring the water level to around the shoulders of the bottles. Do not submerge the caps. Starting with cold water allows the bottles and water to heat gradually. This also reduces the risk of thermal shock.
Step 5: Heat Slowly
Turn on the heat. Raise the temperature slowly.
Do not try to get the water to temperature as quickly as possible. The surrounding water may need to be hotter than the target temperature of the beverage because the bottles are cooler and the glass slows heat transfer.
The important measurement is the temperature inside the open reference bottle.
Step 6: Hold the Target Temperature
When the liquid in the reference bottle reaches your target temperature, start your timer.
For a simple low-temperature process:
140°F for 22 minutes.
Keep the temperature reasonably stable during the entire hold. Do not count the time it takes for the bottles to reach 140°F.
The hold begins when the beverage reaches the target temperature.
Step 7: Turn Off the Heat
When the hold is complete, turn off the heat. Allow the bottles to cool completely.
Do not immediately grab hot bottles with your bare hands. Do not move them directly from the hot bath into cold water. Rapid temperature changes can cause glass to break.

Using a Sous Vide Immersion Circulator
A sous vide immersion circulator can make bottle pasteurization easier.
Put the sealed bottles into a suitable water bath. Set the circulator to your target temperature. The circulator maintains the water temperature without the constant adjustment required on a stovetop.
You still need to understand the difference between water temperature and beverage temperature. The bottles take time to heat. For this reason, the open reference bottle and thermometer are still useful.
A circulator provides excellent temperature control, but it does not make an unsafe bottle safe.
Why Use an Open Bottle?
This is an important trick. You cannot put a thermometer directly into a sealed bottle without opening it.
Instead, put one open bottle in the same water bath. Fill it with liquid and put the thermometer into that bottle. The open bottle acts as a temperature reference.
The liquid inside the sealed bottles should approach the same temperature. The center bottle is particularly useful because it is surrounded by the other bottles.
This method is much better than saying: “The water is 160°F, so the cider must be 160°F.” It may not be.
Do Not Trust the Water Temperature Alone
Imagine your water bath is at 160°F. Your bottles started at 70°F. The liquid inside those bottles will not instantly become 160°F.
It takes time for heat to move through:
- The water.
- The glass.
- The liquid.
This is why simply putting bottles into a 160°F bath for a few minutes is not a reliable measurement. Measure the liquid. Hold the liquid at the target temperature.
What If My Bottles Are Already Highly Carbonated?
Do not pasteurize them. This is one of the most important safety rules. As temperature increases, the pressure inside a carbonated bottle also increases. If the bottle is already highly carbonated, heating it can create very high pressure.
That can cause:
- Broken glass.
- Flying glass.
- Hot liquid.
- Serious burns.
- Other injuries.
Homebrew discussions contain numerous reports of bottles breaking during pasteurization. This is not a theoretical risk. If your bottles are already extremely fizzy, do not try to rescue them with heat. The safest option is to keep them cold and handle them carefully.
Do Not Use Overcarbonated Bottles
Pasteurization is intended to stop fermentation before pressure becomes excessive. It is not a way to make an overcarbonated bottle safe.
There is an important difference.
- Moderately carbonated bottle + controlled heat = potentially manageable.
- Highly carbonated bottle + controlled heat = potentially dangerous.
If you are unsure how much pressure is in your bottles, do not heat them.
Use the Right Bottles
Do not pasteurize in random glass bottles.
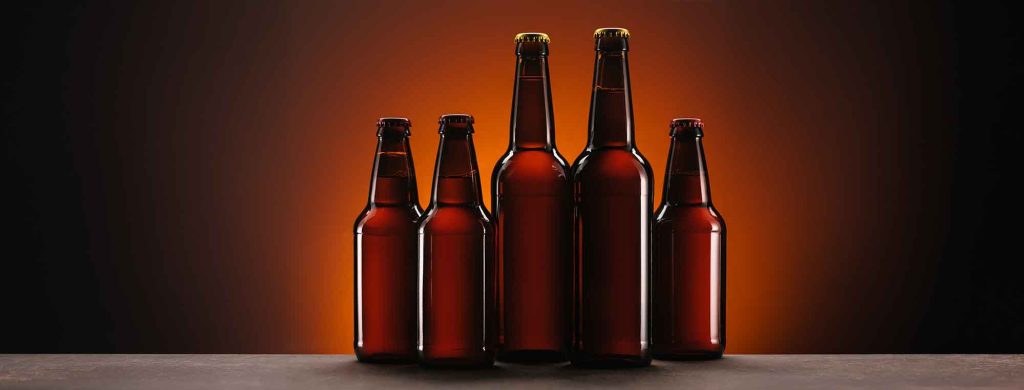
Use bottles designed to hold carbonation. Beer bottles are designed for this. And champagne bottles are designed for much higher pressure.
Wine bottles generally are not designed for carbonation, so a standard still-wine bottle is not a suitable container for naturally carbonated cider.
Do not assume that a bottle is safe simply because it is made of thick glass. The shape, glass, closure, and intended use all matter.
Watch for Thermal Shock
Glass does not like sudden temperature changes. Do not take cold bottles and drop them into extremely hot water. Do not take hot bottles and put them directly into an ice bath.
Both situations can break glass.
Start cold. Heat gradually. Allow the bottles to cool gradually.
Do Not Boil the Bottles
You do not need boiling water. Boiling the water creates unnecessary thermal stress. It also increases the temperature and pressure inside the bottles.
Higher temperatures do not automatically mean better pasteurization. They do mean higher thermal stress.
Use the lowest practical temperature that gives you the required treatment.
Heat Can Change Flavor
Pasteurization is not flavor-neutral. Heat can affect delicate aromas.
This can be especially noticeable in:
- Fresh cider
- Fruit wine
- Aromatic mead
- Hoppy beer
- Beverages with delicate fruit flavors
The longer and hotter you heat the beverage, the more potential there is for flavor and aroma changes. This is another reason to avoid using more heat than necessary.
Pasteurization Does Not Fix Bad Fermentation
Pasteurization is not a substitute for good fermentation management.
You should still:
- Use healthy yeast.
- Measure gravity.
- Allow fermentation to progress normally.
- Calculate your priming sugar.
- Monitor carbonation.
- Use appropriate bottles.
- Sanitize properly.
Pasteurization is the final control step. It should not be used to compensate for a fermentation process that you do not understand.
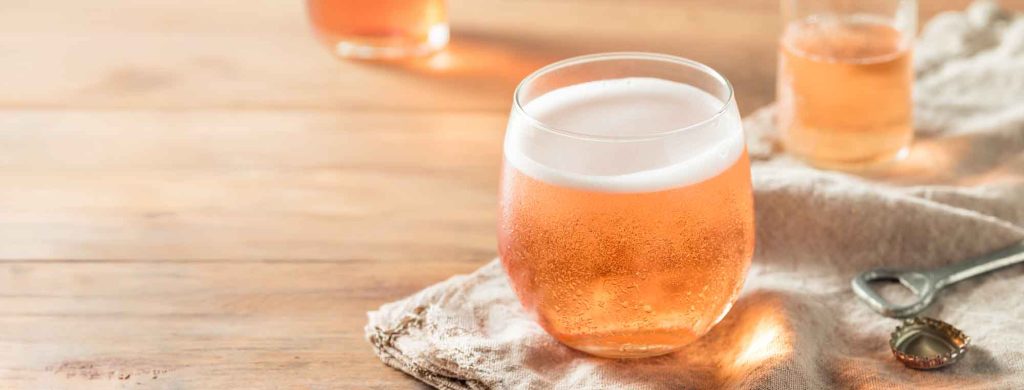
What About Sweet Carbonated Cider?
This is one of the situations where homebrewers commonly use bottle pasteurization.
Imagine you want:
- A sweet cider.
- Natural carbonation.
- Residual sugar.
You can allow the yeast to ferment until the cider reaches the desired carbonation. Then pasteurize the sealed bottles. The heat stops the yeast. The remaining sugar stays in the beverage. The result is a sweet, naturally carbonated cider.
This process requires careful timing. If you wait too long, the bottles can become dangerously carbonated before you pasteurize them.
What About Mead?
The same concept can apply to mead. However, mead can have more alcohol and different sugar concentrations than cider. It can also contain delicate honey aromas that heat may change.
For this reason, consider whether heat pasteurization is worth using. A fully fermented and stabilized mead is often a better solution.
What About Beer?
Heat pasteurization can be used for beer, but it is generally not the first choice for homebrewers. Beer can lose delicate hop and malt aromas when heated.
If you are trying to preserve a particular beer character, cold storage and good fermentation control may be better choices.
Pasteurization Is Not Sterilization
These terms are not interchangeable.
- Pasteurization reduces or deactivates microorganisms through controlled heat.
- Sterilization aims to eliminate all viable microorganisms.
Homebrew bottle pasteurization is not a method for making an open fermenter sterile. It is a controlled heat treatment of the finished packaged beverage. That is another reason to make pasteurization the last step.
A Safer Alternative: Do Not Pasteurize
For many homebrewers, the easiest way to avoid the risks is to avoid the process.
You can:
- Ferment completely dry.
- Backsweeten with a nonfermentable sweetener.
- Stabilize wine or mead appropriately.
- Keg and force carbonate.
- Keep finished cider refrigerated.
These approaches eliminate the need to heat pressurized bottles. Cold storage slows yeast activity, but it does not permanently stop fermentation.
The Bottom Line
Bottle pasteurization can work. It can also break bottles and carboys. Treat it as an advanced technique.
If you choose to do it:
- Pasteurize the final sealed beverage.
- Do not pasteurize an open carboy and then add ingredients.
- Use pressure-rated bottles.
- Never pasteurize bottles that are already dangerously overcarbonated.
- Start with cold water.
- Heat slowly.
- Use a towel or rack under the bottles.
- Measure the temperature of the liquid, not just the water bath.
- Use the lowest practical temperature and appropriate hold time.
- Allow the bottles to cool gradually.
And remember:
Pasteurization should be the last step, not a shortcut around good fermentation and sanitation.
If you are not comfortable heating pressurized glass, do not do it. There are safer ways to make sweet, carbonated homebrew.