Mead is one of the simplest alcoholic beverages to make at home.
The basic ingredients are:
- Honey
- Water
- Yeast
However, honey contains very little of the nutrients that yeast needs. Good mead therefore requires more than mixing honey and water and adding yeast. A small amount of equipment and a few additives can make the process much more reliable.
This guide uses a simple traditional mead as the example. It produces a still, medium-sweet mead. The same process can be used for dry mead with minor changes.
The process has five main stages:
- Brew day
- Primary fermentation
- Secondary fermentation
- Balancing
- Packaging

The Equipment
You do not need a brewing kettle. You do not need to boil the honey. You do not need a special mead fermenter. Be certain you shop around before buying a beginner kit, as many kits are designed to rip you off.
For a one-gallon batch, use:
- 1-gallon fermentation vessel
- Airlock
- Rubber stopper
- Hydrometer
- Hydrometer test jar
- Long spoon or mixing paddle
- Siphon
- Siphon tubing
- Bottling bucket
- Bottle filler
- Bottles
- Corks or caps
- Corker or capper
- Digital scale
- Measuring container
- Thermometer
- Cleaner
- No-rinse sanitizer
A larger fermentation vessel is useful for primary fermentation.
A 2-gallon bucket is a good choice for a one-gallon batch. It provides enough room for mixing and fermentation.
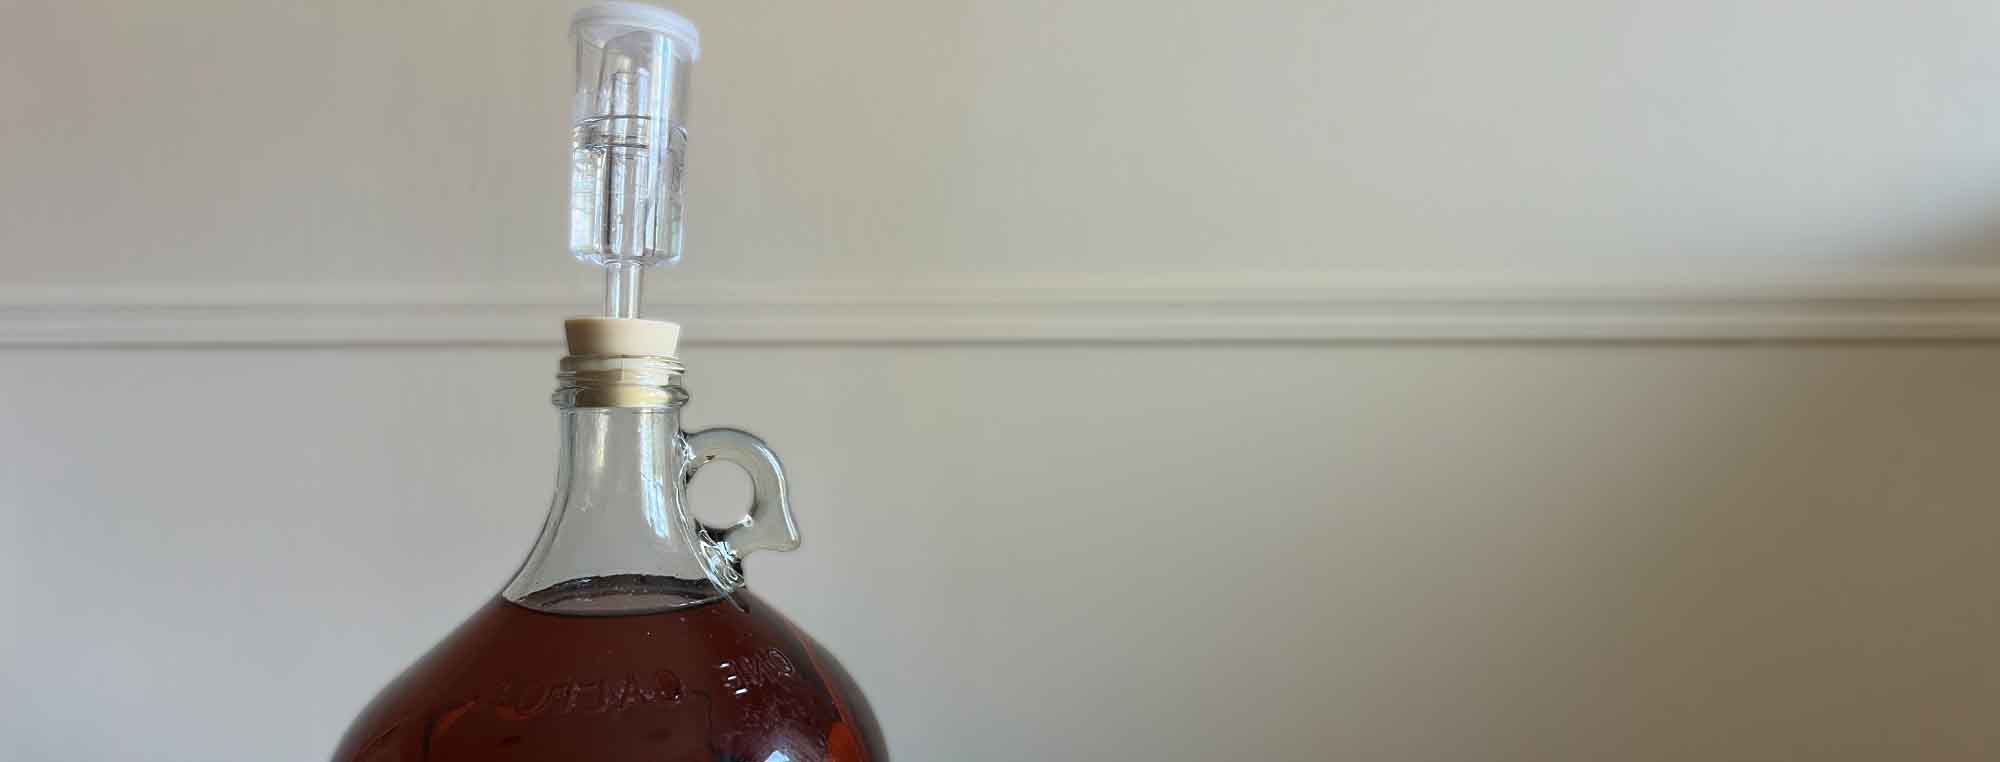
A 1-gallon glass jug is useful for secondary fermentation.
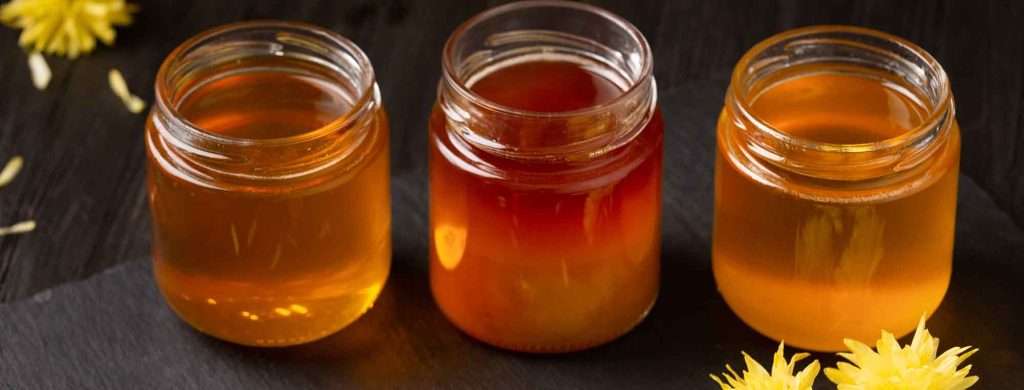
The Ingredients
For a simple one-gallon traditional mead, use:
- 3 pounds of honey
- Water
- 1 packet of wine or mead yeast
- Yeast rehydration nutrient
- Fermentation nutrient
Optional ingredients include:
- Fining agent
- Acid blend
- Tannin
- Potassium metabisulfite and potassium sorbate prior to backweetening
- Additional honey for backsweetening
You do not need every optional additive.
The goal is to use only what the mead needs.
Choose the Honey
Honey is the main flavor ingredient.
Use a honey that tastes good before fermentation.
Examples include:
- Orange blossom
- Wildflower
- Clover
- Tupelo
- Buckwheat
- Meadowfoam
A simple mead is a good way to evaluate a varietal honey.
Do not heat honey to a boil. High heat can reduce some of the delicate aroma compounds that make varietal honey interesting. The practice of boiling your must and skimming honey honey solids for mead-making is outdated.
Choose the Water
Use clean, potable water.
Good choices include:
- Spring water
- Reverse-osmosis water
- Filtered water
If you use municipal water, remove chlorine or chloramine when necessary, which can be done by adding one campden tablet per five gallons of water and letting the water sit for 24 hours.
Water does not need to be complicated for a first mead.
Avoid strongly flavored or highly mineralized water until you understand how it affects your recipes.
Choose the Yeast
Use a wine or mead yeast.
A dry wine yeast is inexpensive and easy to use.
When choosing yeast, consider:
- Alcohol tolerance
- Temperature range
- Flavor profile
- Fermentation speed
A neutral yeast is a good choice for a first traditional mead. The goal is to let the honey provide most of the flavor.
Use Yeast Nutrients
Yeast nutrient is one of the most important additives in mead.
Honey contains a large amount of sugar but relatively little yeast nutrition. A healthy fermentation therefore needs additional nutrients.
Useful products include:
Diammonium phosphate, or DAP, is also a source of yeast nitrogen but is only effective until the mead reaches 9% ABV.
For a simple process, a complete nutrient blend is easier to use.
Follow the manufacturer’s dosage instructions or use a calculator like MeadTools.
Use a Yeast Rehydration Nutrient
A product such as Go-Ferm can be used when rehydrating dry yeast.bIt is mixed with warm water before the yeast is added.
This gives the yeast additional support during the first stage of fermentation.
Follow the manufacturer’s instructions for temperature, dosage, and rehydration time.
You do not need this product to make mead, but it is an inexpensive way to improve yeast preparation.
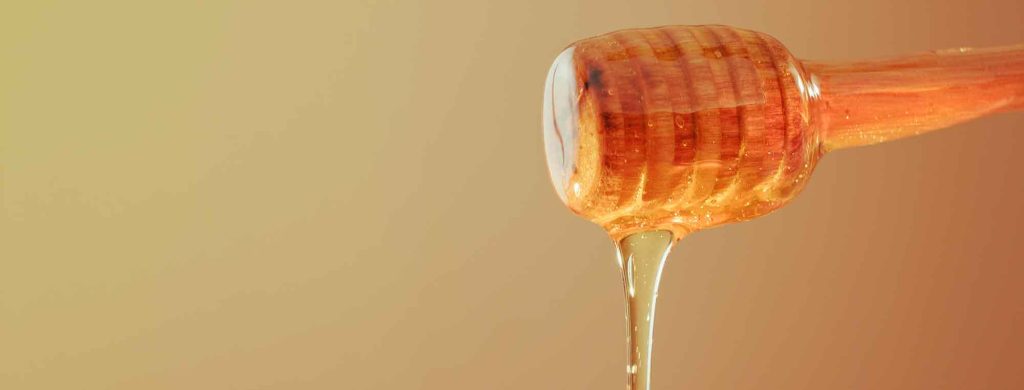
Brew Day
Brew day is simple.
There is no grain to mash. There are no hops to boil.
The main goal is to make a clean, well-mixed must and give the yeast a good start.
Step 1: Clean the Equipment
Clean the equipment before you sanitize it. Remove dirt, honey, dust, and other material.
Cleaning and sanitizing are different steps.
Cleaning removes material. Sanitizing reduces microorganisms.
Step 2: Sanitize the Equipment
Prepare your sanitizer according to the manufacturer’s instructions.
Sanitize:
- Fermentation vessel
- Spoon
- Hydrometer
- Hydrometer jar
- Airlock
- Stopper
- Funnel
- Thermometer
- Siphon
- Any other equipment that will contact the must
Allow the sanitizer to work for the required contact time.
Step 3: Add the Honey
Add approximately 3 pounds of honey to the fermentation vessel.
If the honey is thick, place the closed honey container in warm water. This makes the honey easier to pour.
Do not boil the honey.
You can also add warm water to the honey container after you empty it. Swirl the container to collect the remaining honey.
Step 4: Add Water
Add some water to the honey.
Mix thoroughly.
Continue adding water until you approach the desired batch volume. Do not fill the fermenter completely.
You need room for mixing and fermentation, called “headspace.”
Step 5: Measure the Original Gravity
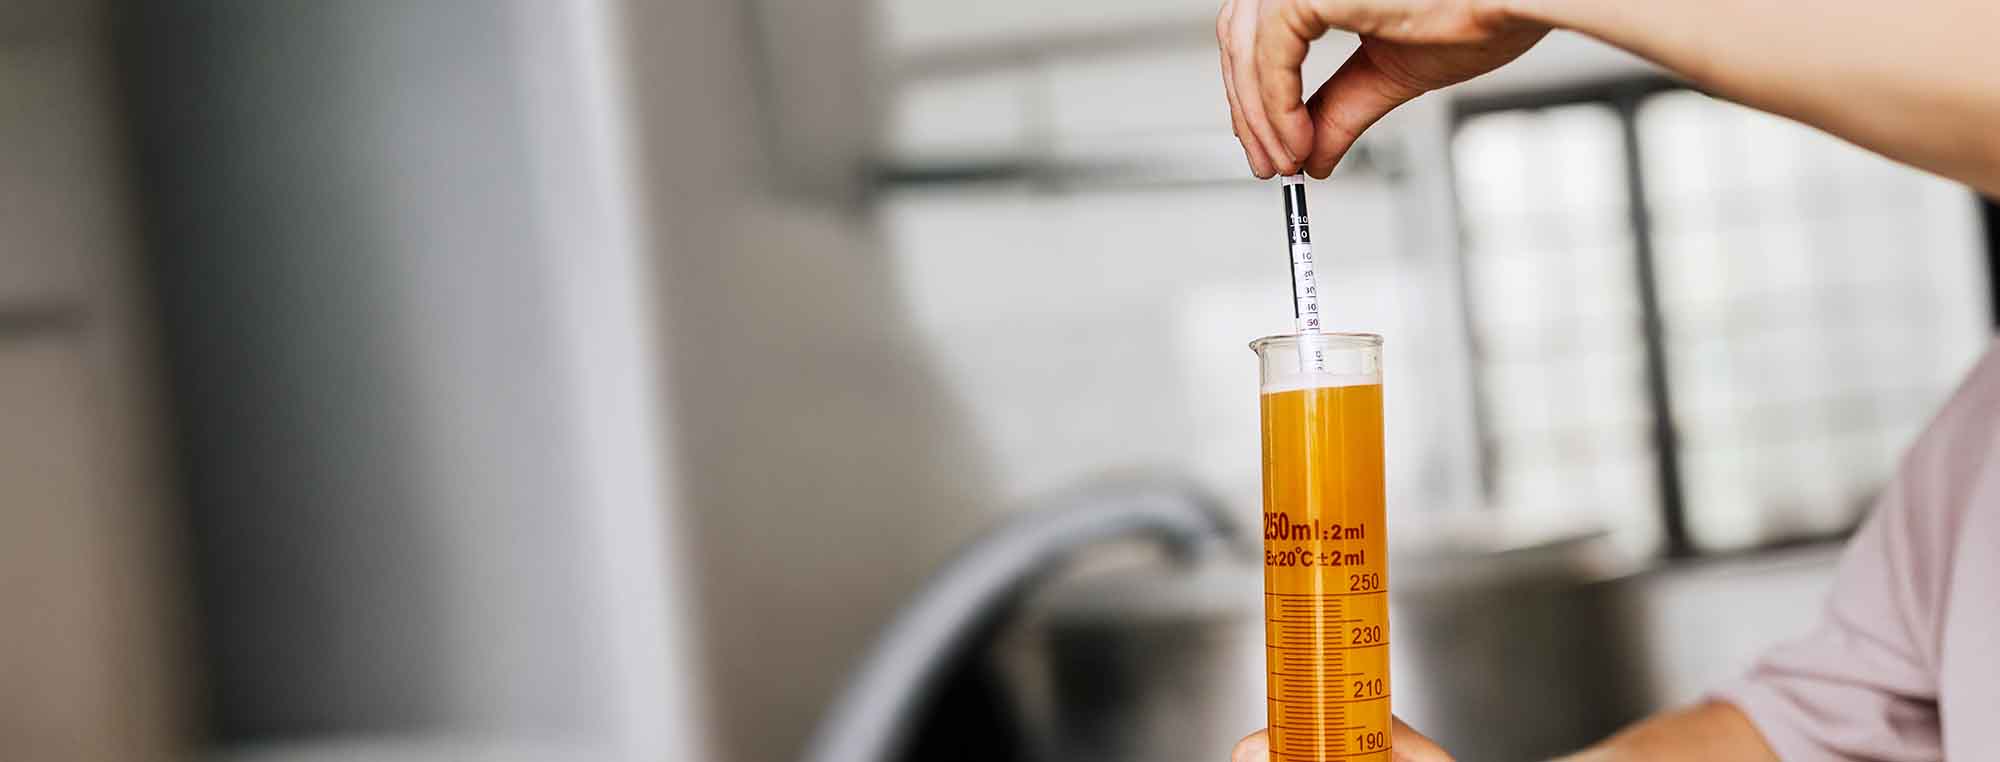
Take a hydrometer reading. This is your original gravity, or OG.
The OG tells you how much dissolved sugar is present before fermentation.
A traditional mead with an OG around 1.080 to 1.120 is common. For a first mead, avoid an extremely high OG. High sugar concentrations can make fermentation more difficult.
Add water if the gravity is higher than your target.

Step 6: Measure the Temperature
Check the temperature of the must.
The must should be within the temperature range recommended by the yeast manufacturer before you pitch the yeast.
Do not add yeast to very hot must.
Step 7: Rehydrate the Yeast
If you are using a rehydration nutrient, prepare it according to its instructions.
Add the dry yeast. Allow the yeast to hydrate for the recommended time.
Do not leave the yeast sitting in the rehydration solution for longer than recommended.
Step 8: Add the Yeast
Add the hydrated yeast to the must.
Mix thoroughly.
The yeast needs oxygen during its early growth stage. Aeration or vigorous mixing at the beginning of fermentation can help the yeast establish itself.
Step 9: Add the First Nutrient Addition
Add the first portion of your fermentation nutrient.
Do not add the entire nutrient dose unless the product instructions specifically call for that method. Staggered nutrient additions provide nutrients during the early stages of fermentation.
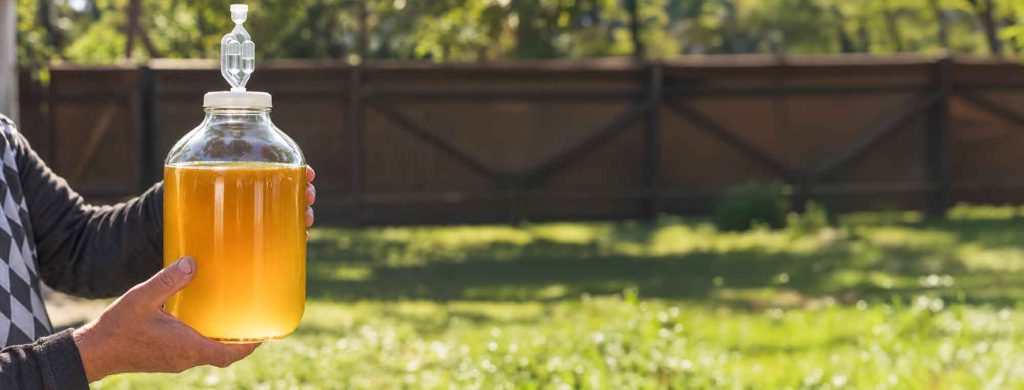
Step 10: Fill the Airlock
Fill the airlock with the liquid specified by the manufacturer, generally water or dilute Star San. Some mead makers use cheap vodka.
Install the stopper and airlock.
Move the fermenter to a location with a stable temperature.
Primary Fermentation
Primary fermentation is the most active part of the process.
The yeast consumes sugar. It produces:
- Alcohol
- Carbon dioxide
- Heat
- Flavor compounds
The mead will normally become cloudy during this stage. This is normal.
Manage the Temperature
Keep the mead within the yeast manufacturer’s recommended temperature range.
Avoid large temperature changes.
Do not assume that warmer fermentation is better. A cooler fermentation often produces a cleaner flavor. The exact temperature depends on the yeast.
Add the Remaining Nutrients
Continue your nutrient schedule during the first several days.
A simple schedule can use additions at:
- Pitch
- 24 hours
- 48 hours
- 72 hours
The exact amount should come from the nutrient manufacturer’s instructions or a calculated nutrient schedule.
Some established mead recipes use four equal nutrient additions during the first several days.
Degas Before Adding Nutrients
Fermenting mead contains dissolved carbon dioxide.
Adding dry nutrient directly to carbonated mead can cause rapid foaming. This can cause a mead volcano.
Before adding nutrients:
- Remove the airlock.
- Gently stir or degas the mead.
- Release excess carbon dioxide.
- Add the nutrient slowly.
- Stir carefully.
If you don’t want to degas, simply add nutrients very slowly. The amount of foam can increase very quickly.
This is particularly important when using a narrow fermentation vessel.
Do Not Keep Adding Nutrients
Nutrients are most useful during the early part of fermentation. Do not continue adding large amounts of nutrient throughout the entire fermentation.
Follow the nutrient schedule.
Once fermentation is well established and the appropriate nutrient additions are complete, allow the yeast to finish the fermentation.

Monitor Gravity
Use the hydrometer to monitor fermentation.
The gravity should decrease as the yeast consumes sugar.
For example:
- Starting gravity: 1.100
- Later gravity: 1.050
- Even later gravity: 1.010
- Final gravity: 1.000
The decreasing number shows that fermentation is progressing.
Do not use airlock activity as your primary fermentation measurement. An airlock can stop bubbling for reasons that have nothing to do with fermentation being finished.
When Is Primary Fermentation Finished?
Do not decide based only on the number of days.
Measure gravity.
A fermentation is finished when the gravity reaches the desired endpoint and remains stable. Take readings several days apart. If the readings are the same, fermentation may be complete.
If the gravity continues to decrease, fermentation is still active.
Secondary Fermentation
When primary fermentation is complete or nearly complete, transfer the mead to a secondary vessel.
A glass carboy or similar vessel works well. The purpose of secondary is mainly clarification and maturation, and usually it is not actually a secondary stage of fermentation. The name is often a misnomer.
The mead is no longer producing large amounts of carbon dioxide. Oxygen control therefore becomes more important.
Step 11: Transfer to Secondary
Clean and sanitize:
- Secondary vessel
- Siphon
- Tubing
- Stopper
- Airlock
Place the primary fermenter above the secondary vessel. Start the siphon and keep the siphon outlet below the surface of the mead.
Avoid splashing. Leave the thick sediment behind.
Do not worry about losing every drop. Clear mead is more valuable than recovering a small amount of sediment.
Step 12: Minimize Headspace
Fill the secondary vessel as close to the desired level as practical. Too much headspace can increase oxygen exposure.
If the batch volume is too small for the secondary vessel, use a smaller vessel or carefully top up with a neutral finished mead.
This is one reason it is useful to have several fermentation vessels.
Step 13: Install the Airlock
Install a sanitized stopper and airlock.
Keep the airlock filled according to its instructions.
Store the mead at a stable temperature.
Let the Mead Clear
Time is the simplest fining agent.
Yeast and other particles will slowly settle. The mead can become clearer over several weeks or months. Do not rush this stage.
If the mead remains cloudy, you can use a commercial fining agent.
Common choices include:
- Bentonite
- Kieselsol and chitosan
- Sparkolloid
Follow the product instructions.
Optional: Pectic Enzyme
Pectic enzyme is mainly useful when fruit or fruit products are present.
A simple traditional mead does not require it. But if you add fruit, juice, or another pectin-rich ingredient, pectic enzyme can help reduce pectin haze.

Balancing the Mead
A mead can be completely fermented and still not taste finished.
This is where balancing begins. Taste the mead. Evaluate:
- Sweetness
- Acidity
- Alcohol
- Honey character
- Body
- Tannin
- Aroma
Do not try to fix every characteristic at once. Start with the largest problem.
Balance Alcohol and Sweetness
Dry mead can taste very different from sweet mead.
A dry mead can emphasize:
- Alcohol
- Acidity
- Tannin
- Fermentation character
A little residual sweetness can make the same mead taste softer.
Common finished-gravity ranges include:
- Dry: about 0.999–1.010
- Semi-sweet: about 1.010–1.025
- Sweet: about 1.025–1.050
These are guidelines, not rules.
Taste is more important than a target number.
Balance Acidity
Acidity gives mead structure.
A mead with too little acidity can taste:
- Flat
- Sweet
- Heavy
A mead with too much acidity can taste:
- Sharp
- Sour
- Thin
Use an acid blend or individual wine acids only when the mead needs them. Add a small amount. Mix thoroughly. Taste.
Repeat if necessary.
Do not add a large amount of acid based only on a pH target. Alternatively, you could do bench trials.
Balance Tannin
Tannin can provide structure and dryness.
It can also make a mead taste harsh.
Tannin can come from:
- Honey
- Fruit
- Oak
- Grape tannin
- Commercial tannin products
Add tannin only when the mead needs more structure. Make small additions. Allow time for the tannin to integrate, and check again after two weeks when the tannin has had time to polymerize.
Backsweetening
If the mead is too dry, add honey. This is called backsweetening.
Add honey in small amounts. Mix thoroughly. Taste. Continue until the mead reaches the desired sweetness.
There is one important problem. Honey contains fermentable sugar. If you add honey to an unstabilized mead, fermentation can restart.
Stabilize Before Backsweetening
If you want a still, sweet mead, stabilize the mead before adding fermentable sugar.
The common combination is:
- Potassium metabisulfite
- Potassium sorbate
These products work together to reduce the ability of yeast to restart fermentation. They do not remove the need for a stable fermentation. They do not make an actively fermenting mead safe to bottle.
Follow the manufacturer’s dosage instructions. Established mead recipes commonly use both products before backsweetening.
Stabilization Is Not Instant
After adding the stabilizers, allow the mead time to stabilize according to the product and recipe instructions.
Do not immediately add a large amount of honey and bottle the mead.
Confirm that fermentation is complete. Then sweeten. Then confirm that the mead remains stable.
Final Taste Test
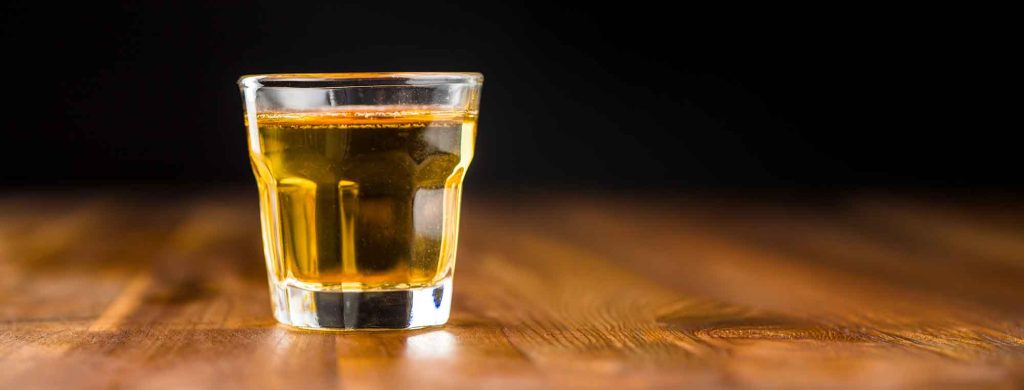
Now taste the mead again.
Ask:
Is it too sweet?
If yes, dilute with dry mead or water in a controlled test.
Is it too acidic?
If yes, consider a small adjustment.
Is it too dry?
If yes, add a small amount of honey after proper stabilization.
Does the alcohol seem too strong?
Time can help. A small amount of sweetness or acidity can also change the perception of alcohol.
Does it lack structure?
Consider a small tannin addition.
Make a Bench Trial
As your mead-making skills advance, you may want to level-up to this technique. You do not make a large adjustment to the entire batch immediately. Instead, you can take several small samples and adjust each.
For example, use four glasses.
Leave one unchanged.
Add different amounts of honey, acid, or tannin to the other samples.
Taste them side by side. Choose the best sample. Then calculate the amount required for the complete batch.
This is one of the easiest ways to prevent an adjustment from ruining an entire batch and we have a whole video on the topic.
Packaging
Once the mead is stable, clear, balanced, and ready to drink, package it.
You have two basic choices:
- Bottles
- Keg
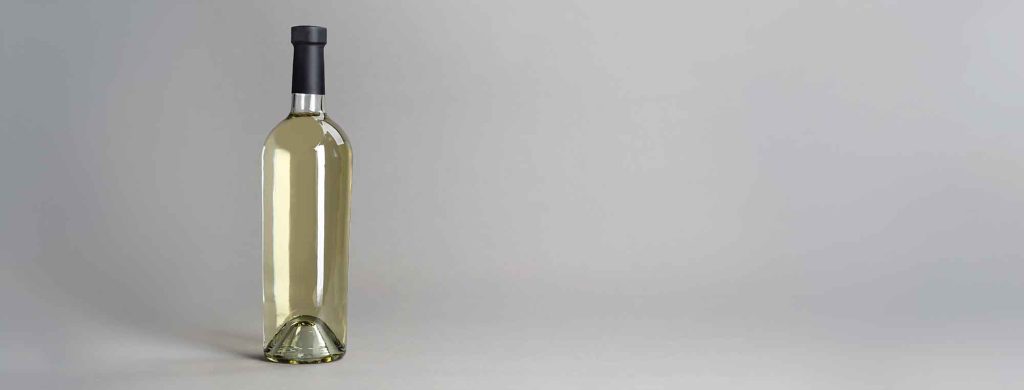
Bottling Still Mead
You need:
- Clean bottles
- Sanitizer
- Bottling bucket
- Siphon
- Tubing
- Bottle filler
- Corks or caps
- Corker or capper
Transfer the mead into the bottling bucket. Avoid splashing by transferring bottom-up with a siphon and appropriate length of tubing.
Attach the bottle filler if using one.
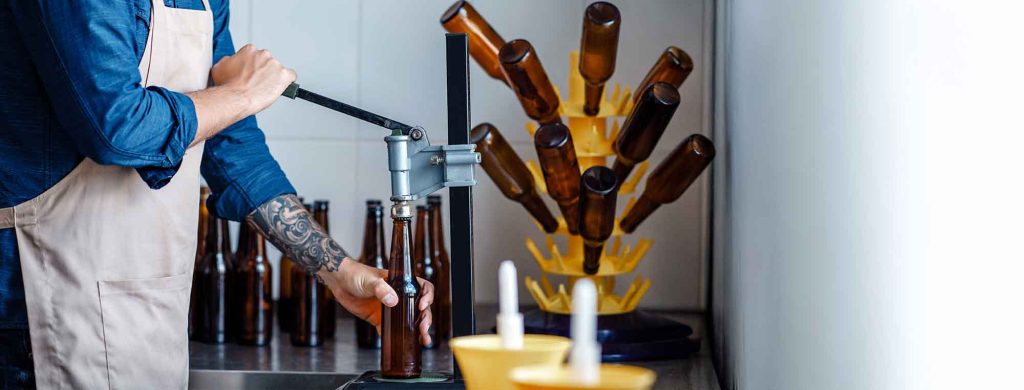
Fill each bottle. Leave the appropriate headspace for your bottle and closure. Close the bottle. This is easiest with two or more people!
Kegging Mead
Kegging is simple if you already have beer equipment.
You need:
- Keg
- CO₂ tank
- CO₂ regulator
- Gas line
- Beverage line
- Disconnects
- Sanitizer
A keg allows you to keep the mead in a closed system.
You can serve it still or carbonate it.
Carbonated Mead
Carbonated mead requires a pressure-safe container. Do not bottle naturally carbonated mead until you understand the required carbonation level and bottle pressure.
A keg is the simplest method for a first carbonated mead. Force carbonation also gives you more control.
For bottle conditioning, the fermentation and priming process must be carefully controlled. Sweetening requires a nonfermentable sweetener like erythritol or the dangerous practice of pasteurizing after carbonation is achieved.
Bottle Safety
Never bottle a mead that may still be fermenting unless you are intentionally producing carbonation with a controlled process. A bottle that contains fermentable sugar and active yeast can build dangerous pressure.
This can cause:
- Broken bottles
- Flying glass
- Serious injury
Stable gravity is one of the most important safety checks in mead making.
Aging
You can drink mead soon after fermentation. It may not taste its best.
Young mead can have:
- Strong alcohol
- Sharp acidity
- Yeast character
- Rough edges
Time can allow these characteristics to integrate. A six-month-old mead can taste very different from the same mead at two years of age.
You do not need to age every mead for years, but higher-ABV or very complex meads do benefit from time. Taste bottles at different ages. This teaches you how your recipes change over time.
The Simplest Complete Process
If you want the entire process in one list:
- Clean the equipment.
- Sanitize the equipment.
- Add honey to the primary fermenter.
- Add water.
- Mix thoroughly.
- Measure the original gravity.
- Adjust with water if necessary.
- Prepare the yeast.
- Add the yeast.
- Add the first nutrient dose.
- Install the airlock.
- Maintain the correct fermentation temperature.
- Add the remaining nutrients during the first several days.
- Degas before adding dry nutrients.
- Monitor gravity.
- Wait until gravity is stable.
- Transfer the mead to secondary.
- Minimize headspace.
- Allow the mead to clear.
- Taste the mead.
- Adjust acidity, tannin, or sweetness if needed.
- Stabilize before adding fermentable sugar to a still mead.
- Allow the stabilizers to work.
- Add honey if backsweetening is desired.
- Confirm that the mead remains stable.
- Bottle or keg.
- Allow the mead to mature.
- Drink it.
The Complete Equipment Checklist
For someone starting from nothing, this is the complete basic equipment list:
Fermentation
Measuring
- Hydrometer
- Hydrometer test jar
- Thermometer
- Digital scale
Mixing and Transfer
- Long-handled spoon or paddle
- Siphon
- Siphon tubing
- Funnel
- Wine thief
- Bottling bucket
Cleaning and Sanitation
- Brewery cleaner
- No-rinse sanitizer
- Cleaning brush
- Bottle brush
Packaging
- Bottles
- Bottle filler
- Corks or caps
- Corker or capper
Optional
- Degassing wand
- Drill
- Fining agent
- Keg
- CO₂ tank
- CO₂ regulator
- Pressure-capable fermenter
- Closed-transfer equipment
The Complete Additive Checklist
The basic mead requires only a few additives.
Recommended
- Wine or mead yeast
- Yeast rehydration nutrient
- Fermentation nutrient
Optional
- Pectic enzyme
- Acid blend
- Tannin
- Fining agent
For a Still Sweet Mead
- Potassium metabisulfite
- Potassium sorbate
- Additional honey for backsweetening
You do not need to use every additive.
A good mead is not the result of adding the largest number of ingredients, but rather using the right ingredients when the mead needs them.

The Main Rule
The simplest good mead is not complicated.
Honey + water + healthy yeast + nutrients + time.
The equipment is mostly the same equipment used for wine or cider.
- The most important additions are yeast nutrients.
- The most important measurements are gravity and temperature.
- The most important fermentation practice is to keep the yeast healthy.
- The most important finishing practice is to taste before making adjustments.
- The most important packaging practice is to confirm that fermentation is complete.
- And the most important ingredient is still the honey.
Start with a simple traditional mead. Learn how your honey, yeast, water, and fermentation process behave. Then add fruit, spices, hops, oak, or other ingredients when you know what you want them to contribute. And most importantly, be creative and have fun!