No. You do not strictly need a bottling bucket to bottle homebrew. But it can be helpful.
But if you plan to bottle beer regularly, a bottling bucket is one of the most useful pieces of equipment you can buy.
A bottling bucket makes it easier to:
- Mix priming sugar evenly
- Fill bottles
- Reduce sediment in bottles
- Control the amount of beer in each bottle
- Reduce splashing
- Keep the bottling process organized
For a beginner, the simplest setup is:
Fermenter → bottling bucket → bottling wand → bottle
The bottling bucket gives you a clean and controlled place to prepare the beer for packaging.

What Is a Bottling Bucket?
A bottling bucket is a food-safe bucket designed for transferring beer into bottles.
It usually has:
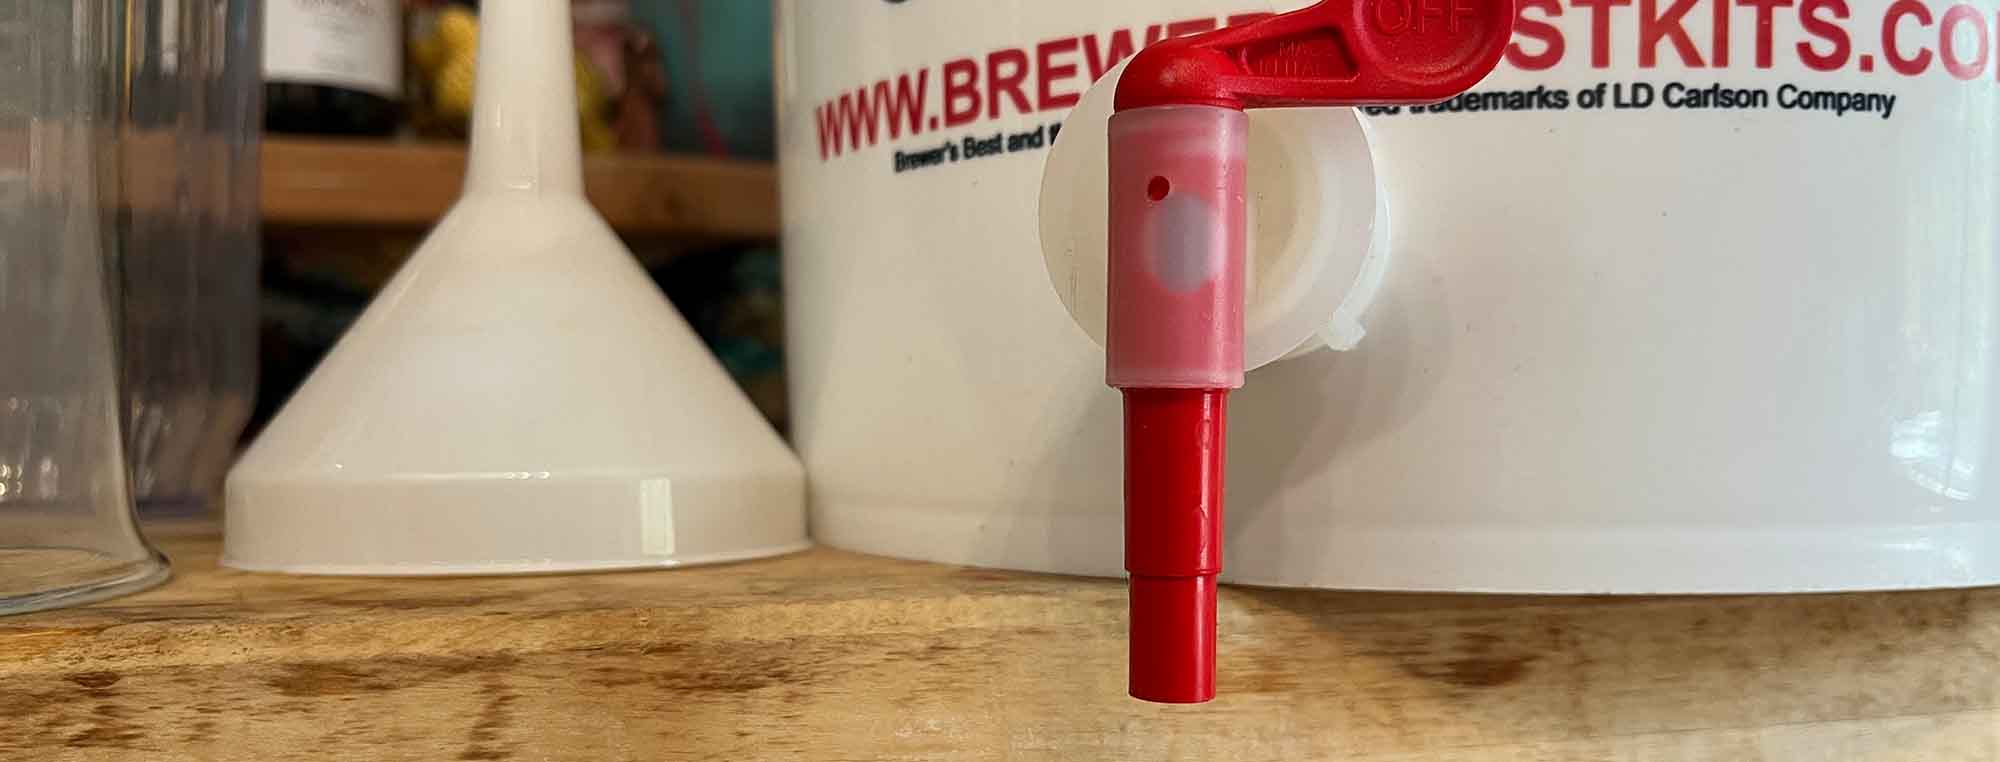
- A spigot near the bottom
- A lid
- Enough capacity for a batch of beer
The spigot connects to a short piece of tubing. The tubing connects to a bottling wand. When you press the wand against the bottom of a bottle, beer flows. When you remove the wand, the flow stops. This makes bottle filling much easier.
Why Is a Bottling Bucket Useful?
The main advantage is control.
Diluted priming sugar can be added to the bottling bucket. Beer can be transferred from the fermenter into the bottling bucket.
The beer can then be transferred into bottles with minimal disturbance.
This creates a simple packaging process.
Do I Need a Bottling Bucket for Bottle Conditioning?
No. But it is strongly recommended. If you are bottle conditioning beer, you need to distribute priming sugar throughout the beer. A bottling bucket makes this much easier.
You can prepare a priming sugar solution and add it to the bucket. Then transfer the beer onto the solution. The beer and sugar mix as the transfer occurs. You can then fill the bottles.
Why Can’t I Add Priming Sugar Directly to the Fermenter?
You can, but it is not a good method. Adding sugar directly to the fermenter creates several problems. You need to mix the sugar through the beer. Mixing can disturb the sediment. Stirring can introduce oxygen.
You can also create uneven sugar distribution. Some bottles may receive too much sugar. Other bottles may receive too little.
A bottling bucket provides a better mixing point.
What Happens If Priming Sugar Is Not Mixed Evenly?
Uneven priming sugar can create uneven carbonation.
For example:
- Bottle 1 may be flat.
- Bottle 2 may have normal carbonation.
- Bottle 3 may be heavily carbonated.
In a severe case, some bottles may receive enough sugar to create dangerous pressure. Even distribution is important.
How Does a Bottling Bucket Work?
The basic process is:
- Clean the bucket.
- Sanitize the bucket.
- Prepare the priming sugar solution.
- Add the solution to the bucket.
- Transfer the fermented beer into the bucket.
- Allow the beer to mix gently with the sugar.
- Connect the bottling wand.
- Fill the bottles.
- Cap the bottles.
The beer should flow gently. Avoid splashing.

What Is a Bottling Wand?
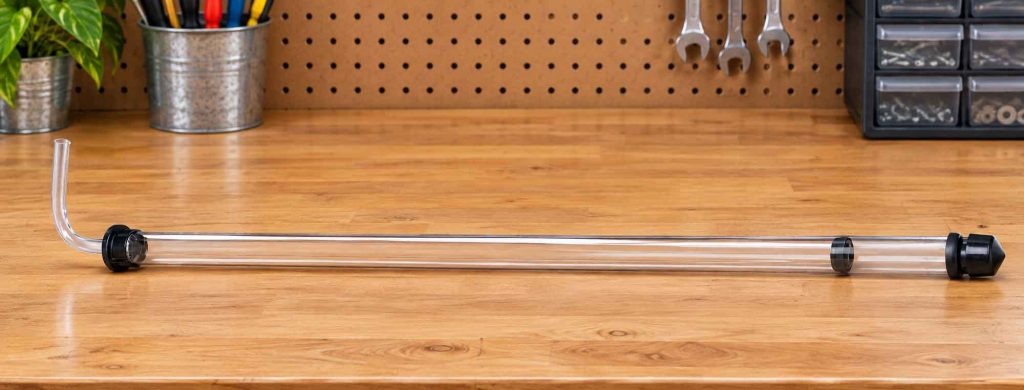
A bottling wand is a rigid tube with a valve at the end. The valve opens when you press the wand against the bottom of a bottle.
This gives you a simple way to start and stop the beer flow. A bottling wand is usually connected to the bottling bucket with flexible tubing.
Why Fill From the Bottom?
The bottling wand reaches near the bottom of the bottle. Beer flows into the bottle from the bottom. This reduces splashing.
It also allows the beer to fill the bottle with less exposure to oxygen. When the bottle reaches the top, remove the wand. The wand takes up some space. This leaves an appropriate amount of headspace under the bottle cap.
Do I Need a Bottling Wand?
You can bottle without one.
However, a bottling wand is inexpensive and makes bottling much easier. Without one, you need to manually control the flow of beer.
This can result in:
- Spills
- Uneven fill levels
- More splashing
- More oxygen exposure
A bottling wand is one of the best low-cost additions to a beginner’s equipment kit.
Can I Use a Siphon Instead?
Yes. You can use a siphon to transfer beer into bottles. You still need a way to control the flow.
A bottling wand attached to the siphon is a common solution. However, a bottling bucket with a spigot is usually easier for beginners.
Can I Bottle Directly From the Fermenter?
Yes. This is possible if the fermenter has a suitable spigot. A fermenter with a spigot can sometimes function as a bottling bucket.
However, you still need a way to mix priming sugar evenly. If you add priming sugar directly to the fermenter, you must avoid disturbing the yeast sediment and avoid introducing oxygen. For this reason, a separate bottling bucket is more useful.
Can I Use My Fermenter as a Bottling Bucket?
Sometimes.
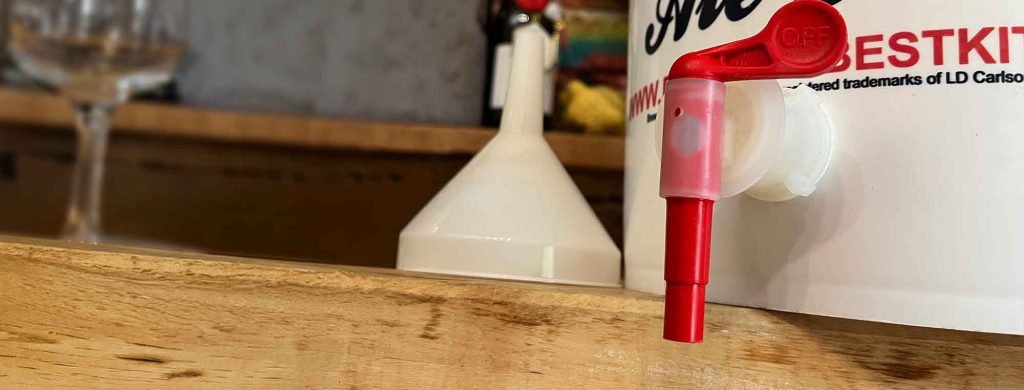
A fermenter with a bottom spigot can perform the same basic function. You can transfer beer from the fermenter through a sanitized hose or bottling wand. However, you need to consider where the yeast sediment is located.
If the spigot is too close to the sediment, you may transfer more yeast into the bottles. A separate bottling bucket gives you more control.
What About a Fermenter With a Spigot?
This can work very well. Some fermentation buckets include a spigot. You can attach a bottling wand directly to the spigot. This eliminates the need for a separate bottling bucket.
However, the fermenter must still have a safe way to add and distribute priming sugar. If you use this method, be careful not to stir up the yeast sediment.
What Equipment Do I Need to Bottle Beer?
A basic bottle-conditioning setup includes:
- Bottling bucket
- Bottling wand
- Food-safe tubing
- Bottles
- Bottle caps
- Bottle capper
- Priming sugar
- Kitchen scale
- Brewing sanitizer
- Brewing cleaner
You also need a hydrometer to confirm that fermentation is complete.
How Big Should a Bottling Bucket Be?
For a 5-gallon batch, a 6-gallon bottling bucket is a common choice.
It provides enough capacity for the beer. It also leaves some headspace. A bucket that is too small can overflow. A bucket that is much larger than necessary provides more headspace. This can increase the amount of oxygen exposure during transfer.
Can I Use a Regular Plastic Bucket?
Only if the bucket is made from appropriate food-safe material. Do not use a random hardware-store bucket. A brewing bucket is designed for contact with food and beverages. It also has the fittings needed for bottling.
What About a Stainless Steel Bucket?
A stainless steel vessel can also work. Stainless steel is durable and easy to clean.
However, it is not required. A food-safe plastic bottling bucket is inexpensive and works well.
Does a Bottling Bucket Improve Beer Quality?
It can. The main benefit is better control during packaging.
You can:
- Mix priming sugar evenly
- Transfer beer gently
- Reduce sediment
- Fill bottles consistently
- Reduce splashing
Good bottling technique can help reduce oxidation and contamination. The bucket itself does not magically improve the beer. The process does.
Does Transferring to a Bottling Bucket Cause Oxidation?
It can if you splash the beer.
During transfer:
- Keep the tubing below the beer surface.
- Avoid splashing.
- Avoid unnecessary stirring.
- Keep the transfer gentle.
- Do not leave the beer exposed to air for long periods.
The goal is to move the beer without introducing unnecessary oxygen.
Should I Stir the Priming Sugar?
You want the priming sugar distributed evenly. However, do not aggressively stir the beer.
A good method is to add the cooled priming sugar solution to the sanitized bottling bucket first. Then transfer the beer into the bucket.
The incoming beer mixes with the sugar. If needed, use a sanitized spoon to stir very gently. Do not splash.
Should I Add Priming Sugar Before or After the Beer?
For most beginner setups:
Add the priming sugar solution first. Then transfer the beer into the bottling bucket.
The beer flows into the bucket and mixes with the sugar. This reduces the need to stir.
Should I Put the Priming Sugar in Dry?
No. Dissolve it in water first.
A simple process is:
- Measure the sugar.
- Add it to water.
- Heat the solution.
- Allow it to cool.
- Add it to the sanitized bottling bucket.
- Transfer the beer.
This gives you a liquid priming solution that can mix evenly with the beer.
How Much Priming Sugar Do I Need?
The amount depends on:
- Beer volume
- Desired carbonation
- Beer temperature
- Sugar type
- Existing dissolved CO₂
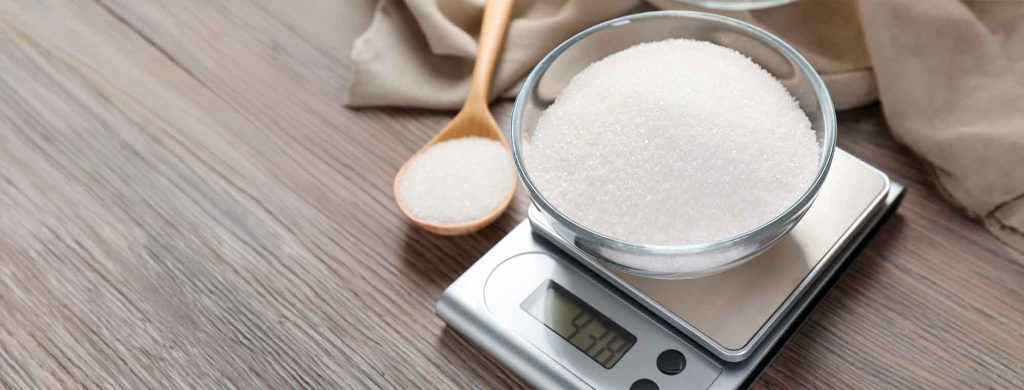
For a typical 5-gallon batch, approximately 4 to 5 ounces of corn sugar is a common starting point for moderate carbonation. For more accurate results, use a priming sugar calculator. Measure the sugar by weight.
Why Do I Need to Measure the Sugar?
Too little sugar can produce flat beer. Too much sugar can produce excessive carbonation.
Too much carbonation can create dangerous bottle pressure. A kitchen scale makes it easy to measure the correct amount.
How Do I Clean a Bottling Bucket?
Clean the bucket immediately after use.
Rinse away:
- Beer
- Yeast
- Priming sugar
- Sediment
Then use a suitable brewing cleaner. Pay special attention to the spigot, as beer can remain inside the spigot and its fittings. Disassemble the spigot when appropriate. Clean all parts.
How Do I Sanitize a Bottling Bucket?
Clean the bucket first. Then apply a suitable brewing sanitizer according to the product instructions. Star San in a spray bottle is very effective.
Make sure the sanitizer contacts:
- Inside of the bucket
- Spigot
- Lid
- Tubing
- Bottling wand
Do not assume that a clean bucket is sanitized. Cleaning and sanitizing are different steps.

What About the Spigot?
The spigot is one of the most important parts to clean.
Beer can collect inside:
- The valve
- Threads
- Washers
- Seals
- Internal passages
Disassemble the spigot when the design allows it. Clean all components. Sanitize them before use – Star San in a spray bottle is perfect for this.
How Do I Keep the Bottling Bucket From Leaking?
Install the spigot according to the manufacturer’s instructions. Use the correct washers and seals and do not overtighten plastic fittings.
Before adding beer:
- Install the spigot.
- Add a small amount of water.
- Check for leaks.
- Correct the fitting if necessary.
- Empty the water.
- Clean and sanitize the bucket.
A leak during bottling can create a large mess.
How Do I Transfer Beer Into the Bottling Bucket?
Use sanitized tubing. Keep the transfer outlet below the surface of the beer when possible. This reduces splashing.
Allow the beer to flow gently. Do not shake the fermenter or disturb the yeast sediment. Stop the transfer when you reach the sediment layer.
What If Some Sediment Gets Into the Bottling Bucket?
A small amount is normal.
The goal is not to remove every particle of yeast, but rather to avoid transferring a large amount of sediment. Leave the thick sediment layer behind in the fermenter.
Can I Use a Bottling Bucket for Secondary Fermentation?
Yes and no.
A bottling bucket is designed for packaging. It is not intended to be a long-term fermentation vessel, though most bottling buckets will be just fine as a secondary vessel for a couple weeks.
Generally, you’ll want to use an appropriate fermenter for primary and secondary fermentation.
Transfer into the bottling bucket immediately before bottling.
Can I Leave Beer in the Bottling Bucket Overnight?
Do not make this part of your normal process.
The bottling bucket is not necessarily for long-term beer storage.
Transfer the beer and bottle it promptly. This also reduces oxygen exposure.
What If I Do Not Have a Bottling Bucket?
You can still bottle beer.
Possible alternatives include:
- A different style fermenter with a spigot
- Siphon and bottling wand
- Direct filling from a suitable pressure-capable keg
The important requirements are:
- Clean equipment
- Sanitized equipment
- Complete fermentation
- Even priming sugar distribution
- Gentle beer transfer
Can I Bottle Straight From a Carboy?
Yes. You can use a siphon and bottling wand. This was a common homebrewing method before inexpensive bottling buckets became widespread.
The process requires more equipment and more manual control. A bottling bucket is usually easier for beginners.
Is a Bottling Bucket Worth Buying?
For most homebrewers who bottle regularly: Yes.
- A bottling bucket is inexpensive.
- It makes the bottling process easier.
- It also provides a convenient place to mix priming sugar.
If you only bottle once, you may be able to use another method. If you plan to bottle several batches, a bottling bucket is a good investment.

Common Bottling Bucket Mistakes
Adding Beer Before Priming Sugar
This can make sugar distribution more difficult.
Add the priming solution first.
Splashing the Beer
This introduces oxygen.
Transfer gently.
Not Cleaning the Spigot
Beer can remain inside the valve.
Clean and sanitize it carefully.
Leaving Beer in the Bucket
Bottle promptly.
Filling the Bucket Too High
Leave enough room to prevent spills.
Using a Non-Food-Safe Bucket
Use brewing equipment or an appropriate food-safe vessel.
A Simple Bottling Day
For a typical 5-gallon batch:
1. Confirm Fermentation Is Finished
Take stable hydrometer readings.
2. Clean Everything
Clean the:
- Bottling bucket
- Spigot
- Tubing
- Bottling wand
- Bottles
- Bottle caps
3. Sanitize Everything
Use a brewing sanitizer according to its instructions.
4. Prepare Priming Sugar
Measure the calculated amount. Dissolve it in water. Heat the solution then cool it.
5. Add the Priming Solution
Put it in the sanitized bottling bucket.
6. Transfer the Beer
Move the beer gently from the fermenter into the bucket.
Avoid splashing.
7. Fill the Bottles
Connect the bottling wand.
Fill each bottle.
8. Cap the Bottles
Use clean caps.
9. Condition the Beer
Store the bottles at an appropriate temperature.
Allow time for carbonation.

Bottling Bucket Checklist
Before bottling:
- Fermentation is complete.
- Gravity readings are stable.
- Bottling bucket is clean.
- Spigot is clean.
- Tubing is clean.
- Bottling wand is clean.
- Equipment is sanitized.
- Priming sugar is calculated.
- Priming sugar is weighed.
- Priming solution is prepared.
- Beer transfer will be gentle.
- Bottles are clean and sanitized.
- Bottle caps are ready.
The Bottom Line
Do you need a bottling bucket?
No. You can bottle beer directly from a fermenter with a spigot or use a siphon.
But a bottling bucket makes the process much easier.
For a beginner, the advantages are significant:
- It provides a dedicated place to mix priming sugar.
- It makes bottle filling easier.
- It works well with a bottling wand.
- It helps reduce sediment transfer.
- It makes the bottling process more consistent.
For a typical 5-gallon batch, a 6-gallon bottling bucket with a spigot and bottling wand is a simple, inexpensive setup. If you plan to bottle your homebrew more than once, it is one of the pieces of equipment that is worth buying.
You can bottle without a bottling bucket. But once you use one, you may not want to bottle without it.