Bottling is one of the first homebrewing tasks that looks more complicated than it really is.
You do not need a professional bottling machine.
You do not need a kegging system.
You do not need expensive equipment.
For a beginner making a typical 5-gallon batch, the best setup is simple: a bottling bucket with a spigot, a spring-tip bottle filler, food-safe tubing, clean bottles, crown caps, a bottle capper, and sanitizer. If making beer or other carbonated drinks, you also need priming sugar.
The Best Beginner Bottling Setup
For a typical 5-gallon batch, buy:
- 6.5-gallon bottling bucket
- Bottling bucket spigot
- Spring-tip bottle filler
- Food-safe tubing
- Bottle capper
- Crown caps
- Approximately 50–55 beer bottles
- Bottle brush
- Brewing cleaner
- Brewing sanitizer
- Priming sugar
- Measuring equipment
- Large spoon or mixing utensil
This setup is inexpensive and can be used for many batches.
A complete bottling bucket kit can be a convenient way to buy the bucket, spigot, and bottle filler together.

Why Do I Need a Bottling Bucket?
A bottling bucket is a food-grade bucket with a spigot near the bottom.
You transfer the finished beer into the bottling bucket. You add your measured priming sugar. Then you then use the spigot and bottle filler to fill your bottles.
This provides several advantages.
It:
- Makes filling bottles easier.
- Allows you to add priming sugar evenly.
- Reduces splashing.
- Makes it easier to fill many bottles.
- Keeps the process organized.
Can I Use My Fermentation Bucket as My Bottling Bucket?
Yes, but you need a way to transfer the beer. A dedicated bottling bucket is usually easier.
If you have two food-grade buckets, one can be used for fermentation and the other for bottling. This is one reason beginner equipment kits often include two buckets. A dedicated bottling bucket also lets you leave your fermenter undisturbed.
Does a Bottling Bucket Need a Lid?
It does not strictly need a lid for the short bottling process.
However, a lid can help keep dust and other material out.
The most important thing is that the bucket and all equipment that contacts the beer are clean and sanitized.
What Size Bottling Bucket Do I Need?
For a normal 5-gallon batch:
A 6.5-gallon bottling bucket is an excellent choice.
You do not need to fill the bucket completely.
Your beer will usually occupy less than 5 gallons after fermentation losses. A 6.5-gallon bucket gives you plenty of room.
What Is a Bottling Wand/Bottle Filler?
A bottle filler is a narrow tube that connects to the bottling bucket spigot. A common design has a spring-loaded valve at the end.
Push the tip against the bottom of a bottle and beer flows. Lift the tip and the flow stops. This makes filling bottles much easier.
Why Is a Spring-Tip Bottle Filler So Useful?
Without a bottle filler, you would need to control the flow from the spigot or a hose clamp while holding each bottle. That is awkward.
A spring-tip filler lets you:
- Put the filler into the bottle.
- Press the tip against the bottom.
- Fill the bottle.
- Lift the tip.
- Move to the next bottle.
It is one of the cheapest pieces of equipment that makes bottling dramatically easier.
How Much Tubing Do I Need?
You need enough food-safe tubing to connect the bottling bucket spigot to the bottle filler.
Approximately 3–5 feet is usually convenient. The exact length depends on your setup.
Make sure the tubing fits securely over the spigot and bottle filler.
What Size Tubing Do I Need?
Homebrew bottling systems commonly use tubing sized to fit the bottling bucket spigot and filler.
Do not assume that all brewing tubing has the same inside diameter. Check the dimensions of your spigot and bottle filler before buying tubing.
What Is a Bottle Capper?
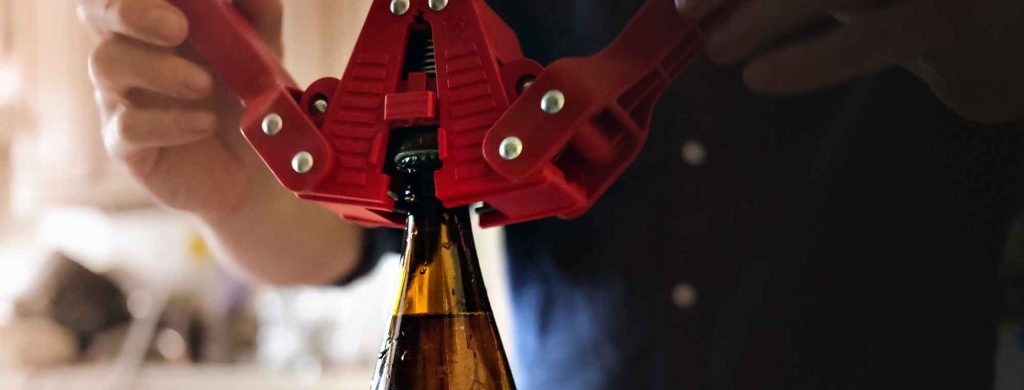
A bottle capper presses a crown cap onto the bottle.
There are two common types for beginners:
Both can work well.
What Is a Wing Capper?
A wing capper is the traditional inexpensive homebrew bottle capper.
It has two handles. Place the crown cap on the bottle. Put the capper over the cap.
Press down on the handles. The capper crimps the cap around the bottle. A basic wing capper is inexpensive and works well for occasional bottling.
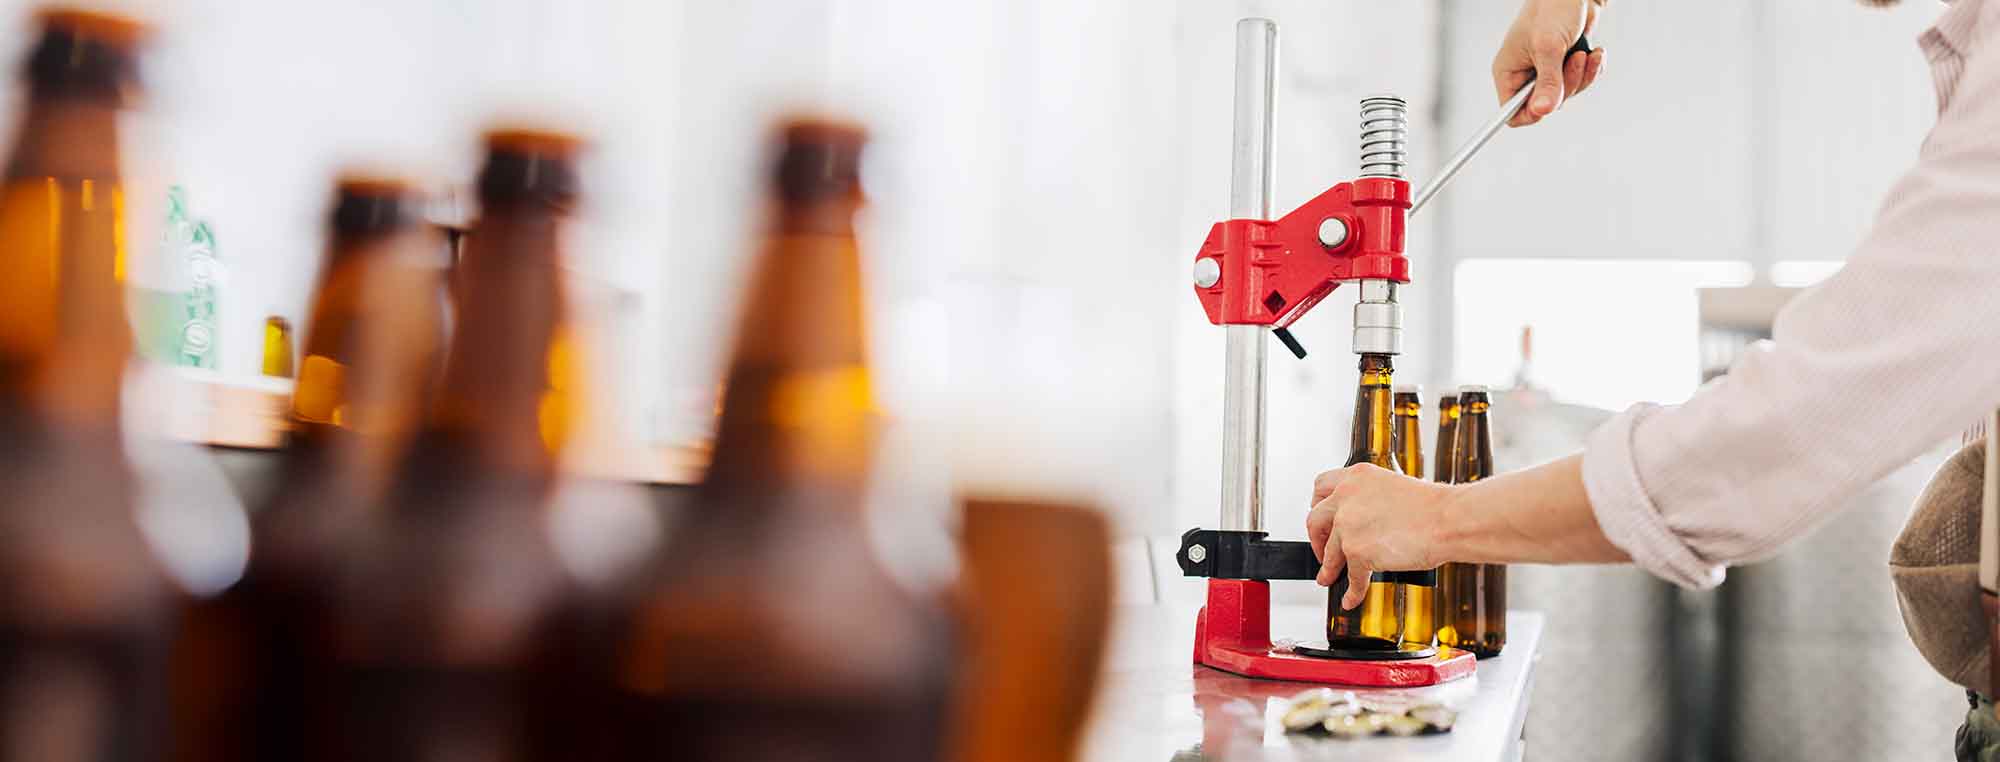
What Is a Bench Capper?
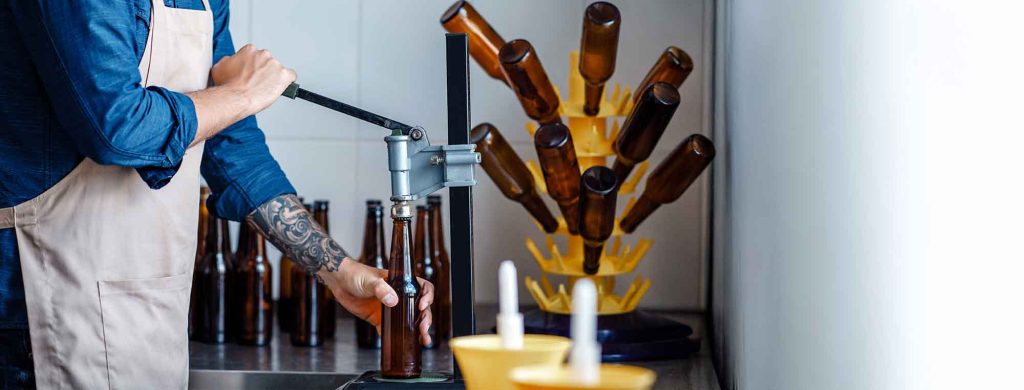
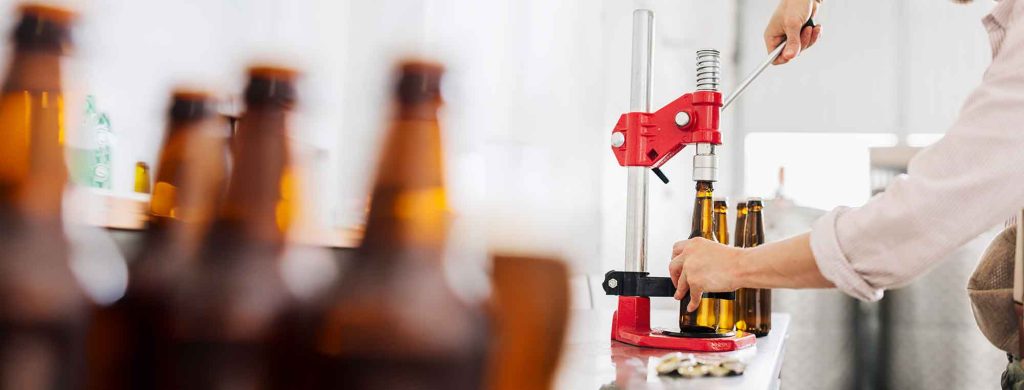
A bench capper sits on a table or work surface.
You place the bottle underneath it. Pull down the handle. The capper crimps the cap. To ensure a good seal, you can rotate the bottle a quarter turn and crimp a second time.
Bench cappers are larger than wing cappers, but they can be easier to use when bottling many bottles. I tend to trust the seal from a bench capper more than that from a wing capper, as I find the wing capper much harder to use.
Wing Capper vs. Bench Capper
| Feature | Wing Capper | Bench Capper |
| Price | Lower | Higher |
| Size | Small | Larger |
| Storage | Easy | Requires more space |
| Bottling speed | Good | Excellent |
| Ease of use | Good | Excellent |
| Beginner friendly | Yes | Yes |
| Best for occasional bottling | Yes | Yes |
| Best for frequent bottling | Good | Excellent |
For your first batch:
A wing capper is perfectly adequate.
If you bottle frequently, a bench capper can be a worthwhile upgrade.
What Bottles Should I Use?
For traditional bottle conditioning, use bottles designed to hold carbonated beverages.
Good choices include:
- Standard pry-off beer bottles
- Reusable brown beer bottles
- Commercial craft beer bottles that use crown caps
- Purpose-made homebrew bottles
I recommend pry-off beer bottles and warn against twist-off bottles because they can be difficult to seal reliably.
Can I Reuse Beer Bottles?
Yes.
Reusable beer bottles are one of the easiest ways to save money. Save bottles from commercial beer. Rinse them immediately after pouring the beer – do not let yeast and beer dry inside the bottle.
Before reusing them, clean and sanitize them.
Can I Use Twist-Off Beer Bottles?
No. It’s not worth the risk. They often do not seal well and sometimes chip during capping.
Use pry-off bottles.
What Color Bottles Are Best?
Brown glass is the best general choice.
Beer is sensitive to ultraviolet and visible light. Light can cause unpleasant flavors in hop-forward beer. Brown glass provides better protection than clear or green glass.
Keep bottled beer away from direct light even when using brown bottles.
For wines, meads, and ciders you can use brown beer bottles. For larger bottles of wine and mead, you can use standard wine bottles in any color. But it’s still best practice to keep them away from light during aging.
How Many Bottles Do I Need?
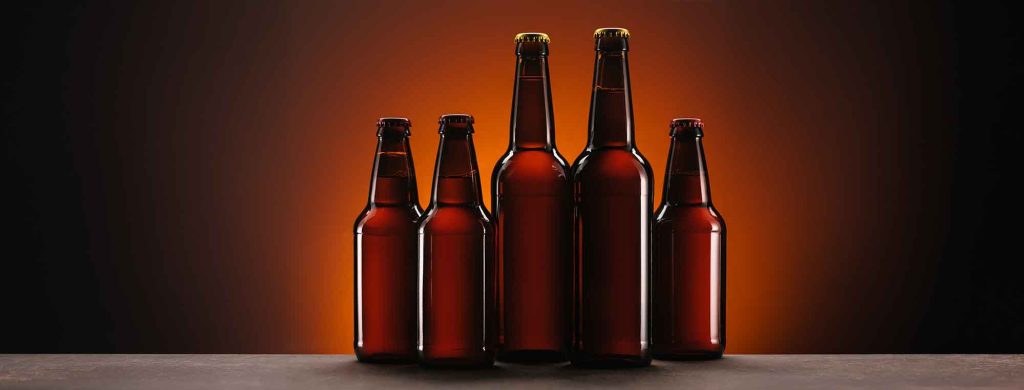
For a typical 5-gallon batch, plan on approximately: 50–55 twelve-ounce bottles.
Your exact number depends on:
- Final volume of your brew
- Bottle size
- Sediment
- Transfer losses
- How full you fill each bottle
It is better to have a few extra bottles than to run out.
For example, a 5-gallon batch contains approximately 640 fluid ounces. At 12 ounces per bottle, that is about 53 bottles before accounting for losses.
Can I Use Larger Bottles?
Yes. Larger bottles reduce the number of bottles you need.
Common options include:
- 12-ounce bottles
- 16-ounce bottles
- 22-ounce bottles
- 750-mL bottles
Make sure the bottles are rated for carbonated beverages and that you have compatible caps and a capper.
What Are Flip-Top Bottles?
Flip-top bottles use a reusable stopper and wire mechanism.
They do not require a bottle capper. They can be convenient for beginners. You simply fill the bottle and close the mechanism.
However, the gaskets need to remain in good condition.
Are Flip-Top Bottles Better Than Crown-Cap Bottles?
Not necessarily.
They are simply different.
Flip-Top Advantages
- No capper
- Reusable closure
- Easy to open
- Easy to reseal
Crown-Cap Advantages
- Inexpensive
- Traditional
- Easy to replace caps
- Large selection of bottles
- Good seal when properly capped
For a beginner, either system can work.
What Are Crown Caps?
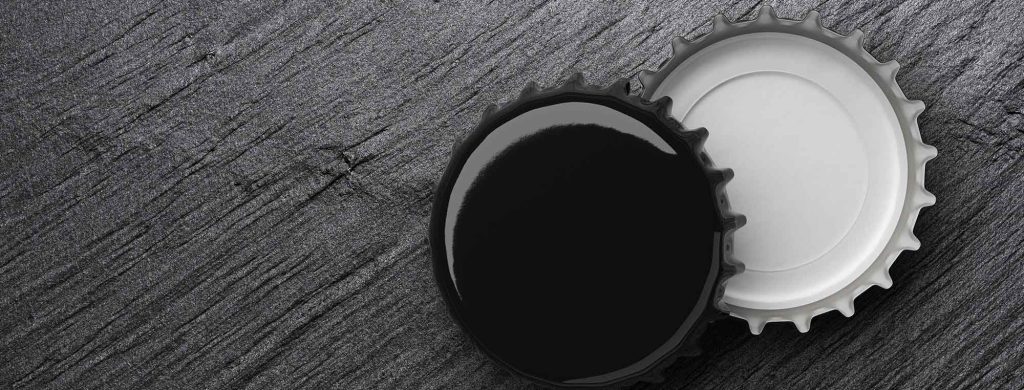
Crown caps are the small metal caps used on most traditional beer bottles. They are inexpensive and disposable.
You need a bottle capper to install them.
Buy new caps. Do not reuse caps from commercial beer bottles.
Do I Need Oxygen-Absorbing Caps?
They are available and they can provide an additional oxygen-control feature.
However, they are not required for beginner bottling. Good sanitation, careful transfers, proper filling, and good storage practices are more important.
What Is Priming Sugar?
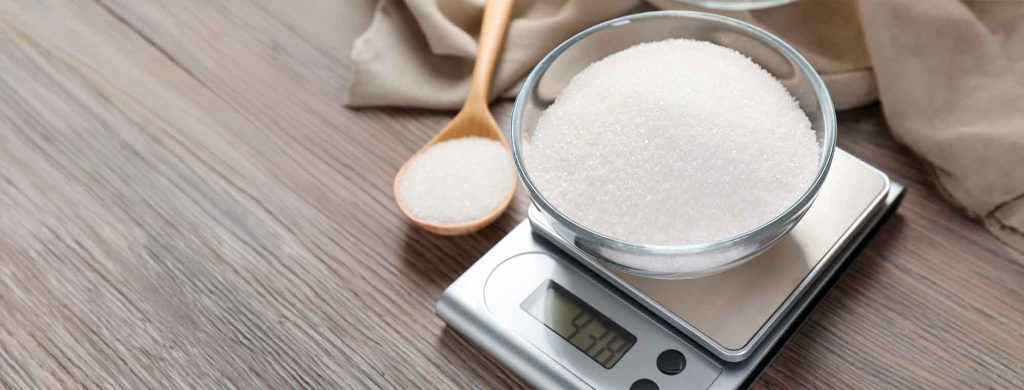
Priming sugar is fermentable sugar added immediately before bottling for carbonated drinks like beer and sparkling ciders and meads.
The remaining yeast consumes the sugar inside the sealed bottle. This produces carbon dioxide. Because the bottle is sealed, the carbon dioxide dissolves into the beverage. This produces natural carbonation.
What Priming Sugar Should I Use?
Corn sugar, also called dextrose, is a common choice.
You can also use other fermentable sugars. The important point is to calculate the correct amount.
Do not add an arbitrary amount of sugar to every bottle.
How Do I Add Priming Sugar?
The easiest beginner method is to make a priming-sugar solution.
A typical process is:
- Measure the required sugar.
- Mix it with a small amount of water.
- Bring the solution to a boil.
- Allow it to cool.
- Sanitize the bottling bucket.
- Add the priming-sugar solution.
- Transfer the beer into the bucket.
- Gently mix the beer and sugar.
- Fill the bottles.
- Cap the bottles.
The goal is to distribute the sugar evenly without splashing the beer.
Why Should I Use a Bottling Bucket for Priming Sugar?
You want the sugar evenly distributed throughout the batch.
Adding different amounts of sugar to individual bottles is possible, but it is more difficult to control.
A bottling bucket allows the priming sugar to mix with the entire batch.
How Full Should I Fill a Beer Bottle?
Use the bottle filler. Push it against the bottom of the bottle. Fill until the beer reaches near the top.
When you remove the filler, the beer level drops and leaves the desired headspace.
This also makes bottle-to-bottle volume more consistent.
Why Does the Bottle Filler Leave Headspace?
The filler itself occupies some space inside the bottle.
When you remove it, the beer level drops. This creates a consistent amount of headspace.
The exact amount is not a single universal measurement. Follow your recipe or brewing procedure.
Should I Squeeze the Bottle?
Not with glass bottles.
Plastic PET beer bottles can sometimes be used for homebrew. The ability to squeeze the bottle can provide information about carbonation.
Glass bottles do not provide this feedback.
Do I Need a Bottle Tree?
No.
A bottle tree can make rinsing and draining bottles easier. It is optional – and personally I have never owned one.
You can drain sanitized bottles upside down on a clean surface or suitable rack.
Do I Need a Bottle Rinser?
A bottle rinser is convenient.
It can help sanitize bottles quickly. However, it is not essential. A container of sanitizer can work.
Do I Need a Bottle Brush?
Yes, if you reuse glass bottles.
A bottle brush makes it easier to remove dried beer residue.
Cleaning vs. Sanitizing Bottles
These are different steps.
- Cleaning removes dirt and dried beer.
- Sanitizing reduces microorganisms.
A bottle with visible dried beer is not clean. Do not assume sanitizer can replace cleaning.
A good process is:
Drink → rinse immediately → clean → store → sanitize before bottling
How Do I Sanitize Bottles?
Before bottling:
- Inspect each bottle.
- Clean it.
- Rinse it.
- Apply brewing sanitizer.
- Allow the required contact time.
- Drain.
- Fill with beer.
Use a no-rinse sanitizer according to its instructions.
Do not rinse sanitized bottles with untreated tap water.
Do I Need to Sanitize Bottle Caps?
Follow the cap manufacturer’s instructions. Many brewers sanitize caps before use.
Do not boil caps unless the manufacturer specifically recommends it. Excessive heat can damage some cap liners.
Do I Need a Bottling Bucket If My Fermenter Has a Spigot?
Not always.
A fermenter with a properly positioned spigot can sometimes be used for bottling. However, you still need a way to add and evenly distribute priming sugar. A dedicated bottling bucket makes this process easier.
Can I Bottle Directly From the Fermenter?
Yes, but it is not usually the best beginner method. You would need to add priming sugar carefully. You also need to avoid disturbing sediment.
A bottling bucket allows you to get a clean rack, leaving sediment behind before bottling. It also provides a controlled way to transfer beer and mix the priming solution.
Can I Use a Siphon Instead of a Bottling Bucket?
Yes. You can fill bottles using a siphon and bottle filler. However, the process is less convenient. A bottling bucket provides a stable source of beer and makes filling many bottles easier.
What Is an Auto-Siphon?
An auto-siphon is a siphoning device that starts the transfer without requiring you to suck on the tubing.
It is useful for moving beer from the fermenter to the bottling bucket. It also helps reduce splashing when used correctly.
Why Should I Avoid Splashing Beer?
Oxygen is useful early in the brewing process.
After fermentation, oxygen can cause oxidation. Oxidized beer can lose freshness and develop stale flavors.
When transferring finished beer:keep the tubing below the surface of the receiving beer. Avoid splashing.
Best Beginner Bottling Equipment: Complete List
For a 5-gallon batch, this is the equipment I would buy.
Essential Equipment
- 6.5-gallon bottling bucket
- Spigot
- Spring-tip bottle filler
- Food-safe tubing
- Auto-siphon
- Bottle capper
- Crown caps
- Approximately 50–55 bottles
- Bottle brush
- Brewing cleaner
- Brewing sanitizer
- Priming sugar
Useful Equipment
- Bottle rinser
- Bottle tree
- Bench capper
- Extra tubing
- Extra bottles
- Bottle drying rack
- Bottle labels
You do not need every item in the second group.
Best Beginner Bottling Kit
If you want the simplest possible purchase, look for a kit containing:
- Bottling bucket
- Spigot
- Bottle filler
- Tubing
- Bottle capper
- Bottle caps
Some kits include bottles as well.
Check exactly what each kit contains before purchasing. Some are designed for 1-gallon batches, while others are designed around 5-gallon batches.
Should I Buy a Complete Bottling Kit?
For a beginner, yes.
A kit can be convenient because the components are designed to work together. However, do not buy a kit simply because it contains many pieces. Make sure it includes the equipment you actually need.
Do I Need a Bench Capper?
No.
Start with a wing capper if you want to keep costs low.
Upgrade to a bench capper if you find yourself bottling frequently.
Do I Need a Counter-Pressure Bottle Filler?
No.
A counter-pressure filler is primarily useful for filling bottles from carbonated beer.
It is more common when kegging.
If you are bottle conditioning beer with priming sugar: you do not need one.
Do I Need a Beer Gun?
No.
A beer gun is another type of specialized bottle-filling equipment. It is useful for certain kegging and packaging methods. It is unnecessary for standard bottle conditioning.
Do I Need a Kegging System Instead?
Not necessarily.
Kegging is faster once you have the equipment. However, the initial cost is much higher.
Bottling requires relatively inexpensive equipment. For a beginner, bottling is an excellent way to start.
Bottling Equipment for a 1-Gallon Batch
If you are making a 1-gallon batch, you do not need a full 5-gallon bottling setup.
You can use:
- Small bottling bucket
- Bottle filler
- Small number of bottles
- Crown caps
- Wing capper
- Priming sugar
- Sanitizer
A 1-gallon batch produces approximately eight 16-ounce bottles or about ten 12-ounce bottles before losses.
A small bottling kit can make more sense for this batch size.
Bottling Equipment for Mead, Cider, and Wine
The equipment depends on the beverage and packaging method.
Beer, cider, and some meads can be bottle conditioned.
Wine and many meads are commonly bottled still.
For still beverages, you do not need:
- Priming sugar
- Bottle conditioning
- Beer crown caps
You may instead use:
- Wine bottles
- Wine corks
- Corker
- Wine bottle filler
The general principles remain the same: clean → sanitize → transfer carefully → fill → seal
How to Set Up Your Bottling Equipment
Before bottling:
1. Clean the Equipment
Clean the:
- Bottling bucket
- Spigot
- Tubing
- Bottle filler
- Auto-siphon
- Bottles
- Capper
2. Sanitize Everything
Use an appropriate brewing sanitizer.
3. Prepare the Priming Solution
Measure the correct amount.
4. If Making a Carbonated Drink, Put the Priming Solution in the Bottling Bucket
Add it before transferring the beer, mead, or cider.
5. Transfer the Brew
Use the auto-siphon.
Keep the transfer tube below the surface of the liquid.
6. Mix Gently
Do not splash.
7. Connect the Bottle Filler
Attach the filler to the spigot.
8. Fill the Bottles
Fill each bottle to the appropriate level.
9. Cap the Bottles
Use sanitized crown caps and your capper.
10. Store the Bottles
Keep them at an appropriate fermentation temperature and away from light.
How Long Does Bottle Conditioning Take?
Beer commonly needs approximately 4–6 weeks to carbonate.
The exact time depends on:
- Yeast health
- Temperature
- Priming sugar
- Alcohol content
- Beer style
- Storage conditions
Do not assume that carbonation is complete after only a few days.

How Do I Know When Bottled Beer Is Carbonated?
The easiest method is to open one bottle.
- Chill it.
- Open it.
- Pour it.
- Check the carbonation.
Do not open all the bottles every few days. That wastes your brew.
Why Are Some Bottles Overcarbonated?
Possible causes include:
- Too much priming sugar
- Uneven sugar distribution
- Bottling before fermentation finished
- Contamination
- Incorrect volume calculations
This is why you should confirm that fermentation is finished before bottling.
A stable final gravity is important.
Can Bottles Explode?
Yes.
This is one of the most important safety issues with bottle conditioning.
If too much fermentable sugar remains in the beer, and you add additional priming sugar, the yeast can produce excessive carbon dioxide. The pressure can become high enough to break the bottle. This is why you should never bottle beer before you know fermentation is finished.
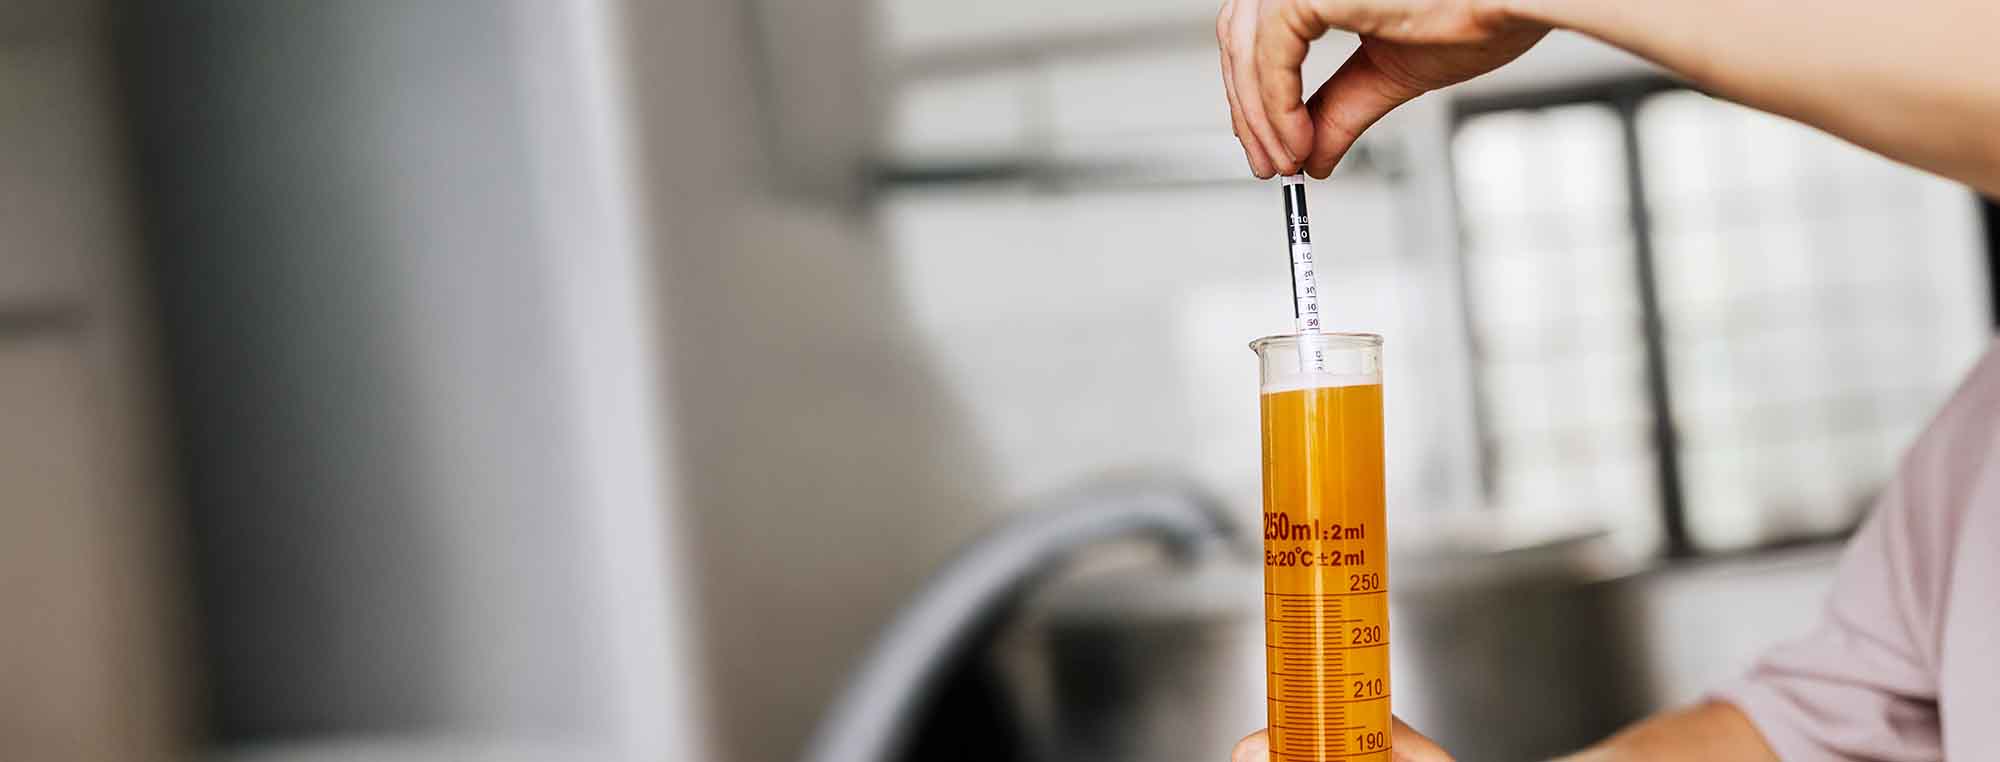
Use a hydrometer. Take two readings several days apart. If the gravity is stable, fermentation is much more likely to be complete.
Should I Wear Gloves When Bottling?
Normal food-safe handling is sufficient for most homebrewing.
However, use appropriate protection when handling cleaning chemicals and sanitizers.
Follow the product label.

Common Beginner Bottling Mistakes
Bottling Too Early
This is one of the most serious mistakes.
Confirm stable final gravity before bottling.
Not Sanitizing the Bottling Equipment
Every piece that contacts finished beer should be clean and sanitized.
Splashing the Brew
Avoid unnecessary oxygen exposure.
Using Dirty Bottles
A bottle can look clean and still contain microorganisms.
Clean and sanitize it.
Using Twist-Off Bottles
Use bottles designed for crown caps.
Adding Too Much Priming Sugar
Measure carefully.
Adding Priming Sugar to Each Bottle
This can lead to inconsistent carbonation.
A measured batch-level priming solution is simpler.
Forgetting the Spigot
Make sure the bottling bucket spigot is properly installed and does not leak.
Forgetting the Bottle Filler
A bottle filler is one of the most useful pieces of bottling equipment.
Filling Every Bottle to a Different Level
Use the spring-tip filler for consistent fills.
Bottling Directly From the Fermenter
You can do it, but a bottling bucket makes the process easier.
The Ideal Beginner Bottling Setup
If I were putting together a bottling system for someone making their first 5-gallon batch, I would buy:
- 6.5-gallon bottling bucket
- Spigot
- Spring-tip bottle filler
- 4–5 feet of food-safe tubing
- Auto-siphon
- Wing bottle capper
- 60 crown caps
- 55 or more pry-off beer bottles
- Bottle brush
- Brewing cleaner
- No-rinse brewing sanitizer
- Priming sugar
That is all you need.
- You do not need a counter-pressure filler.
- You do not need a beer gun.
- You do not need a commercial bottling machine.
- You do not need a kegging system.

A Simple Bottling-Day Checklist
Before you start:
- Fermentation is finished.
- Final gravity is stable.
- Bottles are clean.
- Bottles are sanitized.
- Bottling bucket is clean.
- Spigot is clean.
- Tubing is clean.
- Bottle filler is clean.
- Auto-siphon is clean.
- Bottle capper is clean.
- Caps are ready.
- Priming sugar is measured.
- Sanitizer is prepared.
During bottling:
- Avoid splashing.
- Keep equipment sanitized.
- Mix priming sugar evenly.
- Fill bottles consistently.
- Leave appropriate headspace.
- Cap bottles securely.
After bottling:
- Store bottles away from light.
- Keep them at an appropriate temperature.
- Allow enough time for carbonation.
- Check one bottle before opening the rest.
The Bottom Line
The best bottling equipment for a beginner is simple and inexpensive.
For a typical 5-gallon batch, start with a:
6.5-gallon bottling bucket + spigot + spring-tip bottle filler + tubing + wing capper + crown caps + bottles.
The bottling bucket makes priming and filling easier. The spring-tip filler provides consistent fills. The wing capper is inexpensive and works well.
If you bottle frequently, upgrade to a bench capper.
If you eventually move to kegging, you can leave most of the bottling equipment behind.
But for your first several batches, a basic bottling setup is all you need to turn fermented beer into properly carbonated bottles of homebrew.
And remember the most important piece of bottling equipment is not the capper or the bottle filler.
It is your hydrometer.
Make sure fermentation is finished before you add priming sugar and seal the bottles. That single step helps prevent one of the most dangerous beginner mistakes: overcarbonated bottles.