Home fermentation can seem complicated. It does not need to be.
You can make mead, cider, and fruit wine with a small amount of equipment. You do not need a large brewing system. You do not need a special room. You do not need to understand advanced chemistry.
You need clean equipment, good ingredients, healthy yeast, and patience.
This guide explains how to start homebrewing if you have never fermented anything before.
What Is Homebrewing?
Homebrewing is the process of making fermented drinks at home. Now, purists will argue that the term “home brewing” is only for beer. But over the past 20 years, it has also been adopted for describing the process of making wines, ciders, and meads at home. So don’t worry what the sticklers say. You’re a homebrewer even if you’re not making beer.
Yeast converts sugar into alcohol and carbon dioxide.
The basic process is:
Sugar + yeast → alcohol + carbon dioxide
The sugar can come from different sources.
- For mead, the sugar comes mainly from honey.
- For cider, the sugar comes from apples.
- For fruit wine, the sugar comes from fruit.
The basic fermentation process is similar for all three.
Which One Should You Make First?
All three are good beginner projects.
Mead
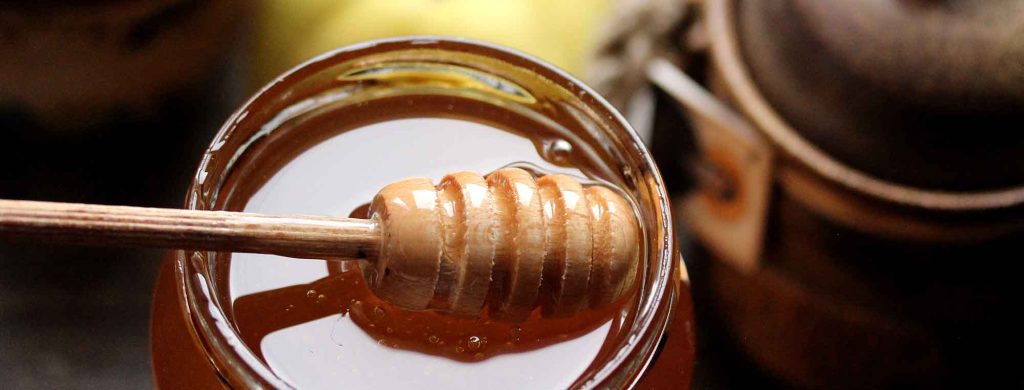
Mead is made from honey, water, and yeast.
A simple mead can use:
- Honey
- Water
- Wine yeast
- Yeast nutrient
Mead is a good choice if you want to experiment with different flavors. You can add fruit, spices, herbs, or other ingredients.
Cider
Cider is fermented apple juice.
A simple cider can use:
- Apple juice
- Wine or cider yeast
- Yeast nutrient
Cider is one of the easiest fermented drinks to make. You do not need to press apples. You can buy suitable apple juice from a grocery store.
Fruit Wine
Fruit wine uses fruit other than grapes.
Examples include:
- Strawberry wine
- Blackberry wine
- Blueberry wine
- Peach wine
- Cherry wine
- Raspberry wine
Fruit wine requires more preparation than cider. You must prepare the fruit if working with fruit rather than juice. You may also need to adjust sugar, acidity, and tannin.
Start With a One-Gallon Batch
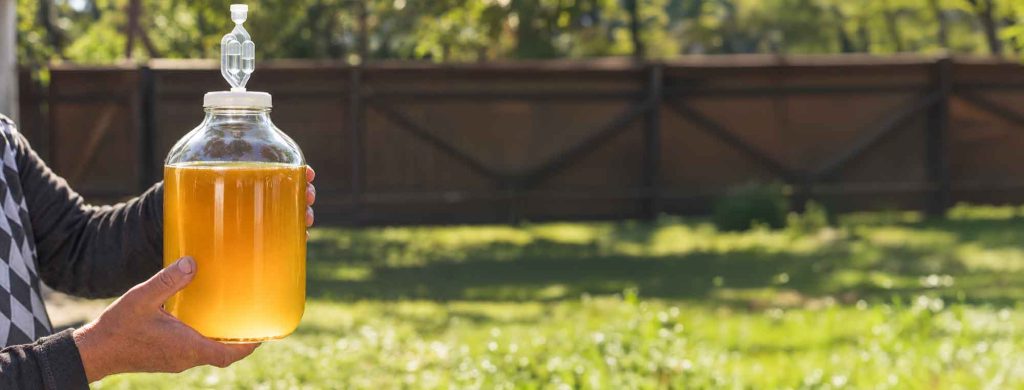
A one-gallon batch is an excellent size for a beginner.
It requires less equipment. It costs less. It produces enough finished drink to taste and evaluate. And it also allows you to make several different batches.
You can make one gallon of cider.
Then you can make one gallon of mead.
Then you can make one gallon of fruit wine.
This gives you experience without committing to a large batch.
Basic Equipment
You can use most of the same equipment for mead, cider, and fruit wine.
You need:
- 1-gallon fermenter
- Fermentation stopper or lid
- Airlock
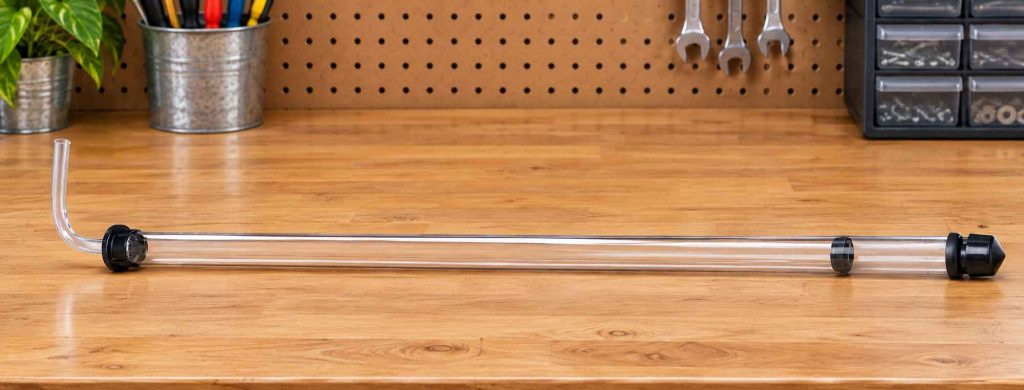
- Siphon or auto-siphon
- Siphon tubing
- Hydrometer
- Hydrometer test jar
- Thermometer
- Measuring spoon
- Digital scale
- Large spoon
- Cleaner
- No-rinse sanitizer
- Bottles
- Bottle filler
You will also need a way to close the bottles. For still mead and wine, you can use wine bottles and corks. For carbonated cider, beer bottles and crown caps are simple options.
Buy a Hydrometer
A hydrometer is one of the most useful tools for a beginner. It measures the specific gravity of the liquid. Before fermentation, the liquid contains sugar. The hydrometer measures the amount of dissolved material in the liquid.
As yeast consumes sugar, the specific gravity decreases. This gives you a way to measure fermentation. Do not use bubbles in the airlock as your main test.
An airlock can stop bubbling while fermentation is still active. A hydrometer gives you much better information.
Buy Good Sanitizer
Sanitation is one of the most important parts of fermentation.
You need two products:
- Cleaner
- No-rinse sanitizer, like Star San
Cleaning removes dirt and residue. Sanitizing reduces microorganisms. Always clean equipment before you sanitize it. Sanitize everything that touches the drink after preparation.
This includes:
- Fermenters
- Siphons
- Spoons
- Hydrometers
- Test jars
- Airlocks
- Bottles
- Bottle fillers
Follow the instructions for the sanitizer.
Buy a Wine Yeast
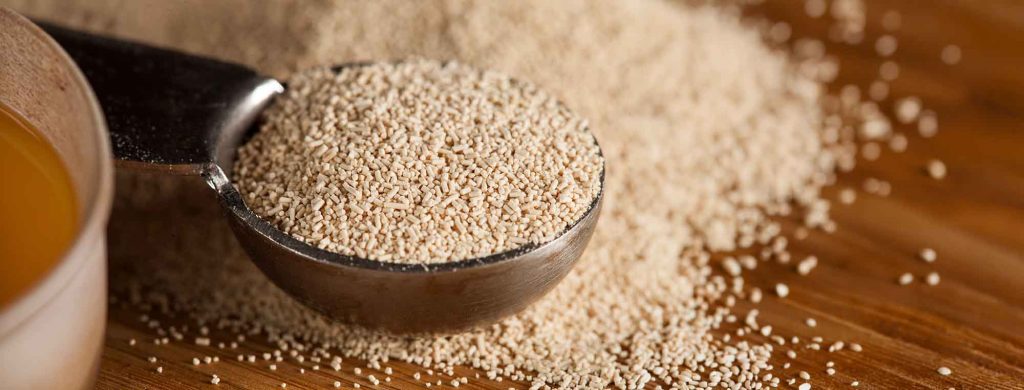
Do not use baking yeast for your first batch. Use a yeast cultured for wine, cider, or mead.
Common wine yeasts include:
- Lalvin 71B
- Lalvin K1-V1116
- Lalvin EC-1118
- Red Star Premier Blanc
- Red Star Premier Rouge
Different yeasts produce different flavors. For your first batch, choose a yeast that has a wide fermentation range and is appropriate for your drink. You do not need to make a yeast starter for a normal one-gallon batch.
Buy Yeast Nutrient
Yeast needs more than sugar. It also needs nutrients.
Honey, apple juice, and some fruit juices can be low in nutrients that yeast needs. Yeast nutrient can help produce a healthy fermentation.
Common nutrient products include:
- Fermaid-O
- Fermaid-K
- Diammonium phosphate
- Complete yeast nutrient blends
Use the dose recommended by the product manufacturer. Do not add large amounts of nutrient. More nutrient does not always mean better fermentation. Check out our comprehensive article ranking all the mead nutrients!
Start With Simple Ingredients
Your first batch should not contain ten different ingredients. Simple recipes are easier to understand.
A good first mead can use:
- Honey
- Water
- Yeast
- Nutrient
A good first cider can use:
- Apple juice
- Yeast
- Nutrient
A good first fruit wine can use:
- One type of fruit
- Water or juice
- Yeast
- Nutrient
- Pectic enzyme
- Sugar if needed
You can add more ingredients after you understand the basic process.
Brew Day
The first day is when you prepare the liquid for fermentation.
For all three drinks, the process is similar.
1. Clean the Equipment
Clean the fermenter and all equipment. Remove dirt and residue.
2. Sanitize the Equipment
Sanitize everything that will touch the fermentation liquid. Follow the sanitizer instructions.
3. Prepare the Ingredients
For mead, dissolve the honey in water.
For cider, pour the apple juice into the fermenter.
For fruit wine, prepare and crush the fruit.
4. Measure the Starting Gravity
Take a sample. Use the hydrometer. Record the specific gravity.
This gives you a starting point.
5. Add Nutrient
Add the recommended amount of yeast nutrient.
6. Add the Yeast
Add the yeast according to the package instructions.
7. Install the Airlock
Close the fermenter.
Install the airlock.
Move the fermenter to a suitable location.
Fermentation Temperature
Temperature affects yeast behavior.
Too much heat can create unwanted flavors. Too much cold can slow or stop fermentation. Follow the temperature range recommended by your yeast manufacturer.
A temperature-controlled environment is useful, but it is not required for a first batch. A stable room-temperature location can work well for many wine yeasts.
Avoid direct sunlight. Avoid locations with large temperature changes.
Do Not Panic During Fermentation
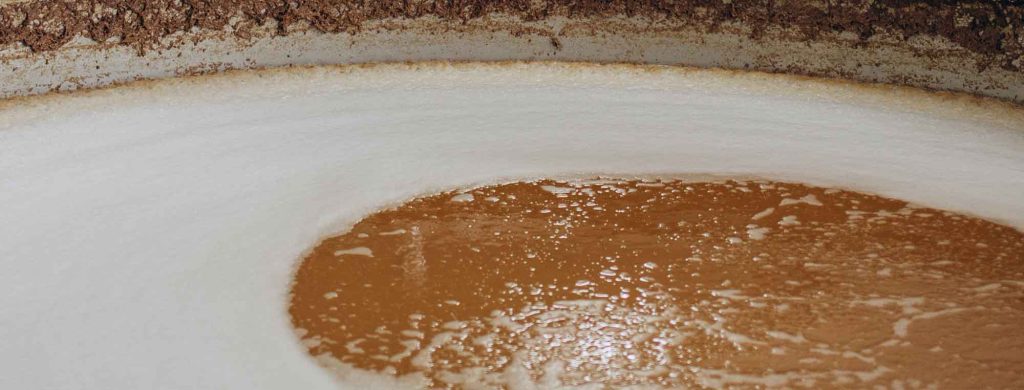
Fermentation can look strange.
You may see:
- Foam
- Bubbles
- Sediment
- Floating fruit
- Cloudy liquid
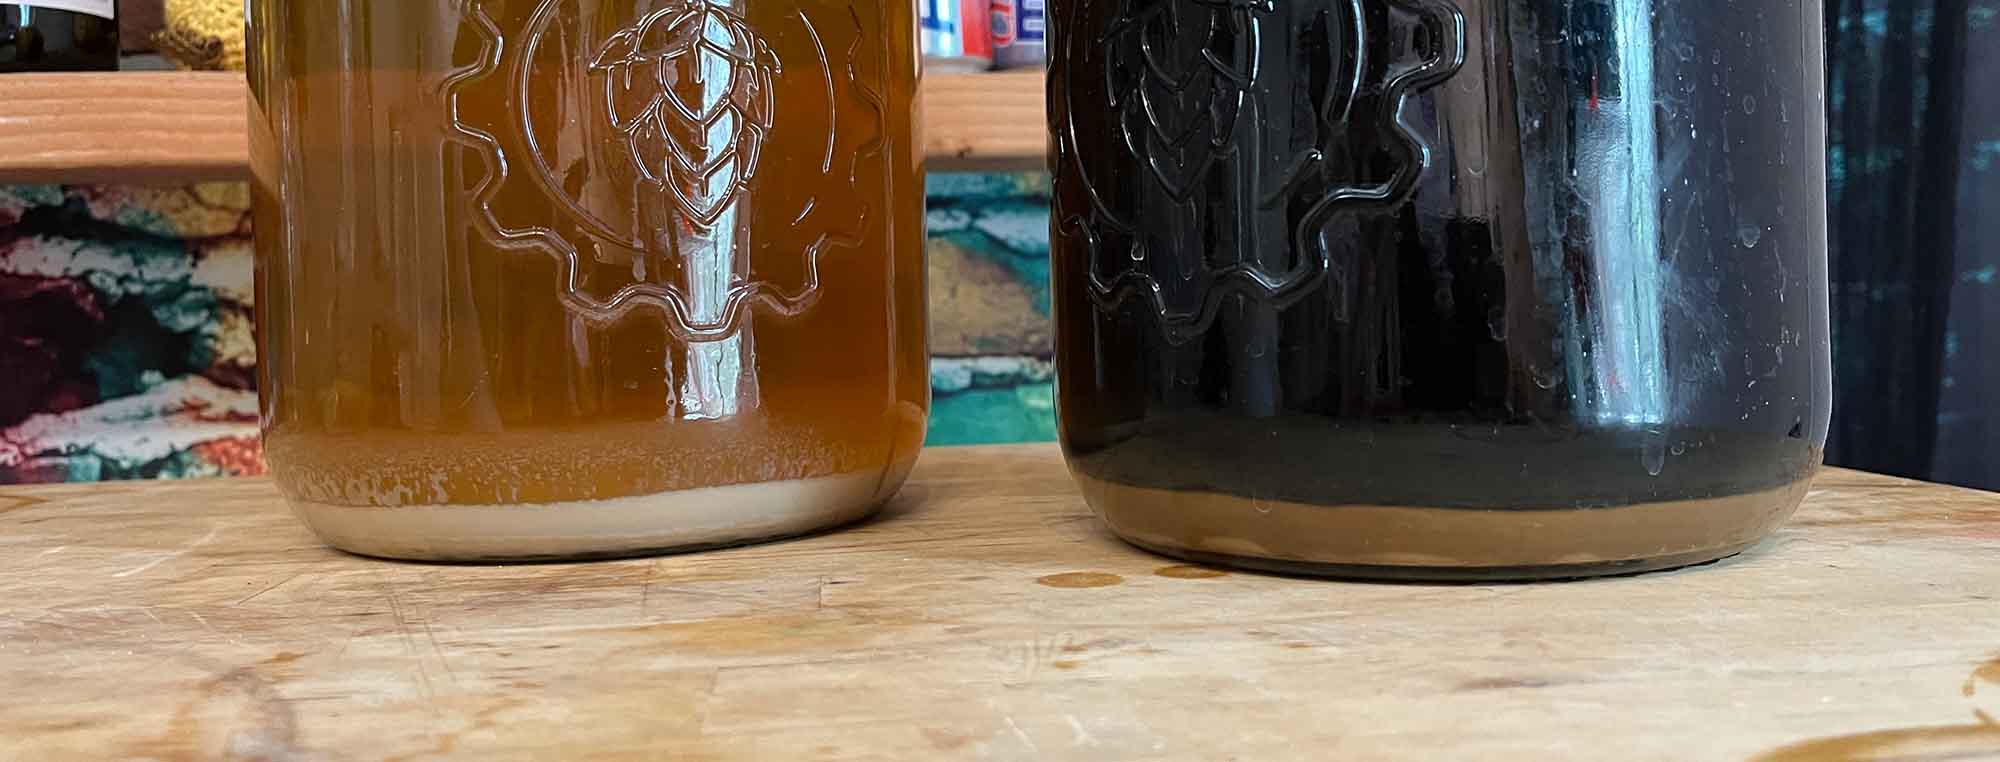
- A layer of yeast
These things are normal.
The airlock can bubble rapidly. Then it can slow down. Then it can stop. Do not assume that something is wrong. Instead, use your hydrometer to understand what is happening.
Primary Fermentation
Primary fermentation is the most active part of fermentation. The yeast consumes sugar. Alcohol levels increase. Carbon dioxide is produced.
Primary fermentation often takes several days to several weeks.
The exact time depends on:
- Sugar level
- Yeast
- Temperature
- Nutrient level
- Alcohol level
Do not rush this stage.
Take Gravity Readings
After the first week, take a hydrometer reading.
Record it.
Take another reading several days later. The gravity should decrease during active fermentation.
When the gravity stops changing, fermentation may be complete. Take another reading to confirm. Stable readings are more important than the number of days that have passed.
Secondary Fermentation
Secondary fermentation is a quieter stage. It is also sometimes called bulk aging. And typically there’s very little if any fermentation happening.
You transfer the fermented drink to a clean, sanitized vessel. This leaves much of the sediment behind.
Secondary fermentation can help with:
- Clarification
- Aging
- Flavor development
- Fruit additions
- Spice additions
Secondary fermentation is not always necessary. For a simple cider or mead, you can sometimes leave the drink in the primary fermenter until fermentation and initial clarification are complete.
Transfer to Secondary
If you use a secondary fermenter:
- Clean the vessel.
- Sanitize the vessel.
- Sanitize the siphon.
- Transfer the drink.
- Avoid splashing.
- Leave sediment behind.
- Fill the secondary vessel as much as practical.
- Install the airlock.
Oxygen is useful at the beginning of fermentation. After fermentation, oxygen can cause oxidation. Avoid unnecessary exposure to air.
Add Flavors
Secondary fermentation is a useful time to add flavor ingredients.
For mead, you can add:
- Fruit
- Vanilla
- Cinnamon
- Ginger
- Coffee
- Tea
- Herbs
- Spices
- Oak
For cider, you can add:
- Berries
- Cherries
- Peaches
- Pears
- Ginger
- Cinnamon
- Vanilla
- Hops
For fruit wine, you can add:
- Additional fruit
- Oak
- Spices
- Herbs
- Fruit concentrates
Keep the first batch simple. Try one new ingredient at a time. This makes it easier to understand what each ingredient does.
Fruit Adds Sugar
This is important: fruit contains sugar. Seems obvious, right?
If you add fruit after primary fermentation, the yeast can ferment that sugar. The fermentation may start again. Do not assume that the drink is ready for bottling immediately after adding fruit.
Take hydrometer readings. Wait until the gravity becomes stable again.
Clarification
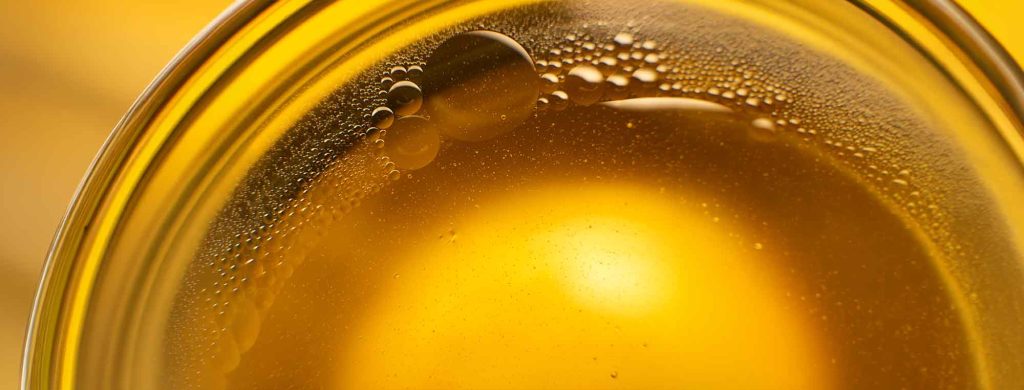
Young fermented drinks are often cloudy.
This is normal.
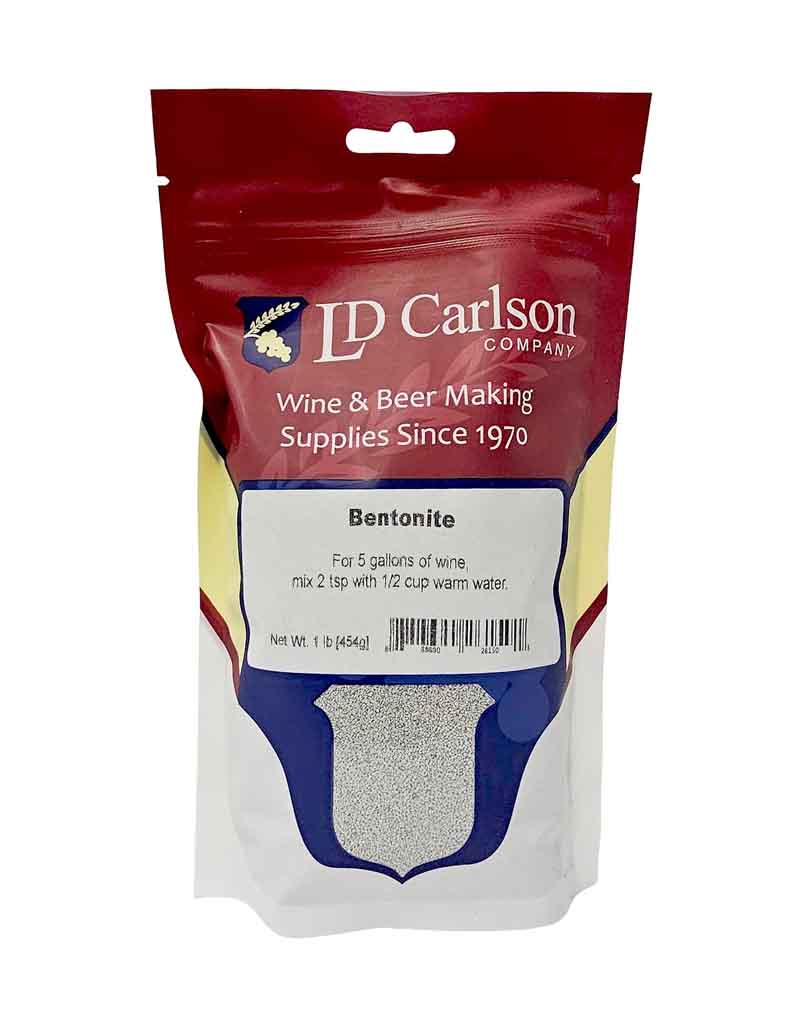
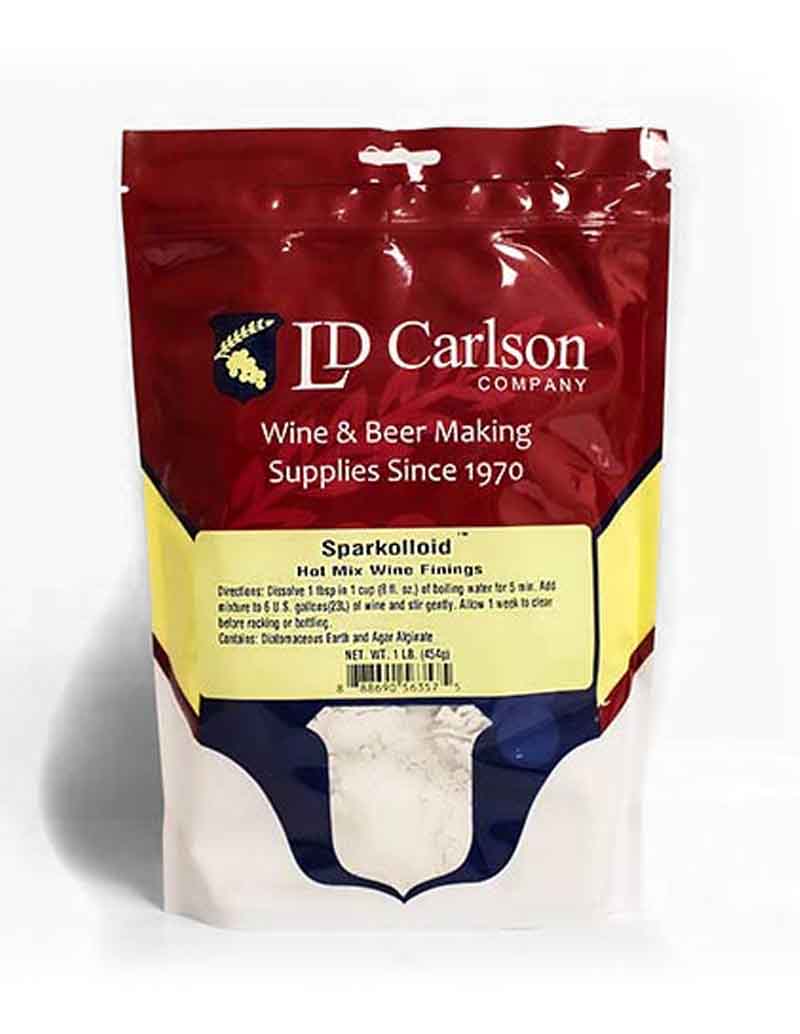
Yeast and other particles can remain suspended in the liquid. Time can make the drink clearer. You can also use a fining agent.
Common fining products include:
- Bentonite
- Kieselsol
- Chitosan
- Sparkolloid
You do not need fining agents for every batch. Clear does not always mean better. Though it certainly looks better.
Stabilization
If you want to make a sweet mead, cider, or fruit wine, you need to understand stabilization.
Fermentation converts sugar into alcohol. If you add sugar to a brew with still-active yeast, the yeast can ferment the new sugar. This can create unwanted pressure in bottles.
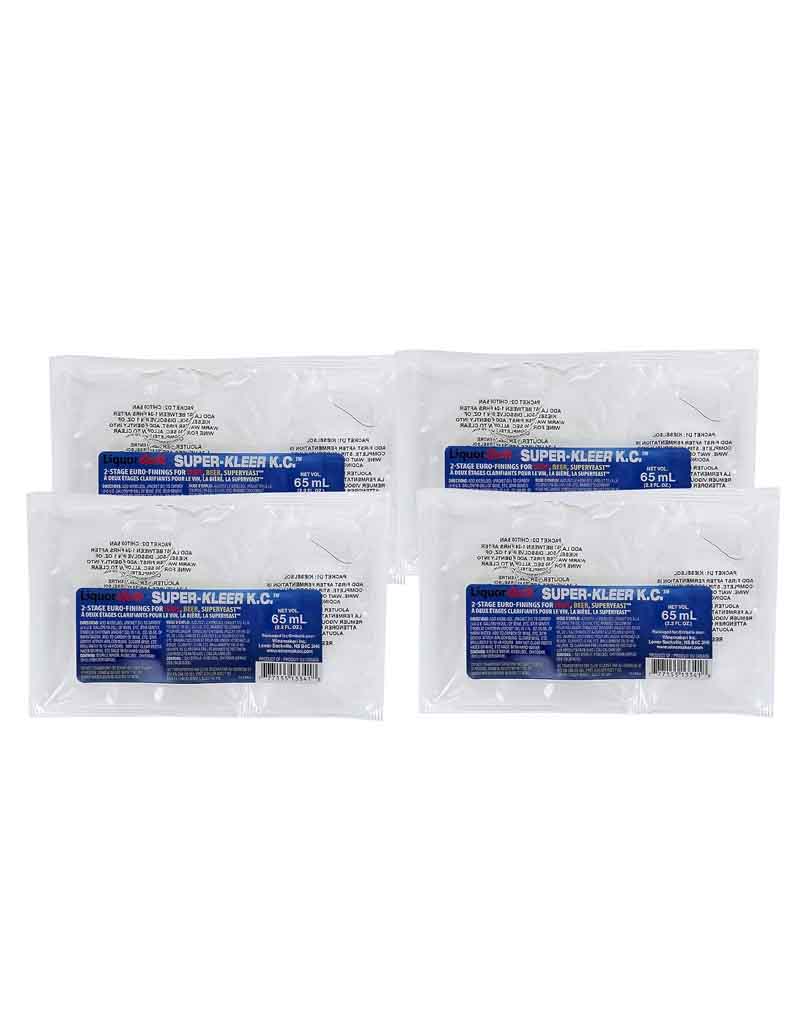
For a still sweet drink, winemakers often use:
These products do not remove all yeast from the drink. Rather, they help prevent the yeast from restarting fermentation.
Follow the manufacturer’s instructions for both products. Confirm that fermentation is complete before you stabilize.
Sweetening
You can leave the drink dry. You can also sweeten it.
Common sweeteners include:
- Sugar
- Honey
- Apple juice concentrate
- Fruit juice
- Fruit concentrate
If you add fermentable sugar, make sure the drink is properly stabilized first if you intend to bottle it still.
You can also use a non-fermentable sweetener. Add sweetener in small amounts. Taste after each addition.
Bottling
Do not bottle a drink that is still fermenting.
Take hydrometer readings on different days. The readings should remain stable. This is especially important when using glass bottles.
Continued fermentation can produce carbon dioxide. In a sealed bottle, pressure can increase. Too much pressure can cause corks to pop or bottles to break.
Bottling Still Mead and Wine
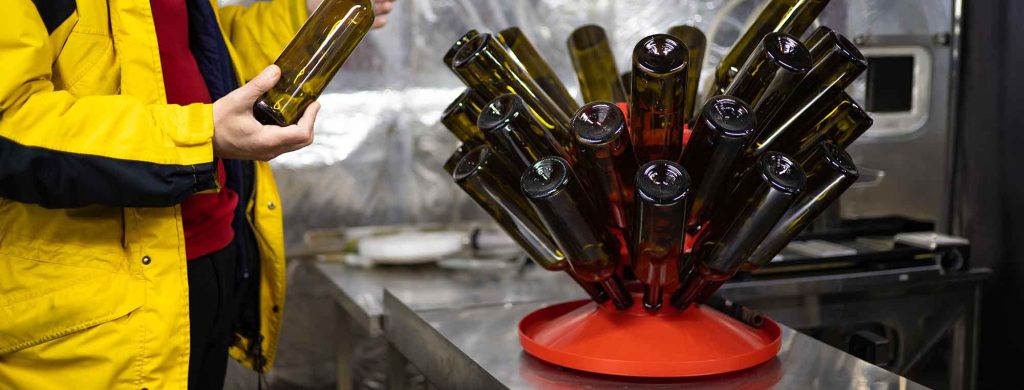
For still mead or fruit wine, use:
- Wine bottles
- Wine corks
- Corker
Clean and sanitize the bottles. Transfer the finished drink to a bottling bucket. Do not splash.
Fill the bottles, leaving the correct headspace.
Insert the corks.
Store the bottles in a cool, dark location.
Bottle-Conditioned Cider
Cider can also be carbonated in bottles. The process is similar to bottle conditioning beer.
First, confirm that fermentation is complete.
Then add a measured amount of priming sugar. Transfer the cider to a bottling bucket. Mix the priming sugar with the cider.
Do not splash.
Fill the bottles. Cap the bottles.
The yeast will ferment the priming sugar. The carbon dioxide will remain in the sealed bottle. Then the cider will become carbonated.
Do not add fermentable sugar for both sweetness and carbonation unless you have a controlled process. If the cider contains fermentable sugar, the yeast can continue to produce carbon dioxide. This can create excessive bottle pressure.
A Simple First Batch
If you want the easiest possible introduction to fermentation, start with cider.
Use:
- 1 gallon apple juice
- Wine, ale, or cider yeast
- Yeast nutrient
- 1-gallon fermenter
- Airlock
- Hydrometer
- Siphon
- Sanitizer
- Bottles
The basic process is:
- Sanitize the equipment.
- Add the apple juice.
- Measure the starting gravity.
- Add yeast nutrient.
- Add yeast.
- Install the airlock.
- Allow fermentation to finish.
- Confirm stable gravity readings.
- Transfer to secondary if desired.
- Allow the cider to clarify.
- Sweeten if desired.
- Add priming sugar if you want carbonation. (and if you’ve used a nonfermentable sweetener)
- Bottle the cider.
- Allow bottle conditioning to finish.
- Refrigerate.
- Drink the cider.
Common Beginner Homebrewing Mistakes
Using Dirty Equipment
Poor sanitation is one of the most common causes of problems.
Clean and sanitize everything.
Adding Too Much Sugar
More sugar does not always make better alcohol. Very high sugar levels can stress yeast.
Follow a recipe for your first batch.
Using the Airlock as a Fermentation Test
An airlock is a pressure-release device.
It is not a hydrometer. Use gravity readings.
Bottling Too Early
This can create excessive pressure.
Confirm that fermentation is complete.
Adding Too Many Ingredients
A complicated recipe makes troubleshooting difficult.
Start with one or two flavors.
Fermenting Too Hot
High temperatures can produce unwanted flavors.
Control the fermentation temperature when possible.
Opening the Fermenter Too Often
Every opening creates an opportunity for contamination and oxygen exposure. Look through the fermenter when possible.
Take samples only when you need information.

Keep a Brewing Journal
Write down what you do.
Record:
- Date
- Ingredients
- Ingredient weights
- Yeast strain
- Yeast amount
- Temperature
- Starting gravity
- Gravity readings
- Additives
- Flavor additions
- Final gravity
- Bottling date
- Tasting notes
This turns every batch into an experiment. If you make a great batch, you can repeat it.
If something goes wrong, your notes can help you find the cause.
Your First Three Batches
A useful way to learn is to make three simple batches.
Batch One: Cider
Learn:
- Sanitation
- Yeast handling
- Hydrometer readings
- Fermentation temperature
- Bottling
Batch Two: Traditional Mead
Use only:
- Honey
- Water
- Yeast
- Nutrient
Learn how honey affects fermentation and flavor.
Batch Three: Fruit Wine
Use one fruit or juice.
Learn:
- Fruit preparation
- Pectic enzyme
- Acid balance
- Tannin
- Fruit management
- Secondary fermentation
After these three batches, you will understand most of the basic fermentation process. We have a complete guide on how to make your first wine!
You Do Not Need to Buy Everything
Do not buy a complete professional winemaking setup for your first batch. Start with equipment that can handle one gallon. Be certain you shop around before buying a beginner kit, as many kits are designed to rip you off.
The same equipment can make:
- Mead
- Cider
- Fruit wine
You can add equipment as your interest grows.
- A temperature-controlled fermentation chamber can come later.
- A kegging system can come later.
- A fruit press can come later.
- A laboratory pH meter can come later.
- Advanced water treatment can come later.
Start by learning the basic process.

The Basic Rules
Remember these rules:
- Clean your equipment.
- Sanitize your equipment.
- Use healthy yeast.
- Give the yeast enough nutrients.
- Control the fermentation temperature.
- Measure the starting gravity.
- Measure the final gravity.
- Do not bottle an active fermentation.
- Minimize oxygen exposure after fermentation.
- Be patient.
The most important rule is simple: Measure instead of guessing.
A hydrometer can tell you what the yeast is doing. A thermometer can tell you whether the fermentation temperature is appropriate. Your notes can tell you what you did.
You do not need to know everything before you begin. Make a small batch and keep the recipe simple.
Follow good sanitation practices.
Take measurements.
Taste the result. Then make another batch. That is how you become a homebrewer!