
You do not need grapes, a press, or expensive equipment to make wine.
A bottle of white grape juice from the grocery store can teach you almost everything you need to know about basic winemaking.
You can learn how to:
- Choose a juice
- Start a fermentation
- Measure specific gravity
- Use wine yeast
- Add nutrients
- Control temperature
- Know when fermentation is finished
- Balance sweetness and acidity
- Stabilize wine
- Bottle wine
- Age wine
The finished wine may not taste like an expensive bottle from a winery, but that is not the point. Rather, the point is to make a clean, drinkable wine while learning the basic process.
Once you understand this process, you can apply the same ideas to cider, mead, fruit wine, and more advanced grape wines.
What You Need
You can make your first batch with simple equipment.
For a one-gallon batch, you need:
- 1 gallon of white grape juice
- Wine yeast
- Yeast nutrient
- 1-gallon fermenter
- Airlock
- Bung or lid
- Hydrometer
- Sanitizer
- Siphon
- Bottles
- Bottle closures
A funnel can make filling the fermenter easier. A small measuring cylinder or hydrometer jar makes gravity readings easier.
You do not need a wine press. You do not need a corker for your first batch if you use suitable screw-cap bottles or other appropriate closures.
Choose the Right Grape Juice
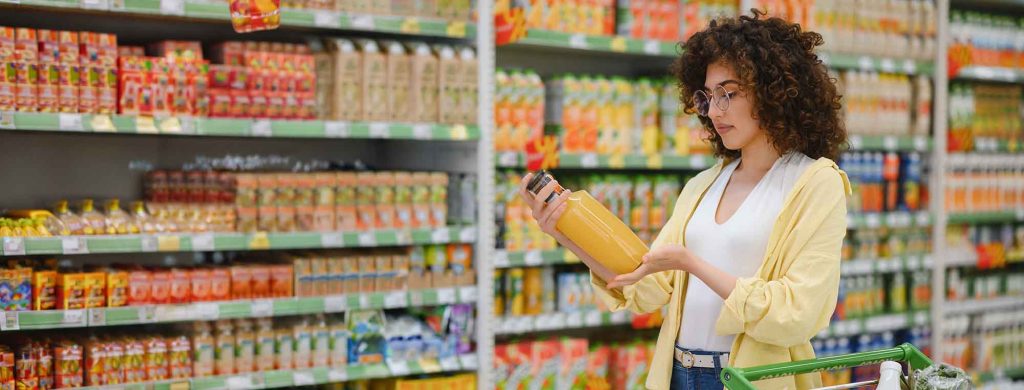
This is the most important part of the grocery-store method. Look for grape juice with a short ingredient list.
Ideally, the juice contains:
Grape juice.
Some juices contain preservatives.
Avoid juice containing ingredients such as:
- Potassium sorbate
- Sodium benzoate
- Other preservatives that inhibit yeast
These ingredients can make fermentation difficult or unreliable.
Pasteurized juice is fine. Pasteurization does not prevent fermentation by itself. The problem is antimicrobial preservatives, not the fact that the juice was heated.
Ascorbic acid is also fine.
Avoid “lite” juices that contain nonfermentable sweeteners.
Check the label
Do not assume every bottle of grape juice is the same. Read the ingredients.
Also check the nutrition label for carbohydrates and sugars. You want juice with enough sugar to produce a reasonable amount of alcohol.
Sanitize Everything
Before you make wine, clean and sanitize the equipment that will touch the juice or finished wine.
This includes:
- Fermenter
- Bung
- Airlock
- Hydrometer
- Hydrometer jar
- Funnel
- Siphon
- Bottles
- Any spoons or other tools
Cleaning removes dirt. Sanitizing reduces microorganisms that can spoil the wine. Do both.
A clean-looking piece of equipment is not necessarily sanitary.
Add the Juice
Pour the grape juice into your sanitized fermenter. Leave some space at the top. You need room for foam during fermentation.
Do not fill a one-gallon fermenter completely to the top. If your juice came in a large bottle, you can pour it directly into the fermenter. You can also sanitize the outside of the juice container and use a sanitized funnel.
Avoid unnecessary splashing once fermentation has started.

Measure the Original Gravity
This is your first real winemaking lesson.
Specific gravity tells you how dense the liquid is compared with water.
Sugar increases specific gravity.bAs yeast consumes sugar, gravity decreases.bA hydrometer therefore gives you a way to watch fermentation.
- Take a sample of the juice.
- Measure its specific gravity.
- Record the number.
This is your original gravity, or OG. Many grape juices will start somewhere around the 1.040 to 1.070 range, but the actual number depends on the juice. Do not guess. Measure it.
See our deep-dive guide to original gravity for more information.
What Does Original Gravity Tell You?
Original gravity gives you useful information about the batch. It can help estimate potential alcohol.
For example, if a juice starts at 1.060 and finishes near 1.000, a large amount of sugar has been consumed. The exact alcohol level depends on the actual gravity readings and the method you use to calculate alcohol.
The important lesson is:gravity tells you what the yeast is doing. Do not use the airlock as your primary fermentation measurement.
Add Wine Yeast
Use a wine yeast intended for fermented beverages.
Common choices include strains selected for:
- Clean white wine
- Fruit wine
- Champagne-style fermentation
- High alcohol tolerance
- Neutral fermentation
For a first wine, a clean and reliable wine yeast is a good choice. Follow the manufacturer’s instructions for pitching. You do not need to use an enormous amount of yeast.
One standard wine yeast packet can usually handle much more than a one-gallon batch.
Add Yeast Nutrient
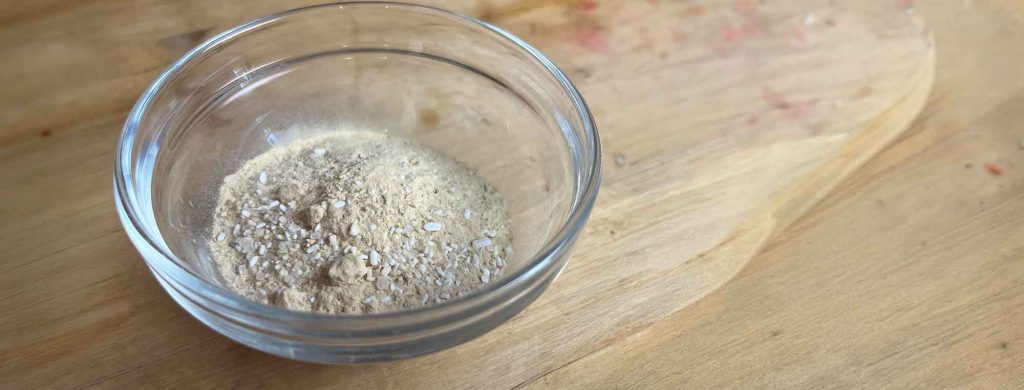
Grape juice contains sugar. But grocery store juice does not necessarily contain everything the yeast needs for a healthy fermentation.
Yeast nutrient can help. Follow the instructions for the specific nutrient you use.
Do not assume that more nutrient is better. Excess nutrient can create its own problems.
For a simple beginner wine, you do not need to create a complicated nutrient schedule. The important lesson is that yeast needs more than sugar.
Fermentation Begins
Once you pitch the yeast, put the airlock on the fermenter.
The yeast will consume sugar.
It will produce:
- Alcohol
- Carbon dioxide
- Heat
- Flavor compounds
You may see:
- Bubbles
- Foam
- Sediment
- Cloudiness
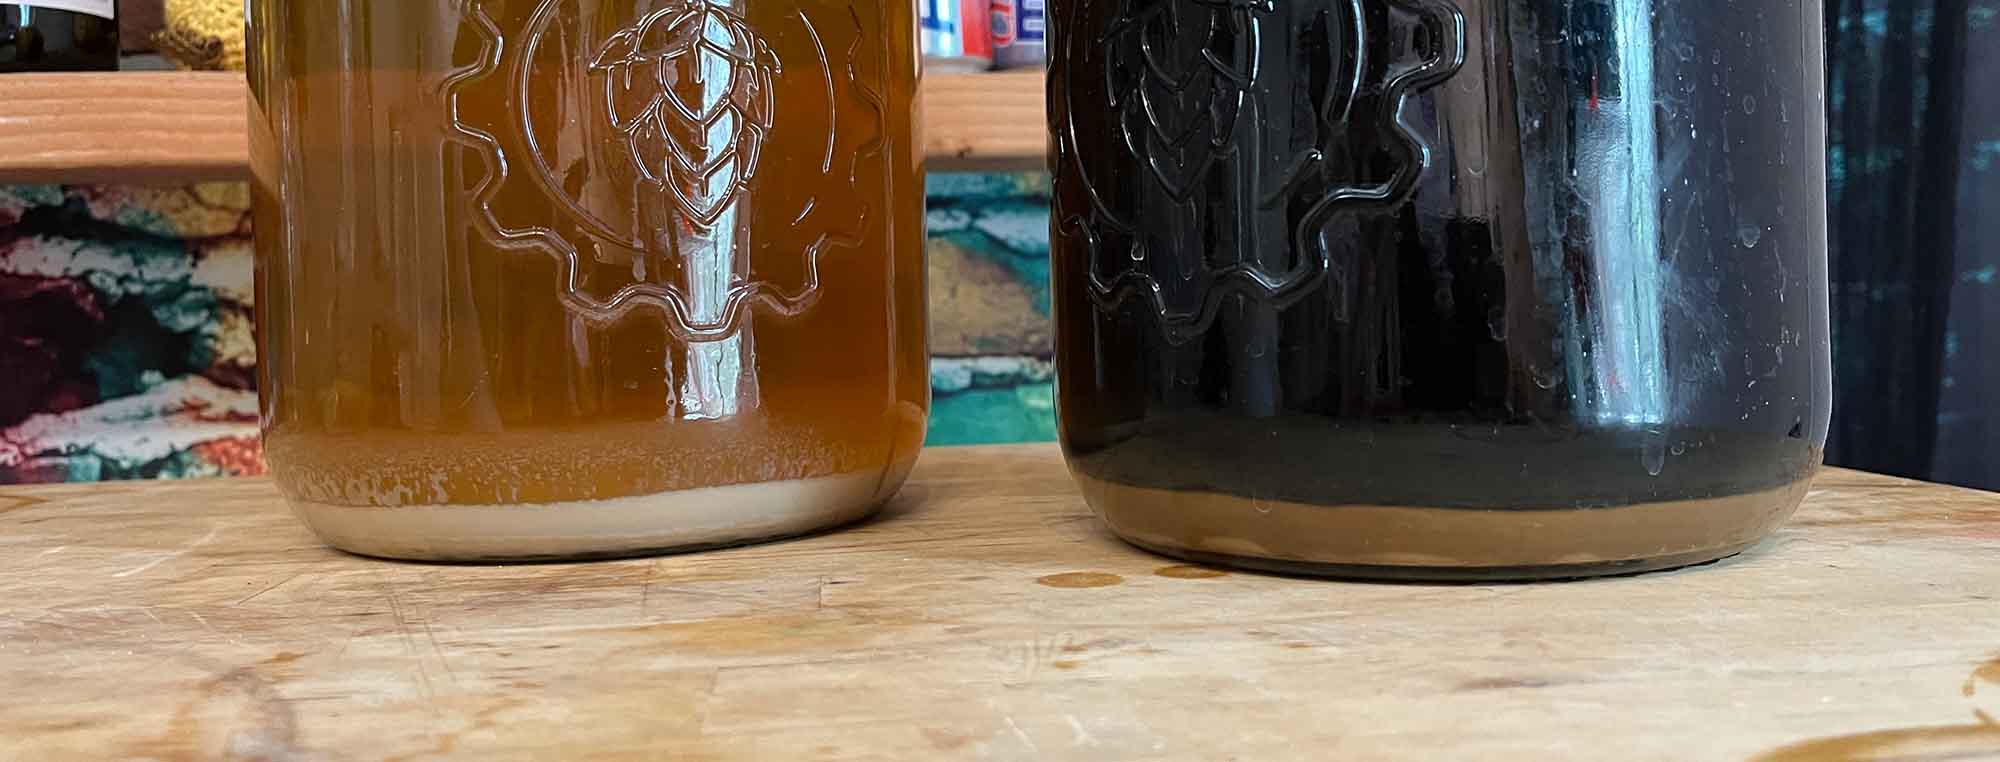
The wine may look very different from the original juice. That is normal.
Fermentation Temperature Matters
Wine yeast has a preferred temperature range. Follow the range recommended for your yeast. Avoid extreme temperatures.
If the wine gets too warm, fermentation can become aggressive and produce unwanted flavors. If it gets too cold, fermentation can slow or stop.
You do not need an expensive temperature-control system for a one-gallon beginner wine. A reasonably stable indoor temperature is often enough for a simple batch. The important lesson is that yeast temperature affects the finished beverage.
Do Not Judge Fermentation by the Airlock
An airlock is useful. It is not a fermentation meter. You may see vigorous bubbling one day and almost nothing the next day. That does not tell you exactly how much sugar remains.
Take gravity readings.
For example:
- Day 1: 1.060
- Day 4: 1.030
- Day 7: 1.010
- Day 10: 1.002
Now you can see what actually happened.
The numbers tell you much more than the bubbles. We have a complete guide on how to read a hydrometer.
When Is Fermentation Finished?
A wine is not finished because the airlock stopped bubbling. It is finished when the gravity is stable and the fermentation has reached its expected endpoint.
- Take a gravity reading.
- Wait.
- Take another reading.
If the gravity remains the same over several days, you have much stronger evidence that fermentation is complete. A dry wine often finishes close to 1.000, but not every wine finishes at exactly 1.000.
The yeast strain, juice, alcohol level, and other factors matter. Stable gravity matters more than a specific magic number.
Your First Wine Will Probably Taste Terrible
Do not panic.
Young wine can taste:
- Sharp
- Sour
- Yeasty
- Harsh
- Hot
- Thin
- Flat
- Rough
That does not mean you made bad wine. The beverage has just finished a stressful biological process. Yeast has produced alcohol and many flavor compounds.
The wine needs time for those flavors to change and integrate. This is where aging becomes part of the winemaking process.
Rack the Wine
Once fermentation is complete, you can move the wine off the thick layer of sediment. This is called racking.
Use a sanitized siphon.
Move the wine into a clean, sanitized vessel. Keep the siphon outlet below the surface of the wine and avoid splashing.
The goal is to leave the sediment behind while minimizing oxygen exposure. Do not rack simply because the calendar says you should. Rack when there is a reason to do it. For most wines you will rack a single time before bottling.

Minimize Headspace
After fermentation, oxygen becomes more important. If you rack one gallon of wine into a much larger vessel, you create a large empty space above the wine. That can increase oxygen exposure during aging.
Use a vessel that fits the volume reasonably well. For example, a smaller secondary vessel may be more appropriate than a large carboy with several inches of empty space.
This is one of the most important lessons to learn early: Headspace matters more after fermentation.
Taste the Wine
Now you get to do one of the most important parts of winemaking! Taste it.
Ask:
- Is it sweet?
- Is it dry?
- Is it too acidic?
- Is it too flat?
- Is the alcohol harsh?
- Does it taste like grape?
- Does it taste thin?
- Does it have enough aroma?
Do not immediately start adding ingredients. First identify the problem.
Dryness vs. Acidity
Beginners often confuse these two things.
A wine can be:
- Dry and acidic
- Sweet and acidic
- Dry and low-acid
- Sweet and low-acid
Dryness refers mainly to the amount of residual sugar. Acidity affects how sharp or bright the wine tastes.
A very dry wine can taste sour even when it contains almost no sugar. Adding sugar can sometimes make the wine taste more balanced, but it does not actually remove the acid. This distinction is important.
Balancing the Wine
Wine is about balance.
The main things you can adjust are:
- Sweetness
- Acidity
- Alcohol
- Body
- Aroma
- Tannin
A simple white grape wine may only need a small adjustment.
Do not try to make every batch taste sweet. A dry wine can be excellent. The goal is not to hide every characteristic of the fermentation, but rather to make the different parts work together.
How to Adjust Sweetness
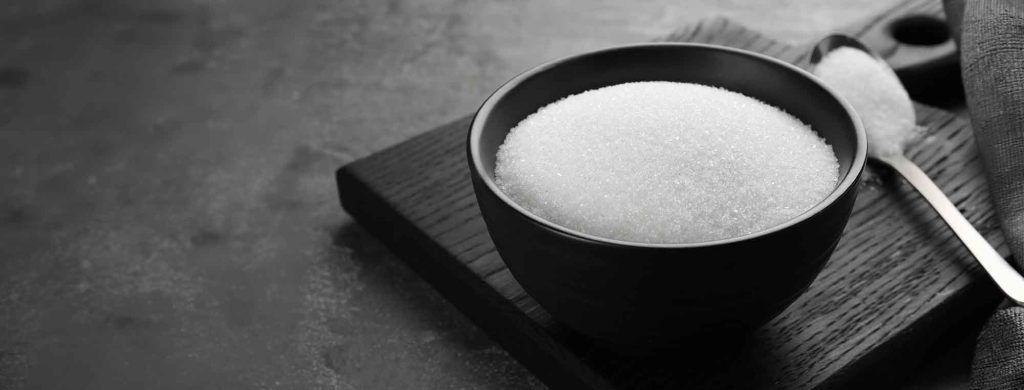
If the wine is too dry, you can backsweeten it.
Do not simply add sugar to the finished wine and bottle it. The yeast may ferment the sugar.
That can cause:
- Loss of sweetness
- Increased alcohol
- Carbonation
- Overcarbonation
- Bottle bombs
If you want a sweet still wine, stabilize the wine using an appropriate process before backsweetening.
Then add the sweetener gradually. Nonfermentable sweeteners are another option.
For example:
- Erythritol
- Sucralose
- Monk fruit
- Stevia
The choice affects flavor and mouthfeel – see our guide ranking all the common nonfermentable sweeteners.
Use a small sample for testing before you sweeten the entire batch.
Use Bench Trials
This is one of the most useful winemaking techniques you can learn.
Take several small samples.
For example:
- 100 mL wine
- 100 mL wine
- 100 mL wine
- 100 mL wine
Add different amounts of your proposed adjustment.
Taste the samples side by side. You may discover that a very small change makes the wine much better. You may also discover that the ingredient you planned to use does not work.
A bench trial lets you make that mistake with 100 mL instead of one gallon.
Adjusting Acidity
If the wine tastes flat or dull, acidity may be too low. If it tastes aggressively sharp, acidity may be too high.
Wine acid blends can be used to adjust acidity.
Common wine acids include:
Do not add a large amount directly to the batch.
Make a measured sample. Add a known amount of acid. Taste it. Record the result.
Then decide whether the adjustment is appropriate for the full batch.
Do Not Chase pH With Your Tongue
Taste and pH are different measurements.
A pH meter tells you about acidity in a chemical sense. Your palate tells you how the acidity tastes.
You can have a wine with a reasonable pH that still tastes too sharp. Likewise, a wine can taste balanced without having the pH you expected. For a beginner batch, focus on making the wine taste balanced while learning what the measurements mean.
Clearing the Wine
Young wine is often cloudy. That does not mean something went wrong.
The cloudiness can come from:
- Yeast
- Proteins
- Pectin
- Tannins
- Other suspended material
Time often clears wine naturally. You can also use fining agents if you want faster clarification.
For a first batch, patience is useful. Let the wine settle before deciding that it needs treatment.
Stabilizing the Wine
If you plan to backsweeten, stabilization becomes important.
Wine makers commonly use:
- Potassium sorbate
- Potassium metabisulfite
These have different roles.
Potassium sorbate helps prevent yeast from reproducing effectively. Potassium metabisulfite provides sulfite, which can help protect wine from oxidation and inhibit some microorganisms.
They do not instantly kill every yeast cell. They also do not make an actively fermenting wine safe to bottle with a large amount of fermentable sugar. Do not use stabilization as a substitute for confirming that fermentation has finished.
See our complete guide to stabilizing your homebrew for more information.
Bottling Your First Wine
Once the wine is finished, balanced, and clear enough for your purposes, you can bottle it.
Sanitize:
- Bottles
- Siphon
- Tubing
- Closures
Transfer the wine gently. Avoid splashing.
Fill the bottles with appropriate headspace. Seal them with suitable closures.
Do not bottle a wine that is still fermenting unless you are intentionally using a controlled carbonation process and appropriate pressure-rated bottles. For a first wine, still wine is much simpler.
What Bottles Should You Use?
You have several options.
You can use:
- Wine bottles with corks
- Screw-cap wine bottles
- Amber bottles with crown caps
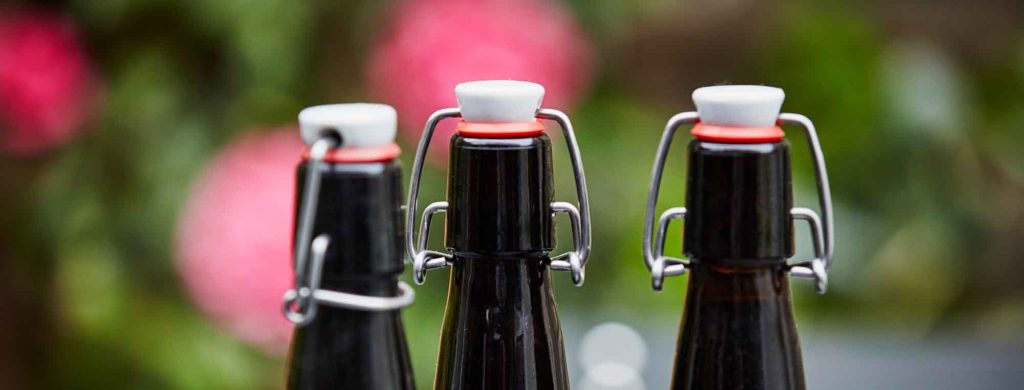
- Other bottles designed for still wine, like swing-top bottles
Reuse bottles only if they are clean, undamaged, and appropriate for your closure system. Do not use pressure-rated beer bottles as a substitute for a wine closure simply because they happen to hold liquid.
The bottle and closure should match the beverage and packaging method.
Aging Your Wine
Now comes the difficult part:
Waiting.
Young wine often improves with time. During aging, flavors can change.
The wine may become:
- Smoother
- Less sharp
- Less yeasty
- More integrated
- More aromatic
Not every wine needs years of aging. A simple grocery-store grape wine may be enjoyable after a few weeks or months.
Do not assume that longer aging always means better wine. Some wines are made to be consumed young. And aging happens on a bell curve, so after a point, there are diminishing returns.
Taste the Wine as It Ages
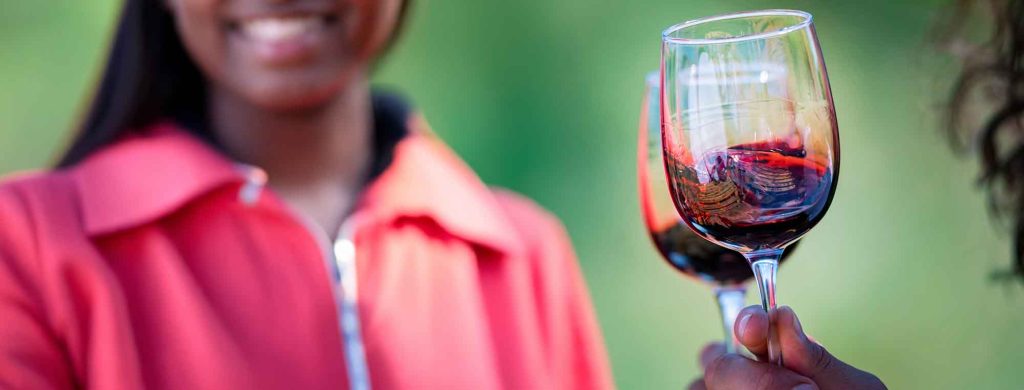
Do not bottle the wine and forget about it for five years. Open one bottle periodically. Try the wine at different ages.
For example:
- 1 month
- 2 months
- 3 months
- 6 months
Take notes.
Write down:
- Aroma
- Sweetness
- Acidity
- Alcohol
- Body
- Fruit character
- Overall impression
This turns aging into another experiment. You will learn much more than if you simply wait for an arbitrary number of months.
What Did You Actually Learn?
A one-gallon grocery-store wine teaches the same basic concepts you will use in more advanced winemaking.
Sugar
Sugar provides the raw material for fermentation.
Yeast
Yeast converts fermentable sugar into alcohol and carbon dioxide while producing many other compounds.
Gravity
Gravity lets you measure fermentation progress.
Temperature
Temperature affects yeast activity and flavor.
Nutrients
Healthy yeast needs more than sugar.
Oxygen
Oxygen becomes increasingly important after fermentation.
Acidity
Acidity affects flavor and balance.
Sweetness
Residual sugar changes how you perceive acidity and alcohol.
Packaging
A good wine can be damaged by poor packaging.
Aging
Time can change the balance and character of wine.
That is a lot of winemaking knowledge from one bottle of grape juice.
A Simple First-Wine Recipe
For a basic one-gallon batch:
Ingredients
- 1 gallon white grape juice
- 1 packet wine yeast
- Wine yeast nutrient, according to the manufacturer’s instructions
Process
- Sanitize the fermenter and equipment.
- Add the grape juice.
- Measure and record the original gravity.
- Add yeast nutrient.
- Pitch the wine yeast.
- Install the airlock.
- Ferment at the yeast’s recommended temperature.
- Measure gravity as fermentation progresses.
- Wait until gravity is stable.
- Rack the wine if needed.
- Minimize headspace.
- Taste the wine.
- Adjust sweetness or acidity if needed.
- Stabilize before adding fermentable sweetener.
- Allow the wine to clear and mature.
- Bottle without splashing.
- Age the bottles.
- Taste the wine again.

What If the Wine Does Not Taste Good?
Do not dump it immediately. First identify the problem.
If it is:
- Too dry: consider backsweetening.
- Too acidic: consider measured acid adjustment only after a bench trial.
- Too sweet: give fermentation time to finish.
- Too harsh: give it time.
- Too alcoholic: aging may help the perception, but it will not remove the alcohol.
- Too thin: consider whether the recipe needs more body rather than more sweetness. Wine tannin can help with this.
- Cloudy: give it time to settle.
- Cardboard-like or stale: investigate oxygen exposure.
- Vinegar-like: investigate spoilage organisms and oxygen exposure.
- Sulfur-like: investigate fermentation conditions and yeast health.
Not every problem has the same solution.
The Biggest Beginner Mistakes
Using juice with preservatives
Check the ingredient list before you buy the juice.
Using bread yeast
Use yeast intended for wine or other fermented beverages.
Not measuring gravity
The airlock is not a measuring instrument.
Bottling before fermentation is finished
This can create dangerous pressure.
Adding sugar without stabilization
The yeast can ferment the sugar.
Leaving excessive headspace
This increases oxygen exposure during aging.
Splashing during transfers
Finished wine does not need additional oxygen.
Adding too much acid or sweetener
Make a bench trial first.
Drinking it too young
Some young wines taste much rougher than the finished wine.
Your First Wine Does Not Need to Be Complicated
You can make wine with:
Grape juice + yeast + time.
Everything else helps you control the process.
- A hydrometer tells you what fermentation is doing.
- Nutrients help support healthy yeast.
- Temperature control helps control fermentation.
- Acid and sweetness adjustments help balance the finished wine.
- Sanitation protects the batch.
- Careful transfers protect the wine from oxygen.
- Aging lets the flavors change.
That is winemaking.
You do not need to start with fresh grapes to learn it. Start with grocery-store grape juice. Measure everything. Make small changes. Take lots of notes.
Taste the wine as it develops. Then use what you learned to make the next batch better.