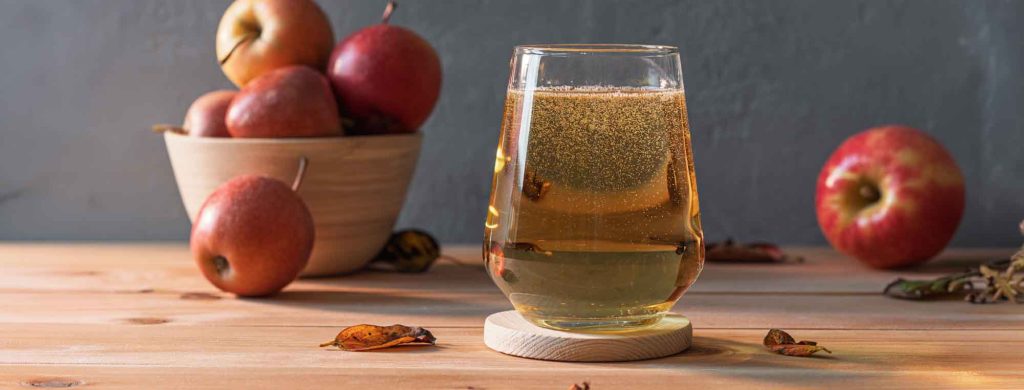
Cider is fermented apple juice. You do not need to press fresh apples to make good cider.
The simplest method uses packaged apple juice, wine or cider yeast, yeast nutrient, and basic fermentation equipment.
This method makes a dry, still cider. You can change the process later to make a sweeter, flavored, or carbonated cider.
Equipment
You need:
- One fermentation vessel, such as a 1-gallon or 5-gallon fermenter
- One airlock
- One stopper or lid that fits the fermenter
- One siphon and tubing
- One hydrometer
- One hydrometer test jar
- One thermometer
- One measuring spoon
- One sanitizer
- One cleaner
- Bottles
- Bottle caps
- A bottle capper, if you use crown-cap bottles
A bottling bucket makes bottling easier. It is not required.
You can also use a hydrometer to measure the specific gravity of the cider. This lets you confirm that fermentation is complete before you package the cider.
Ingredients
For 1 gallon of cider, use:
- 1 gallon of apple juice
- 1 packet of cider or wine yeast
- Yeast nutrient
- Optional: pectic enzyme
- Optional: potassium metabisulfite
- Optional: potassium sorbate
- Optional: priming sugar
For the apple juice, select juice with no preservatives that stop yeast activity. Avoid juice that contains glycolipids, potassium sorbate, or sodium benzoate.
Apple juice does not need to contain extra sugar. The natural sugar in the juice provides the food for the yeast. Also avoid “lite” juices that contain nonfermentable sweeteners.
Brew Day
Cider does not require a boil. This makes brew day very simple.
1. Clean the equipment
Clean the fermenter, stopper, airlock, siphon, spoon, and other equipment.
Remove all visible dirt and residue.
2. Sanitize the equipment
Sanitize all equipment that touches the juice or cider.
Follow the instructions for your sanitizer. Do not rinse a no-rinse sanitizer unless the product instructions tell you to rinse it.
Good sanitation is important. Microorganisms can spoil cider and produce unwanted flavors.
See our guide for more info on how to both clean and sanitize your homebrew gear.
3. Add the apple juice
Pour the apple juice into the sanitized fermenter.
Do not fill the fermenter completely. Leave some empty space for foam.
4. Add optional additives
You can add pectic enzyme before fermentation. It can help reduce haze and improve juice clarification.
You can also add yeast nutrient. Apple juice does not always contain enough nutrients for strong yeast activity. Not using nutrients can lead to the production of smelly sulfur compounds.
If you use potassium metabisulfite before fermentation, follow the product instructions. Allow enough time for the sulfite to work before you add the yeast. Metabisulfite prior to fermentation is largely an outdated practice, but can be useful in raw juice.
5. Measure the starting gravity
Take a sample of the juice. Measure the specific gravity with a hydrometer. Record the value. If following proper sanitizing procedures, you can return the sample to the carboy.
A typical apple juice can produce a cider in the range of about 5% to 7% alcohol by volume. The actual alcohol level depends on the sugar content of the juice and the final gravity.
6. Add the yeast
Check the temperature of the juice.
Use a yeast that works at the temperature of your fermentation area. Add the yeast to the juice.
Add yeast nutrient if you did not add it earlier.
7. Close the fermenter
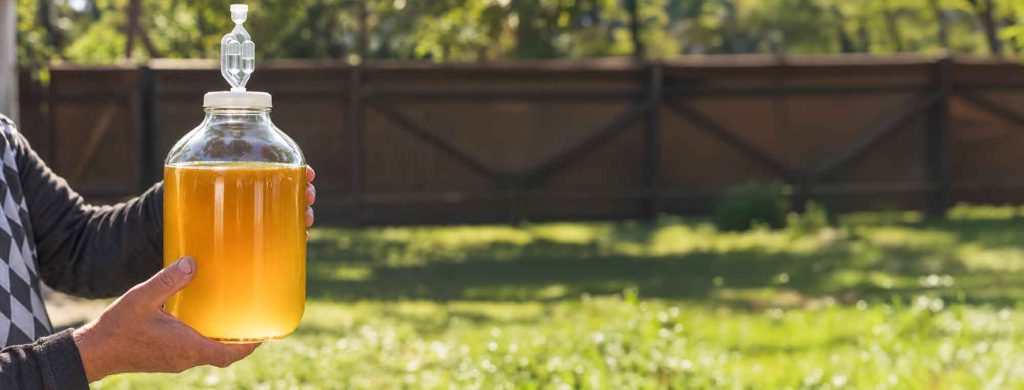
Install the stopper and airlock.
Add sanitizer or another approved liquid to the airlock.
8. Start fermentation
Place the fermenter in a stable location.
Keep the cider within the temperature range recommended by the yeast manufacturer.
During the first part of fermentation, the yeast consumes sugar. It produces alcohol and carbon dioxide. The airlock can show active fermentation. However, airlock activity is not a reliable test for complete fermentation.
Primary Fermentation
Primary fermentation can take about 1 to 3 weeks.
The exact time depends on the yeast, temperature, sugar level, and other conditions.
Do not transfer the cider only because the airlock stops bubbling. Instead, use the hydrometer.
When the cider is close to its expected final gravity, take another reading. Take another reading after several days.
If the readings are the same, fermentation is probably complete. A stable hydrometer reading is important before you package cider in a sealed bottle.
Secondary Fermentation
Secondary fermentation is not required.
You can move the cider directly from primary fermentation to packaging when fermentation is complete.
However, secondary fermentation can be useful if you want to:
- Clarify the cider
- Age the cider
- Add fruit
- Add spices
- Add other flavor ingredients
To use a secondary fermenter, first clean and sanitize it. Transfer the cider with a sanitized siphon.
Keep the siphon below the surface of the cider. Do not splash the cider.
Try to leave as little empty space as possible in the secondary fermenter. Excess oxygen can cause oxidation and unwanted flavors.
Allow the cider to age until it reaches the clarity and flavor that you want. For a simple cider, one to four weeks in secondary is often enough. You can also age cider for much longer.
Flavor Additions
You can add flavor during secondary fermentation.
Common additions include:
- Cinnamon
- Vanilla
- Ginger
- Orange peel
- Lemon peel
- Cranberry
- Cherry
- Raspberry
- Blackberry
- Peach
- Pear
- Raisins
- Oak
Additions can change fermentation behavior. Fruit adds sugar. The yeast can ferment that sugar.
For this reason, take hydrometer readings after you add fruit or other fermentable ingredients. Do not assume that the cider is finished because the airlock stops moving.
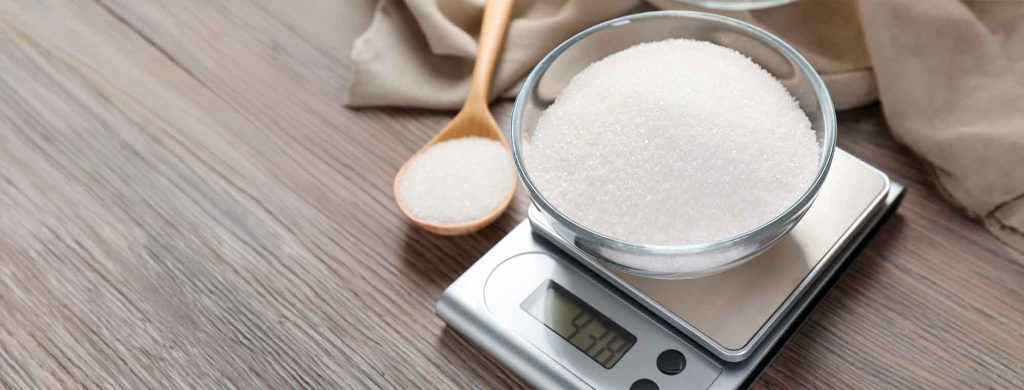
Make the Cider Sweet
Fermentation normally removes most of the sugar from apple juice. A cider that finishes near 1.000 specific gravity can taste dry.
You have several ways to make cider sweeter.
Option 1: Use a non-fermentable sweetener
You can add a sweetener that normal cider yeast cannot ferment.
Examples include:
- Xylitol
- Erythritol
- Stevia
- Sucralose
- Monk fruit powder
Add the sweetener in small amounts. Taste the cider after each addition.
This is the simplest method if you want sweet cider and natural bottle carbonation.
Option 2: Stabilize and add sugar
You can also stabilize the finished cider and then add fermentable sugar.
Potassium sorbate and potassium metabisulfite are commonly used for this purpose. Follow the dose instructions for the products that you use.
Stabilization does not remove yeast from the cider. It helps prevent the yeast from starting a new fermentation.
After stabilization, you can add:
- Apple juice concentrate
- Apple juice
- Sugar
- Honey
- Another fermentable sweetener
Do not use this method if you plan to naturally carbonate the cider in bottles. For more info, see our guide on how to stabilize your homebrew.
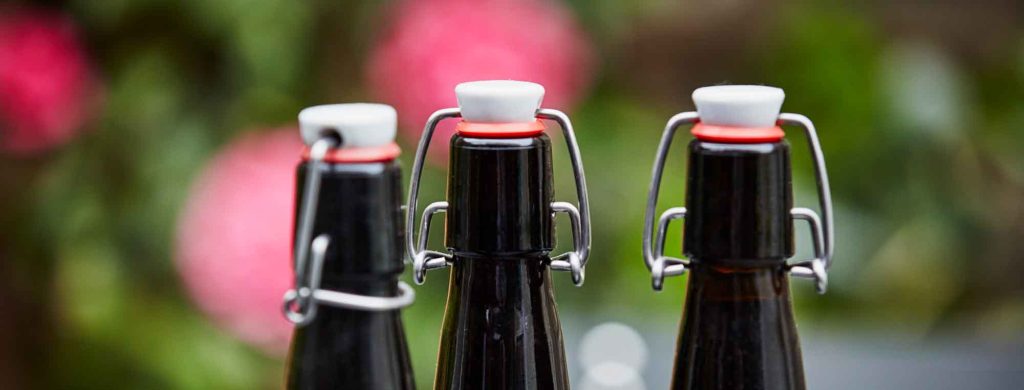
Bottle Conditioning
Bottle conditioning is the simplest way to make naturally carbonated cider.
The yeast ferments a small amount of sugar inside the sealed bottle.
The carbon dioxide cannot escape. It dissolves into the cider.
1. Confirm that fermentation is complete
Take hydrometer readings on different days.
The readings must remain stable. Do not bottle cider that still has active fermentation.
2. Add priming sugar
Measure the amount of priming sugar for your desired carbonation level using a priming sugar calculator.
A common starting point is about 3/4 ounce of sugar per gallon of cider. The exact amount depends on the desired carbonation level, the amount of carbon dioxide already in the cider, and the sugar that you use.
Dissolve the sugar in a small amount of water. Boil the water and sugar for a short time.
Allow the solution to cool. Add it to the cider and mix gently. Do not splash the cider.
3. Fill the bottles
Sanitize the bottles, caps, and filling equipment.
Fill each bottle.
Leave the correct amount of headspace for the bottle and cap system. Cap the bottles.
4. Allow carbonation to develop
Store the bottles at a suitable fermentation temperature. The yeast will ferment the priming sugar. The cider will become carbonated.
Check a bottle after about one to two weeks.
When the carbonation is correct, move the bottles to a cold location. It is now ready to drink!
Sweet Cider and Natural Carbonation
There is an important limitation.
You normally cannot have all three of these conditions at the same time:
- Sweet cider
- Fermentable sugar
- Natural bottle carbonation
If yeast can ferment the sugar, it can also produce more carbon dioxide in the bottle.
This can create excessive pressure.
You have three simple choices.
Dry and carbonated
Allow the cider to ferment dry.
Add priming sugar.
Bottle condition the cider.
Sweet and still
Allow fermentation to finish.
Stabilize the cider.
Add fermentable sugar to taste.
Bottle the cider without priming sugar.
Sweet and carbonated
Use a non-fermentable sweetener.
Then add priming sugar.
The yeast can ferment the priming sugar but cannot ferment the non-fermentable sweetener.
Another option is to make the cider sweet and carbonated with a kegging system. A keg gives you better control of carbonation and sweetness.
Some cider-makers will advocate for sweetening with a fermentable sugar, allowing the bottles to carbonate, and then pasteurizing in a water bath. This is fraught with risk and considered dangerous.

The Simplest Cider Method
For the easiest possible batch, use this process:
- Clean the equipment.
- Sanitize the equipment.
- Add apple juice to the fermenter.
- Add yeast nutrient.
- Measure and record the starting gravity.
- Add cider yeast.
- Install the airlock.
- Allow fermentation to finish.
- Confirm completion with stable hydrometer readings.
- Transfer the cider to a clean vessel if you want to age or clarify it.
- Add flavor ingredients if desired.
- Sweeten with a non-fermentable sweetener if desired.
- Add measured priming sugar if you want bottle carbonation.
- Bottle the cider.
- Allow the bottles to carbonate.
- Refrigerate the cider when carbonation is correct.
This method removes most of the unnecessary work from cider making. You do not need to press apples. You do not need to boil the juice. You do not need to use a secondary fermenter. And you do not need complex equipment.
The most important controls are sanitation, fermentation temperature, hydrometer readings, and safe packaging.
Good cider can be very simple!