Bottling beer at home is one of the simplest ways to package homebrew.
You do not need a kegging system. You do not need a CO₂ tank.
You need clean bottles, caps, a bottle capper, priming sugar, and a few basic pieces of equipment.
The most important part of bottling is making sure fermentation is complete. If you bottle beer before fermentation is complete, the yeast can produce too much carbon dioxide. This can create excessive pressure and cause bottles to break.
The basic process is:
Finish fermentation → prepare priming sugar → transfer beer → fill bottles → cap bottles → allow carbonation → refrigerate
What You Need to Bottle Beer
For a typical 5-gallon batch, you need:
- Bottles
- Bottle caps
- Bottle capper
- Bottling bucket
- Bottle filler/bottling wand
- Siphon
- Siphon tubing
- Priming sugar
- Digital scale
- Cleaner
- No-rinse sanitizer
- Bottle brush, if needed
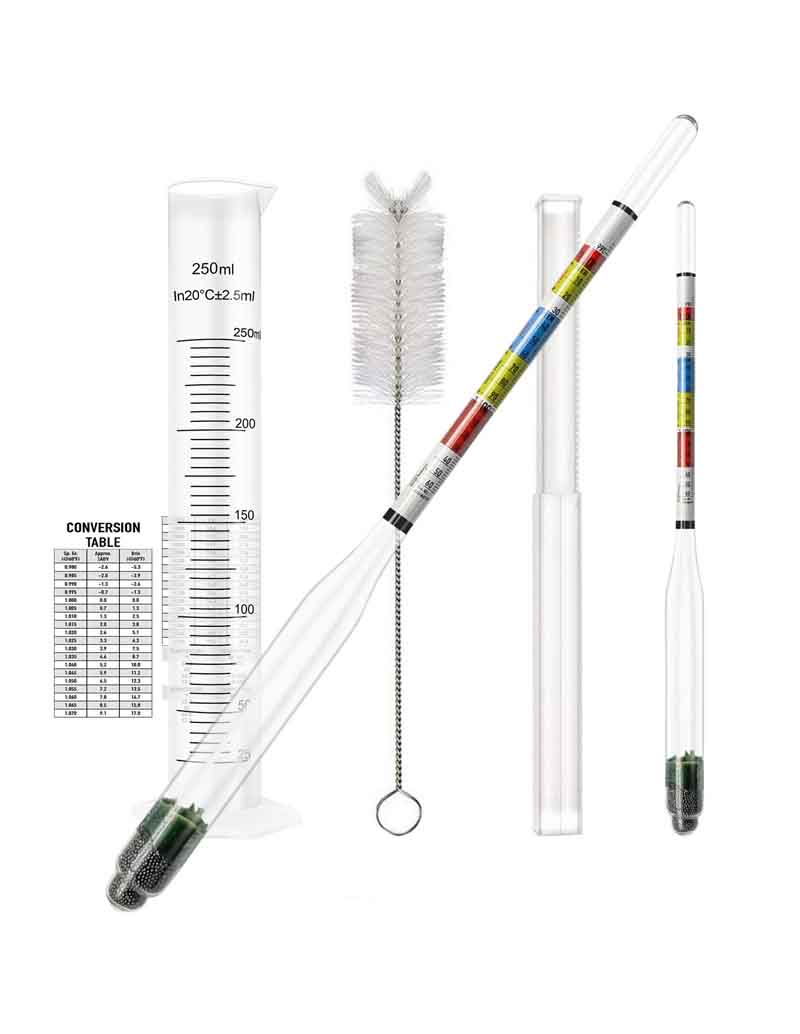
- Hydrometer
- Hydrometer test jar
You do not need every item for every batch.
A bottling bucket is strongly recommended because it makes it easier to mix the priming sugar evenly without disturbing the sediment.

How Many Bottles Do You Need?
A 5-gallon batch contains approximately 640 fluid ounces. A standard 12-ounce bottle holds 12 fluid ounces. In theory, 5 gallons could fill about 53 bottles, but…
In practice, you will lose some beer to:
- Trub
- Yeast sediment
- Hops
- Siphon losses
- Bottling bucket losses
Plan for about 48–50 standard 12-ounce bottles for a 5-gallon batch. You can use larger bottles if you prefer.
Common choices include:
- 12-ounce beer bottles
- 16-ounce beer bottles
- 22-ounce bottles
- 500 mL bottles
Use the Correct Bottles
Use bottles designed to hold carbonated beer. Commercial beer bottles are usually suitable, as long as they are not twist-off style bottles.
Avoid bottles that are designed only for still beverages.
Do not use cracked or damaged bottles. Inspect bottles before every use.
Discard bottles with:
- Cracks
- Chips
- Deep scratches
- Damaged openings
- And bottles that have been re-used many times
Glass under pressure can break.
Can You Reuse Beer Bottles?
Yes.
Reusable glass beer bottles are a good option for homebrewing. Choose bottles that use standard crown caps. Avoid bottles that use unusual closures unless you have the correct equipment.
Remove the Labels
You can remove labels before cleaning the bottles.
Soaking bottles in warm water can loosen many labels, though some labels are more difficult to remove.
A bottle brush can help remove remaining adhesive or residue. OxiClean Free or PBW can also help with stubborn stickiness. You do not need to remove every trace of label adhesive from the outside of the bottle. The inside of the bottle is the important part.
Can I use Screw-Top Bottles?
Most screw-top beer bottles are not designed for reuse with standard crown caps. Use bottles with a suitable crown-cap opening.
Some specialty bottles use different closures. If you are unsure, use standard pry-off beer bottles.
Clean the Bottles
Cleaning and sanitizing are different steps.
Cleaning removes:
- Yeast
- Beer residue
- Dirt
- Mold
- Other material
Sanitizing reduces microorganisms that can spoil the beer.
You must clean dirty bottles before you sanitize them. Sanitizer cannot reliably replace cleaning.
Clean Bottles Immediately After Use
The easiest time to clean a bottle is immediately after you drink the beer.
Rinse the bottle several times. Remove any remaining beer and sediment. Turn the bottle upside down and allow it to drain.
A bottle that is rinsed immediately may need very little cleaning later. A bottle that sits for weeks with dried beer inside can be much harder to clean. Ask me how I know.
Sanitize the Bottles
On bottling day:
- Clean the bottles.
- Rinse them if required by your cleaner.
- Prepare your no-rinse sanitizer.
- Sanitize the inside of each bottle.
- Drain the bottles.
Follow the sanitizer manufacturer’s instructions. Do not rinse a no-rinse sanitizer with untreated water.
A bottle tree can help drain bottles, but it is not required.
What Are Bottle Caps?
Bottle caps are single-use closures for standard beer bottles.
Use new caps for each batch. You can buy caps in many colors. Some caps are designed to be oxygen-scavenging caps. These caps contain a liner that can reduce oxygen exposure. Super handy.
What Is Priming Sugar?
Priming sugar is fermentable sugar that you add before bottling.
The remaining yeast in the beer consumes the sugar inside the sealed bottle. The yeast produces carbon dioxide which dissolves into the beer. This creates natural carbonation. This process is called bottle conditioning.
Common Priming Sugars
You can use several types of sugar.
Common choices include:
- Corn sugar/Dextrose
- Table sugar
- Dry malt extract
Corn sugar is commonly used because it is predictable and easy to measure. Table sugar also works well.
You do not need to use a special brewing sugar.
How Much Priming Sugar Should You Use?
The amount depends on:
- Batch volume
- Desired carbonation
- Beer temperature
- Existing dissolved CO₂
- Sugar type
For many standard ales, a useful starting point is approximately 4–5 ounces of corn sugar for 5 gallons of beer.
Priming Sugar Calculator
However, do not use the same amount for every beer. Different beer styles require different carbonation levels.
A Belgian-style beer may use more carbonation than an English ale.
A stout may use less.
Use a reliable priming sugar calculator when possible.
Do Not Guess the Amount
Too little sugar produces flat beer, while too much sugar can produce excessive pressure. The safest approach is to calculate the dose.
Weigh the sugar with a digital scale. Do not measure it by volume if you can avoid it.
How to Prepare Priming Sugar
Do not pour dry priming sugar directly into the bottling bucket.
Instead:
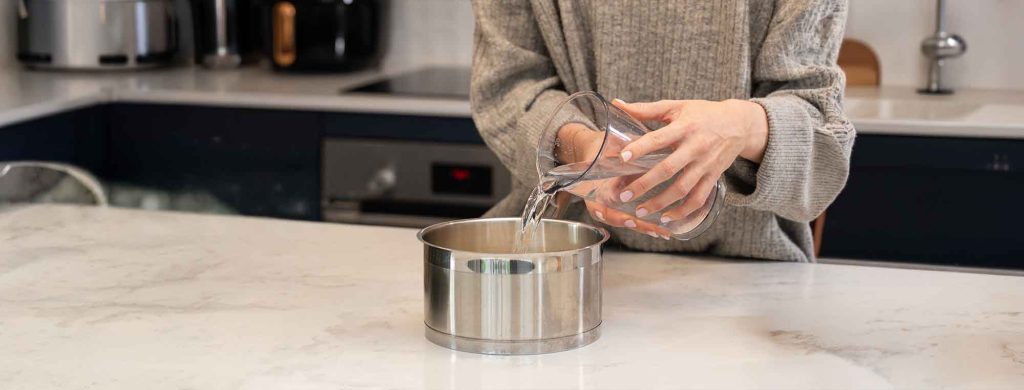
- Measure the required amount.
- Add the sugar to a small saucepan.
- Add a small amount of water.
- Heat the mixture to dissolve the sugar.
- Bring it to a brief boil.
- Remove it from the heat.
- Allow it to cool.
- Add it to the sanitized bottling bucket.
Use enough water to dissolve the sugar. You do not need a large volume. The goal is to create a sugar solution that mixes evenly with the beer.
Prepare the Bottling Equipment
Before transferring the beer:
- Clean the bottling bucket.
- Clean the siphon.
- Clean the tubing.
- Clean the bottle filler.
- Sanitize all equipment.
- Sanitize the bottles.
- Prepare the bottle caps.
- Prepare the bottle capper.
Keep everything covered or protected from contamination until you need it.
Make Sure Fermentation Is Complete
This is the most important step. Do not bottle simply because the beer has been fermenting for a certain number of days.
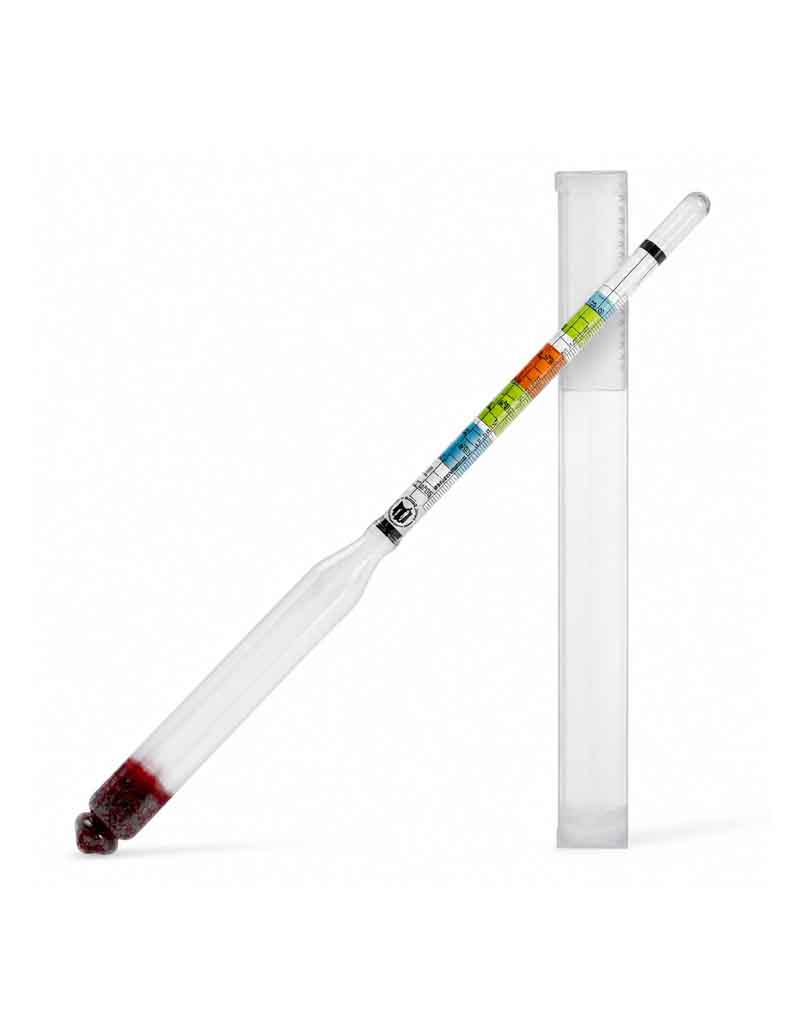
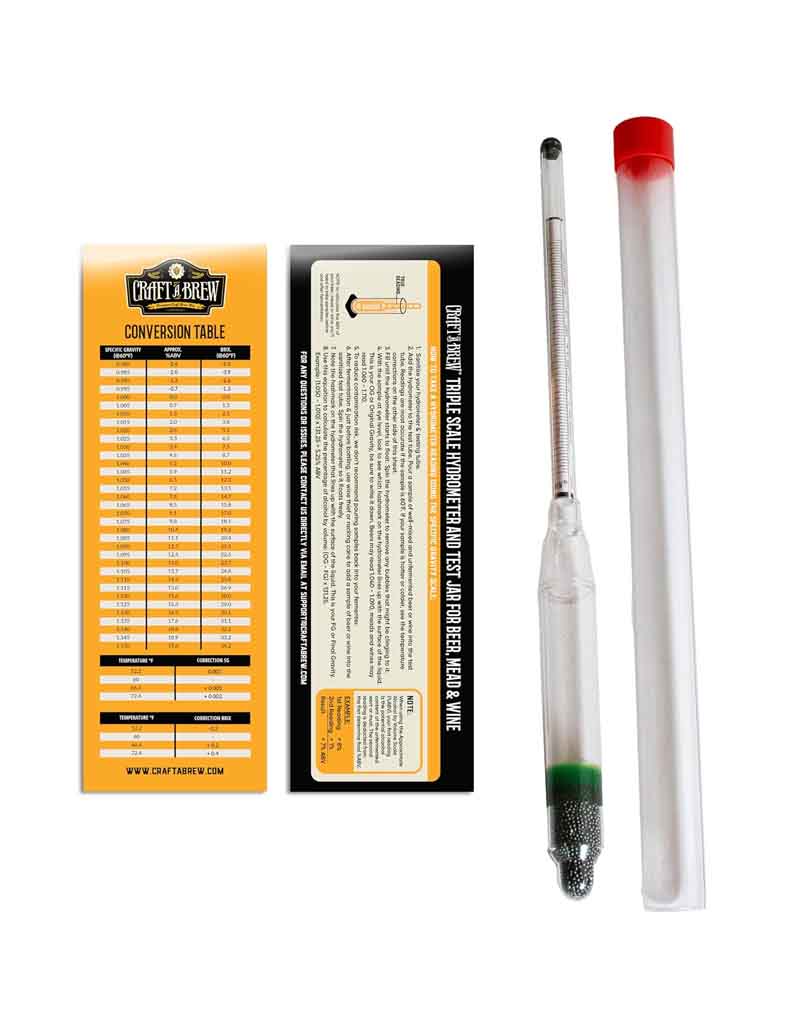
Take a hydrometer reading. Record it. Take another reading several days later. The gravity should remain stable.
For example:
- Day 1: 1.010
- Day 4: 1.010
This indicates that fermentation is probably complete.
If the gravity changes: Do not bottle yet. Give the beer more time.
Do Not Trust the Airlock
A stopped airlock does not prove that fermentation is complete.
An airlock can stop bubbling because:
- Fermentation has finished
- The fermenter has a small leak
- The temperature has changed
- CO₂ has escaped another way
Use gravity readings instead.
The Bottling Process
Once fermentation is complete, you can bottle.
Step 1: Prepare the Priming Sugar
Prepare the measured priming sugar solution.
Add it to the sanitized bottling bucket.
Step 2: Transfer the Beer
Place the fermenter above the bottling bucket.
Attach the sanitized siphon and tubing.
Start the siphon and transfer the beer into the bottling bucket.
The beer should enter the bucket gently. Avoid splashing. Do not disturb the beer aggressively. You want to avoid introducing oxygen.
Step 3: Leave the Sediment Behind
The fermenter will contain a layer of yeast and other sediment.
Do not transfer all of it. Keep the siphon intake above the sediment. A small amount of beer loss is better than a bottle full of yeast and trub.
Step 4: Mix the Priming Sugar
If the priming sugar is already in the bottling bucket, the incoming beer should mix with it.
You can gently stir the beer with a sanitized spoon if needed. Do not splash.
The goal is an even distribution of sugar without adding oxygen.
Step 5: Attach the Bottle Filler
Connect the sanitized bottle filler to the bottling bucket using sanitized tubing.
Place a bottle under the filler. Press the filler against the bottom of the bottle. Beer will begin flowing.
Step 6: Fill the Bottle
Fill the bottle until the beer reaches near the top.
Remove the bottle filler. The beer level will drop slightly. This creates the correct amount of headspace.
A typical beer bottle needs about 1 inch of headspace. Do not fill the bottle completely to the top.
Step 7: Add the Cap
Place a bottle cap on the bottle.
Use the bottle capper to crimp the cap. Check the cap. It should be firmly attached. Do not reuse bottle caps. Wondering what is the best bottle capper - we've got a full guide!
Step 8: Repeat
Continue until all the beer is bottled. Keep the process clean.
Do not leave the bottling bucket uncovered for long periods.
How Long Does Bottle Conditioning Take?
Bottle conditioning often takes about 4–6 weeks.
Temperature affects the process. Many ales carbonate well around normal fermentation temperatures.
A beer can take longer if:
- The beer is very cold
- Alcohol is high
- Yeast activity is low
- Priming sugar is poorly mixed
- The yeast has been removed or settled heavily
Do not refrigerate the bottles immediately. The yeast needs time to ferment the priming sugar.
How Do You Know When the Beer Is Carbonated?
After about four weeks, refrigerate one bottle for at least 24 hours.
Open it. Check the carbonation.
If it is still flat, give the other bottles more time. If the beer is properly carbonated, refrigerate the remaining bottles. Cold beer holds carbon dioxide better.
Why Is My Bottled Beer Flat?
Several problems can cause low carbonation.
The beer was bottled too soon
This is usually not a cause of flat beer.
It can actually create excessive carbonation if fermentation was still active.
Not Enough Priming Sugar
Too little sugar produces low carbonation. Learn how much priming sugar you need to carbonate your homebrew.
Priming Sugar Was Not Mixed Evenly
Some bottles may be flat. Other bottles may be overcarbonated.
Always mix the priming sugar evenly.
The Bottles Were Too Cold
Cold temperatures can slow yeast activity.
Move the bottles to a suitable fermentation temperature.
The Yeast Is No Longer Active
Old beer or high-alcohol beer can have very little active yeast.
In some cases, additional yeast may be needed for bottle conditioning. Do not necessarily add new yeast to every batch.
Why Is My Beer Overcarbonated?
Overcarbonated beer can have several causes.
The most important are:
- Too much priming sugar
- Bottling before fermentation was complete
- Incorrect batch volume calculation
Overcarbonated bottles can be dangerous.
If you suspect excessive pressure, handle the bottles carefully. Keep them cold. Do not shake them. Open them carefully.
If bottles are bulging, leaking, cracked, or showing other signs of excessive pressure, do not handle them unnecessarily.
What Is a Bottle Bomb?
A bottle bomb is a bottle that breaks because of excessive internal pressure. This is one of the main safety risks of home bottling.
The most common causes are:
- Bottling before fermentation is complete
- Adding too much priming sugar
- Uneven distribution of priming sugar
- Adding additional fermentable ingredients before bottling
The best prevention is simple: Confirm that fermentation is complete before bottling.
Stable hydrometer readings are your best tool. Check out our complete guide to bottle bombs for more information.
Can You Bottle Sweet Beer?
This is where beginners need to be careful.
You cannot simply add sugar to beer to make it sweet and then bottle it normally. The yeast can ferment that sugar.
If you add enough sugar to make the beer taste sweet, the yeast may consume it and produce additional carbon dioxide. This can create excessive pressure.
The best route to a sweet beer is a higher mash temperature when mashing your grains.
How Can You Make Sweet Carbonated Beer?
There are several approaches.
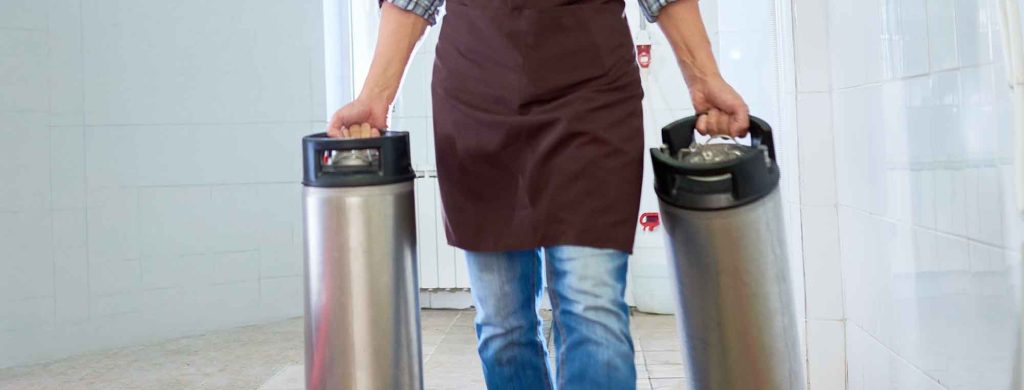
Kegging
Kegging gives you much better control.
You can:
- Finish fermentation.
- Sweeten the beer.
- Carbonate the beer with CO₂.
- Keep the beer cold, preferably in a keezer or kegerator.
This is the easiest way to produce sweet, carbonated beer safely.
Non-Fermentable Sweeteners
You can use some non-fermentable sweeteners.
Examples include:
- Lactose
- Certain brewing sweeteners
- Some artificial sweeteners
The correct choice depends on the beer. This approach can allow bottle conditioning because the yeast cannot ferment the sweetener. However, the sweetener can change the flavor and mouthfeel.
Should You Use Campden Tablets?
Campden tablets contain potassium or sodium metabisulfite. They are useful in some brewing and winemaking applications. They are not a substitute for proper fermentation control when bottling beer.
Do not add sulfite simply because you want to prevent bottle fermentation. If you want naturally carbonated beer, you need live yeast to ferment the priming sugar.
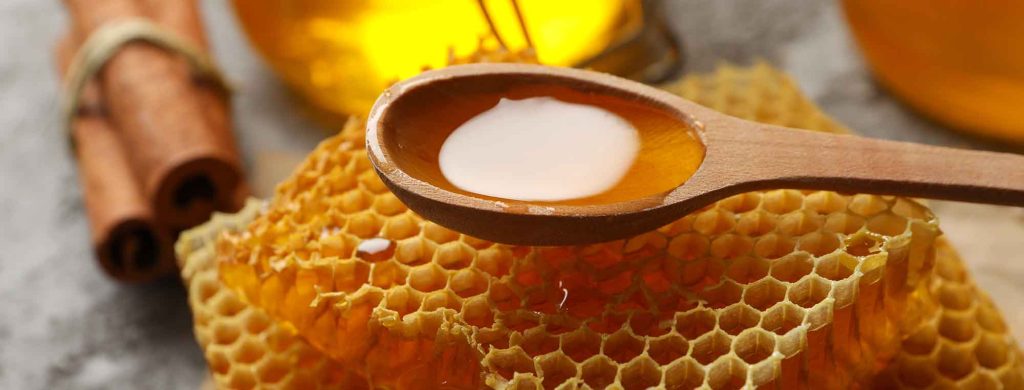
Can You Use Honey for Priming?
Yes.
Honey contains fermentable sugar. However, the exact sugar content can vary.
This makes carbonation less predictable than using a measured amount of a standardized priming sugar. For your first few batches, use corn sugar or table sugar. Once you understand the process, you can experiment with honey or other sugars.
Can You Use Table Sugar?
Yes.
Table sugar is sucrose. Beer yeast can ferment it.
Use a calculated amount. There is no requirement to use corn sugar beyond standard convention.
Bottling Beer From a One-Gallon Batch
Small batches are especially easy to bottle.
A one-gallon batch contains approximately 128 fluid ounces. After fermentation losses, you may have about 100–115 fluid ounces of beer.
That can produce approximately:
- 8–9 12-ounce bottles
This is one reason small batches are useful for beginners. You can experiment without filling a large number of bottles.
How to Store Bottled Beer
Store freshly bottled beer:
- Upright
- At a suitable fermentation temperature
- Away from direct sunlight
- Away from large temperature changes
The beer should remain upright because yeast sediment will settle on the bottom. After carbonation is complete, move the beer to a cool location or refrigerator.
How Long Does Bottled Beer Last?
This depends on the beer.
Many homebrewed beers are best when consumed relatively fresh. Oxygen exposure can cause flavor changes over time. And hoppy beers are particularly sensitive to oxygen.
Proper sanitation and careful bottling can improve shelf life.
Store bottles away from:
- Heat
- Sunlight
- Large temperature changes
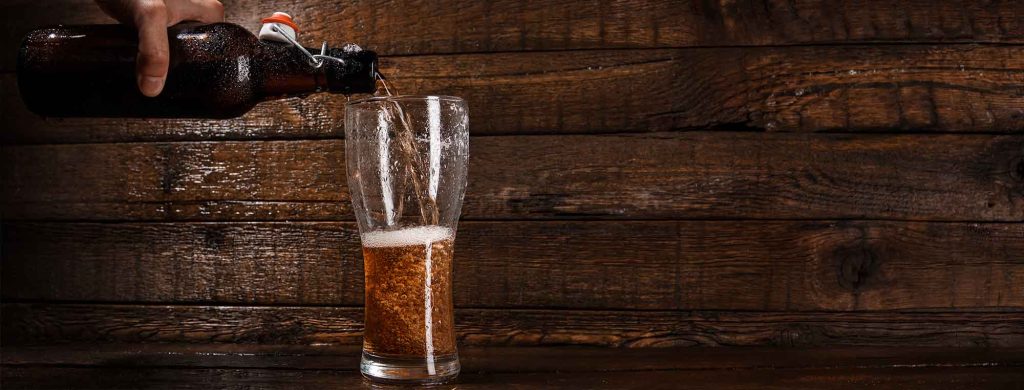
Pouring Bottle-Conditioned Beer
Bottle-conditioned beer contains yeast sediment.
To pour a clear beer:
- Chill the bottle.
- Open it carefully.
- Pour slowly.
- Keep the bottle upright.
- Stop pouring before the sediment reaches the glass.
You can also pour the entire bottle and include the yeast sediment. This is a matter of preference.
The Simplest Bottling Process
For a beginner, the entire process can be reduced to these steps:
- Confirm that fermentation is complete.
- Clean the bottles.
- Sanitize the bottles.
- Clean the bottling equipment.
- Sanitize the bottling equipment.
- Calculate the required priming sugar.
- Weigh the priming sugar.
- Dissolve the sugar in water.
- Cool the sugar solution.
- Add the sugar solution to the bottling bucket.
- Transfer the beer to the bottling bucket.
- Avoid splashing.
- Fill each bottle.
- Leave about 1 inch of headspace.
- Add a new bottle cap.
- Crimp the cap.
- Store the bottles at a suitable temperature.
- Wait about 4–6 weeks.
- Chill one bottle.
- Test the carbonation.
- Refrigerate the remaining bottles when they are ready.
Bottling Does Not Need to Be Complicated
Bottling beer can seem like a tedious part of homebrewing.
With the right equipment, it is straightforward. The most important things are not expensive.
- Use a hydrometer to confirm that fermentation is complete.
- Use a digital scale to measure priming sugar.
- Use a bottling bucket to distribute the sugar evenly.
- Use clean and sanitized bottles.
- Use a bottle capper to seal the bottles.
Then give the yeast time to carbonate the beer.
The most important safety rule is also the simplest: Never bottle beer until you know fermentation is complete.
If the gravity is stable, the equipment is clean, the priming sugar is measured correctly, and the bottles are designed for carbonation, bottle conditioning is a reliable way to turn fermented beer into finished, naturally carbonated homebrew.