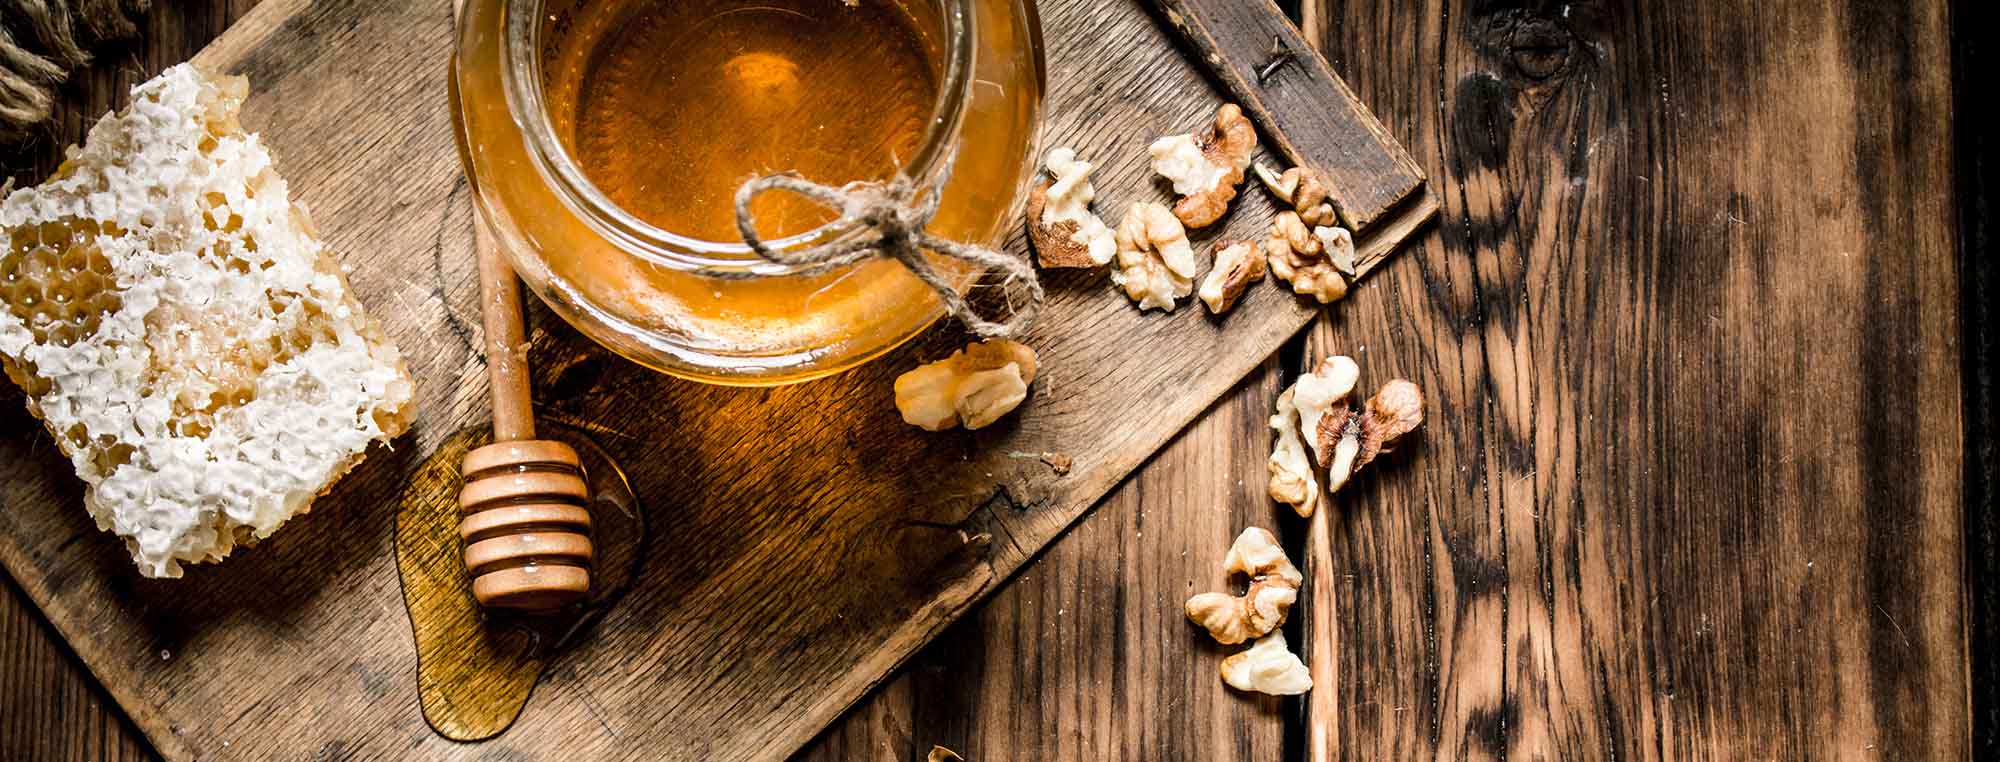
Mead is an alcoholic drink made by fermenting honey with water.
Yeast consumes the sugars in honey. The yeast produces alcohol and carbon dioxide.
Mead is one of the oldest known fermented drinks.
People often call mead “honey wine.” This description is useful, but mead is not simply wine made from grapes and honey. Honey is the main source of fermentable sugar.
Mead can be dry or sweet, still or carbonated, light and crisp or rich and strong. It can contain fruit, spices, herbs, hops, tea, coffee, or other ingredients.
The basic recipe can be very simple:
Honey + water + yeast = mead
You do not need to boil the honey. You do not need a large brewing system. You do not need to use expensive equipment.
A one-gallon batch is enough to learn the process.
What Does Mead Taste Like?
There is no single mead flavor.
The flavor depends on:
- Honey
- Yeast
- Fermentation temperature
- Alcohol level
- Sweetness
- Acidity
- Tannin
- Aging
- Other ingredients
A dry mead can taste similar to a dry white wine. A sweet mead can taste rich and honey-like. A fruit mead can taste like a combination of wine and fruit. A heavily spiced mead can taste very different from a traditional mead, akin to wassail.
The honey variety also matters. Clover honey, orange blossom honey, wildflower honey, buckwheat honey, and other honeys can produce different flavors. Check out our article on honey varietals for more info.
The Basic Types of Mead
The names for mead styles can vary.
Some common terms are useful for beginners.
Traditional Mead
Traditional mead uses honey, water, and yeast. It does not contain fruit, spices, or other major flavor additions.
This is the simplest mead to make.
Melomel
A melomel is a mead that contains fruit. Examples include:
- Raspberry mead
- Blackberry mead
- Cherry mead
- Blueberry mead
- Peach mead
Cyser
A cyser is a mead made with apple juice or cider. It is a combination of honey and apple.
Metheglin
A metheglin is a mead flavored with herbs or spices.
Examples include:
- Ginger mead
- Cinnamon mead
- Vanilla mead
- Herbal mead
These categories can overlap. A mead can contain several ingredients and fit more than one description.

What Do You Need to Make Mead?
The simplest one-gallon batch needs only a few ingredients and pieces of equipment.
Equipment
You need:
- 1-gallon fermenter
- Fermentation stopper or lid
- Airlock
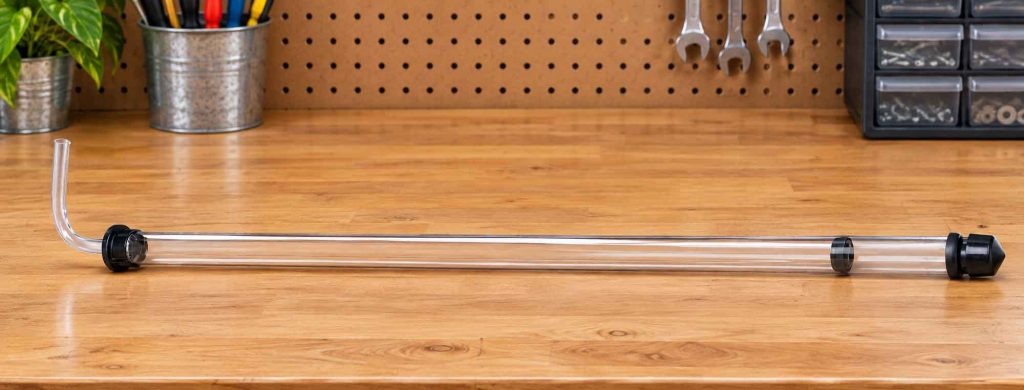
- Siphon or auto-siphon
- Siphon tubing
- Hydrometer
- Hydrometer test jar
- Thermometer
- Digital scale
- Large spoon
- Cleaner
- No-rinse sanitizer
- Bottles
- Bottle filler
A bottling bucket is useful but not required.
A second 1-gallon vessel is useful for secondary fermentation.
Ingredients
For a simple one-gallon traditional mead, use:
- 2.5–3 pounds of honey
- Enough water to make 1 gallon
- Wine yeast
- Yeast nutrient
You can also use:
- Pectic enzyme for fruit meads
- Potassium metabisulfite
- Potassium sorbate
- Wine acid
- Wine tannin
- Fruit
- Spices
- Priming sugar
You do not need all of these products. The basic traditional mead needs honey, water, yeast, and nutrient.

Choosing Honey
Use honey that tastes good. The honey is the main flavor ingredient.
Good choices include:
- Clover honey
- Orange blossom honey
- Wildflower honey
- Tupelo honey
- Acacia honey
- Buckwheat honey
You do not need expensive honey for your first batch. A local farmers market can be a good place to find interesting honey. Avoid honey with artificial flavors or other ingredients that you do not want in the mead.
Do not assume that raw honey is required. Raw honey can make good mead, but pasteurized honey can also make good mead.
The yeast will perform the fermentation.
Choosing Water
Use clean drinking water.
Good options include:
- Tap water
- Spring water
- Filtered water
- Reverse osmosis water
If you use tap water, check whether it contains chlorine or chloramine. These compounds can interfere with fermentation flavor, and you can remove them with a suitable carbon filter or treat the water with potassium metabisulfite.
Do not use distilled or RO water as the only water source without considering mineral content. Yeast needs some minerals.
For a simple first mead, good drinking water is usually enough.
Choosing Yeast
Use wine yeast.
Common choices include:
- Lalvin K1-V1116
- Lalvin D-47
- Lalvin EC-1118
- Red Star Premier Blanc
Each yeast has different characteristics. Some produce more fruit-like flavors. Some tolerate higher alcohol levels. Some leave more sweetness when fermentation stops due to their glycerol production.
For a simple first mead, use a reliable wine yeast and follow its recommended temperature range.
You do not necessarily need a yeast starter for a one-gallon batch.
Why Mead Needs Nutrient
Honey contains a lot of sugar. But it does not contain everything that yeast needs for a healthy fermentation.
A mead can therefore ferment slowly or develop unwanted flavors if the yeast does not receive enough nutrients. This is why modern mead recipes often use a nutrient protocol.
Common products include:
- Fermaid-O
- Fermaid-K
- Diammonium phosphate
- Complete yeast nutrient blends
Follow the manufacturer’s instructions. Do not add a large amount of nutrient at one time. A measured nutrient schedule is better than guessing. Thankfully, we have sites like MeadTools to help us out.
Check out our comprehensive article ranking all the mead nutrients!
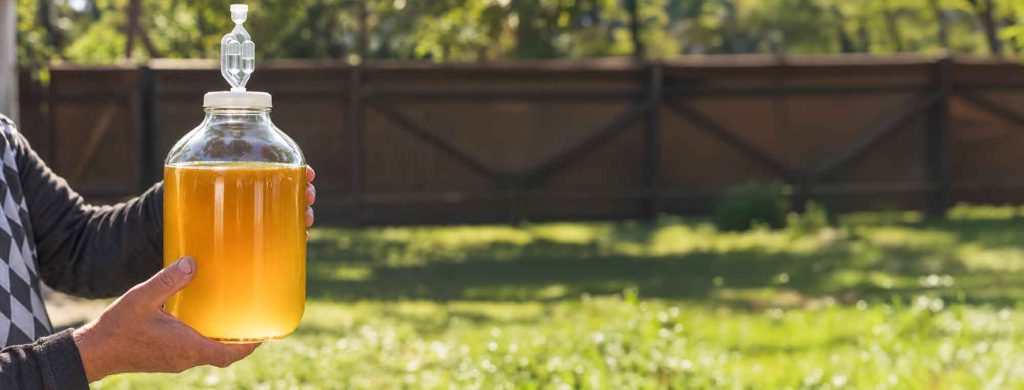
How to Make a Simple One-Gallon Mead
This is a practical beginner method. It produces a traditional mead with honey, water, yeast, and nutrients.
The process takes several weeks or longer, and the mead may also benefit from several months of aging.
Brew Day
1. Clean Your Equipment
Clean the fermenter, stopper, airlock, spoon, siphon, hydrometer, test jar, and any other equipment that will touch the mead.
Cleaning removes dirt and residue.
Do this before sanitizing.
2. Sanitize Your Equipment
Sanitize all equipment that will touch the honey mixture.
Use a no-rinse sanitizer according to the manufacturer’s instructions. Do not rinse sanitized equipment with untreated tap water. Good sanitation is one of the most important parts of mead making.
3. Measure the Honey
Weigh approximately 2.5–3 pounds of honey.
The exact amount depends on the alcohol level that you want. More honey means more potential alcohol. Do not automatically add as much honey as possible. A very high starting gravity can make fermentation difficult for the yeast.
4. Warm the Honey if Necessary
Honey can be thick and difficult to pour. Place the honey container in warm water for a short time.
Do not boil the honey. Do not cook the honey. Excessive heat can change honey flavor.
The goal is only to make the honey easier to handle.
5. Add Water
Add some of the water to the sanitized fermenter.
Add the honey.
Add more water.
Leave several inches of empty space at the top. The fermenter needs room for foam. Do not fill it completely – you’re leaving what mead-makers refer to as “headspace” for expansion of the mead during fermentation.
6. Mix the Honey and Water
Carefully stir the mixture until the honey is completely dissolved. You can also close the fermenter and shake it gently.
The mixture is now called must.
7. Measure the Starting Gravity
Take a sample of the must.
Use a hydrometer to measure the specific gravity. Record the value. A traditional mead with approximately 2.5–3 pounds of honey in one gallon can have a starting gravity around 1.090–1.120, depending on the honey and final volume.
Do not try to hit an exact number without measuring. If the gravity is much higher than intended, add water. If it is lower than intended, add more honey.
Mix well before taking another reading.
If following proper sanitizing procedures, you can return the sample to the carboy.
8. Add Yeast Nutrient
Add the amount of nutrient specified by your nutrient manufacturer or your calculator. Modern nutrient schedules often divide nutrient additions into several small doses during the early part of fermentation, giving the yeast nutrients when it can use them.
Do not add all nutrients blindly at the start. Follow the instructions for the specific nutrient product.
9. Aerate the Must
Yeast needs oxygen during the early growth stage.
Shake the sealed fermenter carefully for several minutes. You can also stir the must with a sanitized spoon if using a fermentation bucket. If you have an aeration system, you can use it.
Do not aggressively aerate the mead after fermentation is well underway.
10. Add the Yeast
Check the temperature of the must to make sure it is within the range recommended by the yeast manufacturer.
Add the yeast. You can sprinkle dry yeast directly onto the must.
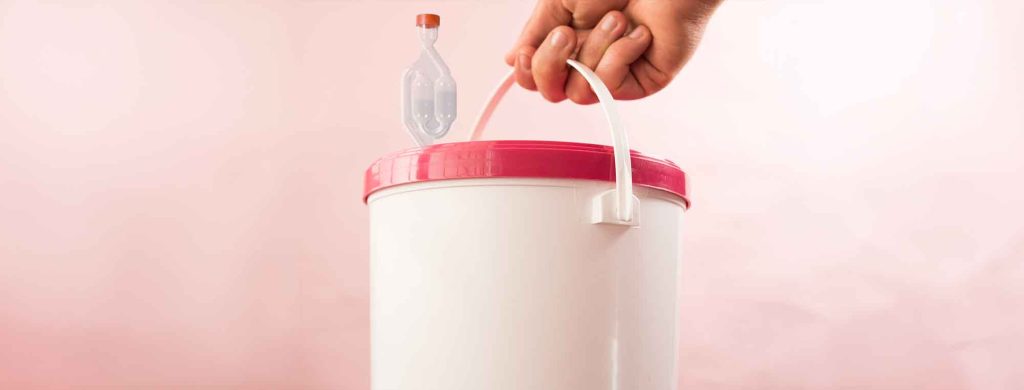
11. Install the Airlock
Install the stopper and airlock. Add the liquid to the airlock, usually water, Star San, or cheap vodka.
Move the fermenter to a location with a stable temperature and keep the mead away from direct sunlight.
The First Few Days
The first few days are important.
The yeast population grows rapidly. Fermentation can become quite active.
You may see:
- Foam
- Bubbles
- Sediment
- Airlock activity
The must may also become cloudy. Don’t worry! These are normal signs of fermentation.
Add Nutrients During Early Fermentation
If your nutrient product uses a staggered nutrient addition schedule, follow that schedule.
Many schedules add nutrients during the first several days.
The exact amount depends on:
- Honey weight
- Starting gravity
- Yeast strain
- Nutrient product
- Batch size
Do not copy a dose from a different product. Different nutrient products contain different ingredients.
Degas the Mead
During the early fermentation stage, you can gently stir or degas the mead, which can be useful when adding nutrients.
Degassing can remove dissolved carbon dioxide. It can also help distribute nutrients. Do this carefully. A fermenting mead can foam quickly. A sudden release of carbon dioxide can cause the mead to foam out of the fermenter.
Stop active degassing when you’re finished with your nutrient additions. Do not splash the mead once alcohol production is well underway.
In lieu of degassing, you can add your nutrients very slowly to the active fermentation. Don’t worry about stirring or shaking to mix them in – nature will do that on its own.
Primary Fermentation
Primary fermentation can take about 1–3 weeks.
Some meads take longer. Do not decide that fermentation is complete because the airlock stops bubbling. Instead, use the hydrometer.
Take a gravity reading. Take another reading several days later. If the readings are stable, fermentation may be complete.
A dry traditional mead may finish close to 1.000 specific gravity. Some yeasts can ferment below 1.000. A mead with a very high starting gravity can finish at a higher final gravity. The important point is that the gravity must be stable.
Transfer to Secondary
Once primary fermentation is complete, you can transfer the mead to a secondary vessel.
Secondary fermentation is also called bulk aging, and generally there is no true fermentation happening at this step.
1. Sanitize the Secondary Vessel
Clean and sanitize the secondary fermenter.
Sanitize the siphon and tubing.
2. Transfer the Mead
Place the primary fermenter above the secondary vessel. Start the siphon. Keep the siphon outlet below the surface of the mead.
Do not splash the mead. Leave the yeast sediment behind.
3. Fill the Secondary Vessel
Try to minimize the amount of empty space above the mead. A large amount of headspace increases oxygen exposure.
Install the stopper and airlock.
What Happens in Secondary?
The mead may continue to ferment. The yeast can consume any remaining traces of sugar.
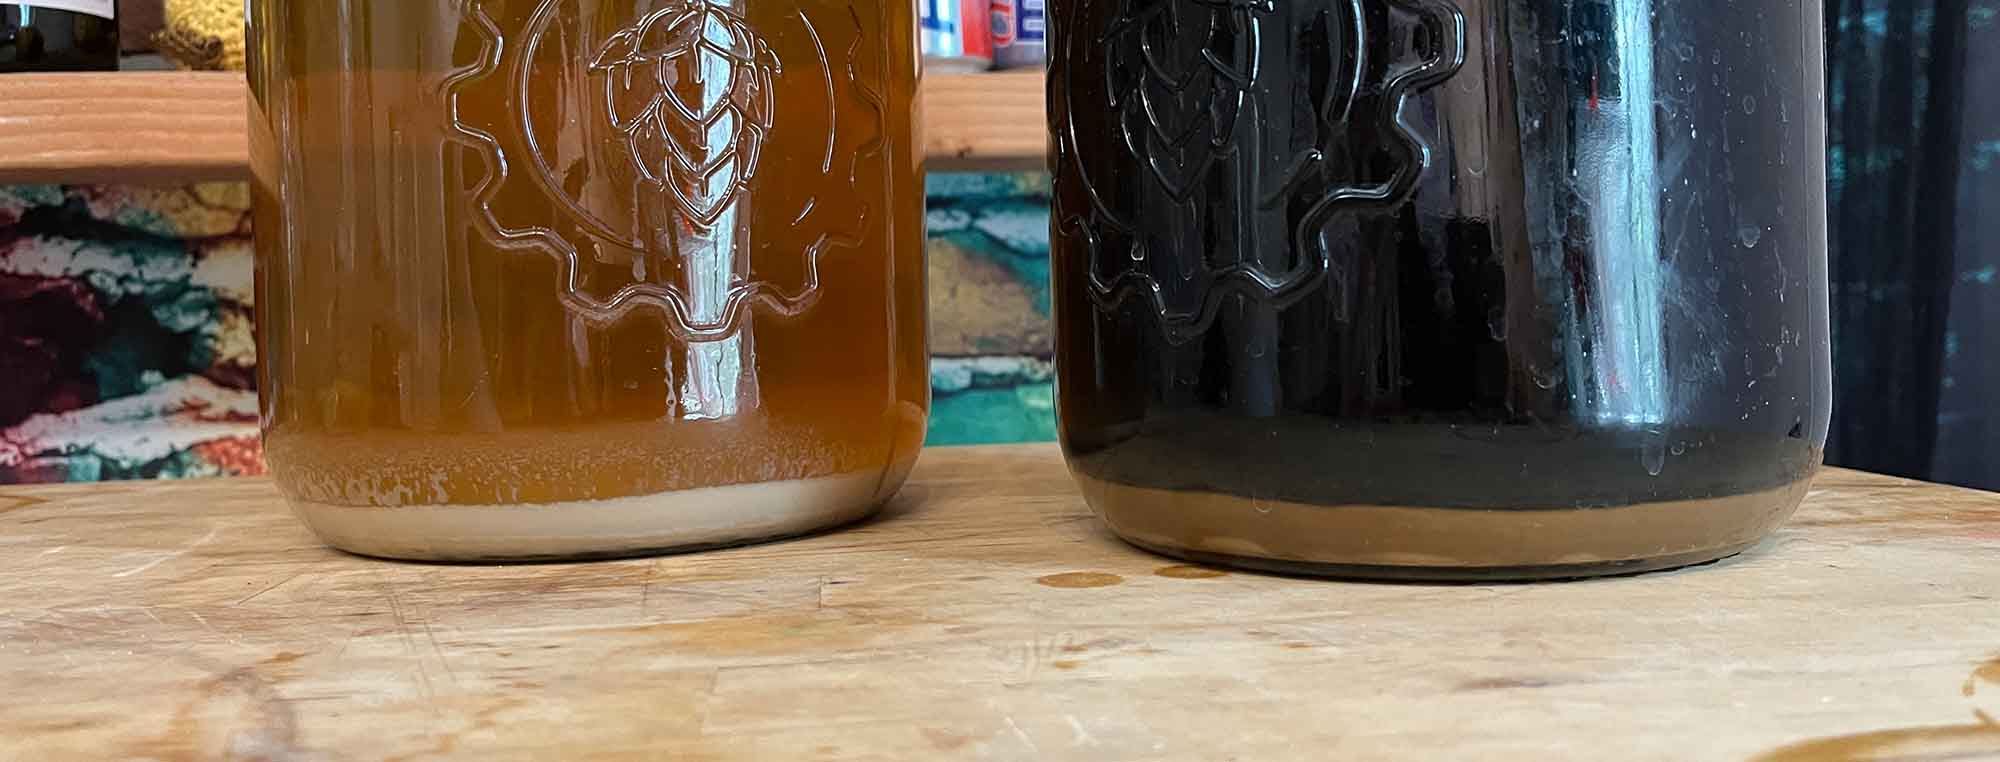
The mead can also become clearer. Sediment can collect on the bottom.
Flavors can become less harsh. The alcohol can become better integrated. This process takes time. A mead that tastes rough after primary fermentation can taste much better after several months.
Optional Flavor Additions
Traditional mead uses only honey.
You can add other ingredients after you understand the basic process.
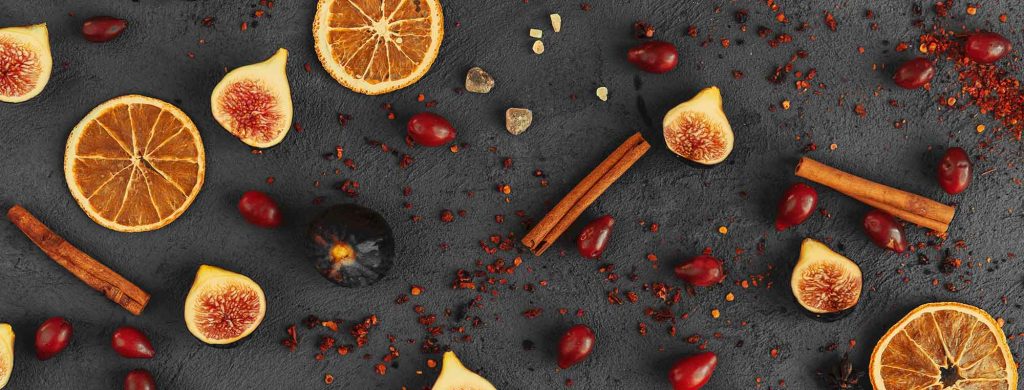
Fruit
Add fruit to make a melomel.
Good choices include:
- Raspberry
- Blackberry
- Blueberry
- Cherry
- Peach
- Strawberry
- Mango
- Pear
- Apple
Fruit contains sugar. The yeast can ferment that sugar.
After adding fruit, fermentation can start again. Wait until the gravity is stable before you bottle.
Spices
You can add:
- Cinnamon
- Vanilla
- Ginger
- Clove
- Allspice
Use small quantities.
Spices can become very strong during aging. Add them gradually when possible.
It is easier to add more spice than to remove it.
Oak
Oak can add:
- Vanilla
- Toast
- Spice
- Tannin
- Structure
Oak cubes or spirals are easy to use in a small batch. Follow the manufacturer’s instructions and taste the mead regularly.
Remove the oak when the flavor is strong enough.
Stabilizing Mead
If you want a sweet mead, stabilization is important.
First, confirm that fermentation is complete. Take stable hydrometer readings.
Then many mead-makers add:
- Potassium metabisulfite
- Potassium sorbate
These products work together to help prevent renewed fermentation. They do not remove every yeast cell.
Follow the product instructions for dosage. Give the stabilizers the required contact time before sweetening.
Sweetening Mead
A dry mead can be delicious. You do not have to sweeten it.
If you want a sweeter mead, you can add:
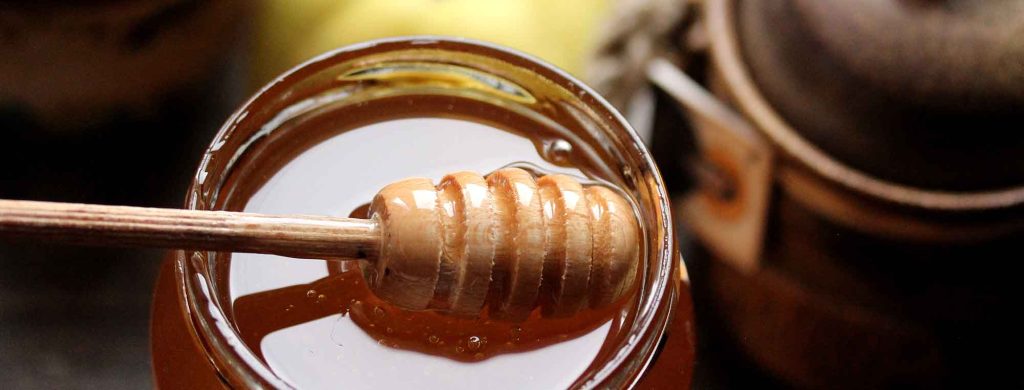
- Honey
- Sugar
- Fruit juice
- Fruit concentrate
Add small amounts. Mix thoroughly. Taste the mead. Repeat until the sweetness is where you want it.
If the sweetener is fermentable, make sure the mead is properly stabilized first. Otherwise, the yeast can ferment the added sugar.
Balance the Mead
Sweetness is only one part of balance.
A mead can also need:
- Acid
- Tannin
- Alcohol
- Fruit character
A dry mead can taste thin if it lacks acidity or tannin. A sweet mead can taste heavy if it has too little acidity.
Do not make large adjustments immediately. Take a measured sample. Make a small test addition. Taste it. If the test works, calculate the amount required for the entire batch.
This is safer than adding a large amount directly to the fermenter, and is called “bench trialing.”
Clarification
Mead can take a long time to become clear.
This is normal.
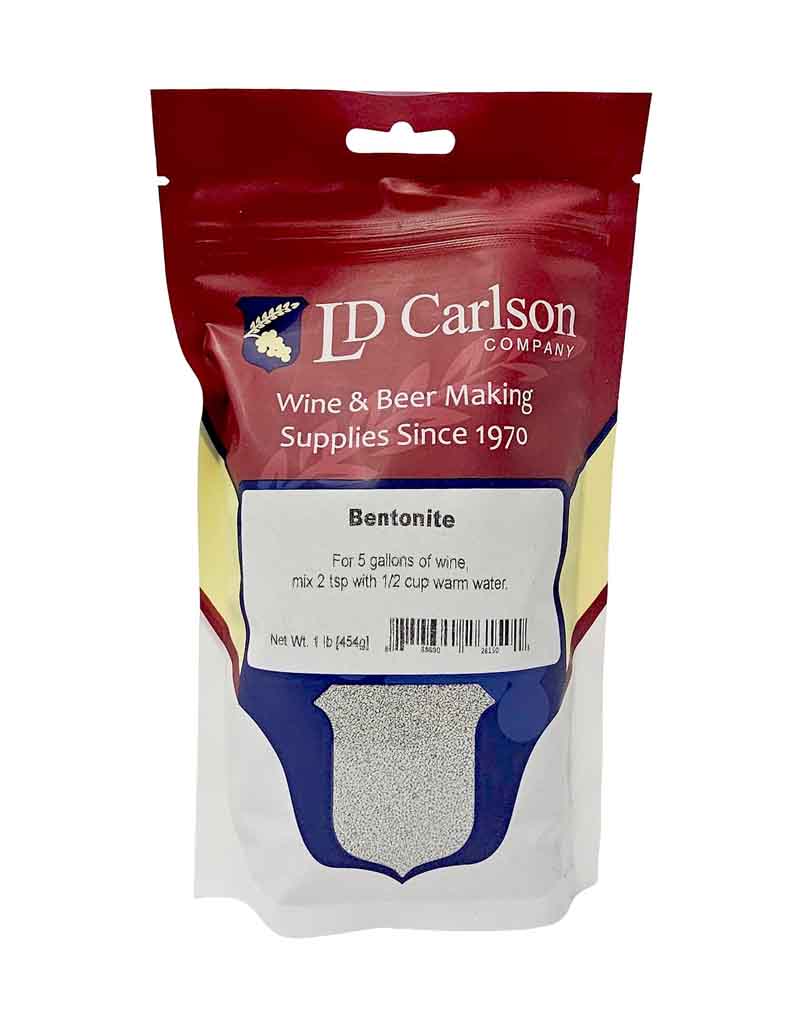
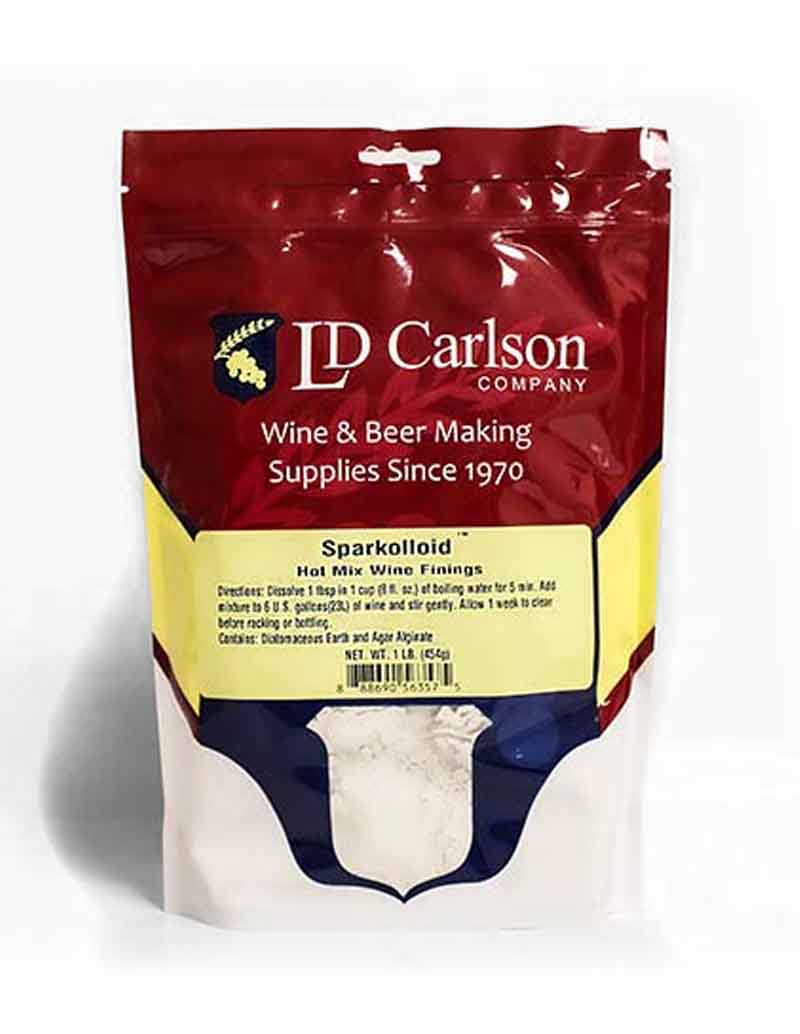
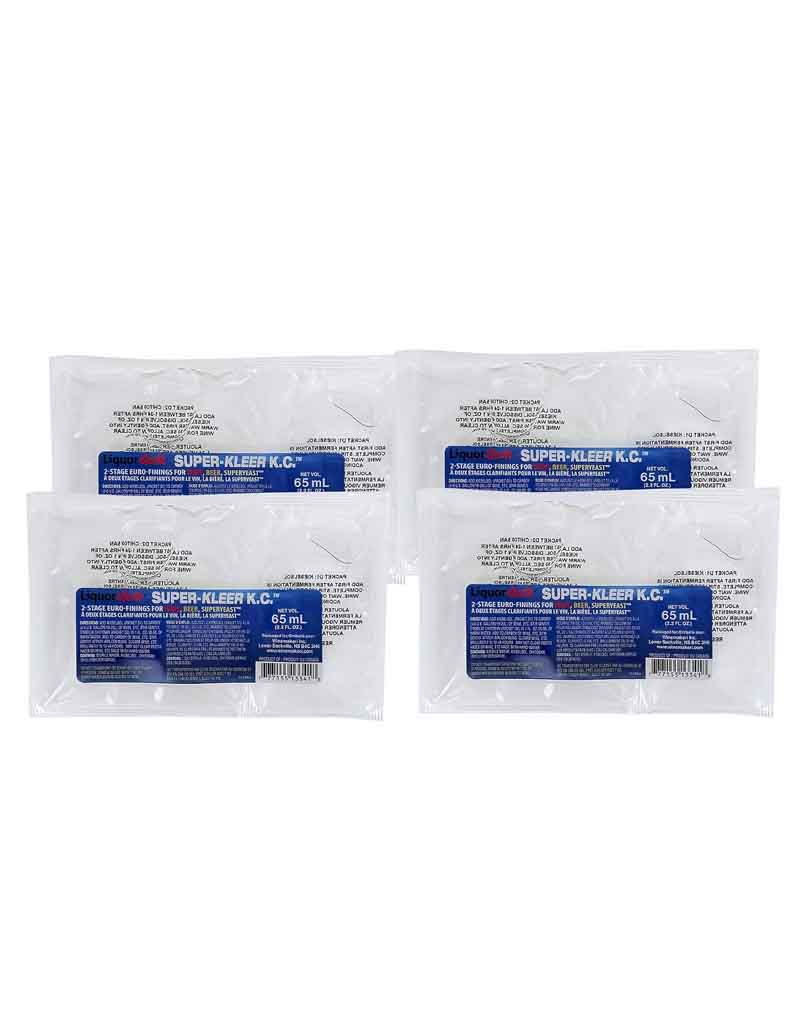
You can allow time to clarify the mead naturally. You can also use a fining agent. Common fining products include:
- Bentonite
- Kieselsol
- Chitosan
- Sparkolloid
Follow the product instructions. Rack the mead only when there is a useful reason, as every transfer creates another opportunity for oxygen exposure.
Bottling Mead
Do not bottle until fermentation is complete.
Take hydrometer readings on different days. The readings must remain stable. This is especially important for glass bottles.
Continued fermentation in a sealed bottle can create pressure.

Still Mead
For still mead, use:
- Wine bottles
- Wine corks
- Corker
Clean and sanitize the bottles.
Transfer the mead carefully. Do not splash. Fill the bottles, leaving the correct headspace or “ullage.”
Insert the corks. Store the bottles in a cool, dark location.
Carbonated Mead
You can also carbonate mead.
The easiest method for natural bottle carbonation is bottle conditioning.
First, the mead must be completely fermented. Then add a measured amount of priming sugar. Bottle the mead in bottles designed to hold carbonation.
Priming Sugar Calculator
The yeast ferments the priming sugar. The resulting carbon dioxide remains in the bottle. The mead becomes carbonated.
Do not bottle-condition a sweet mead by adding fermentable sugar to a mead that still contains fermentable sugar. The yeast can continue to ferment and this can create excessive pressure.
If you want sweet and naturally carbonated mead, use a controlled process. A kegging system gives you more control over both sweetness and carbonation.
How Long Does Mead Take?
Mead can be drinkable much sooner than its reputation suggests. A simple mead can complete primary fermentation in a few weeks.
However, young mead can taste:
- Hot
- Sharp
- Sweet
- Dry
- Yeasty
- Unbalanced
Aging can improve these characteristics.
A simple mead can be enjoyable after a few months. Some meads improve for six months or more. High-alcohol meads often benefit from longer aging.
Do not assume that every mead needs years of aging.
Taste it. The best aging time is the time that produces the flavor you want.
The Simplest Mead Recipe
For an absolute beginner, keep the first batch simple.
Use:
- 3 pounds honey
- Water to make 1 gallon
- One packet of wine yeast
- Yeast nutrient
The process is:
- Clean the equipment.
- Sanitize the equipment.
- Add water to the fermenter.
- Add 3 pounds of honey.
- Mix until the honey is completely dissolved.
- Add water until the total volume is 1 gallon.
- Measure the starting gravity.
- Adjust the amount of water or honey if necessary.
- Add the first nutrient addition.
- Aerate the must.
- Add the yeast.
- Install the airlock.
- Ferment at the yeast manufacturer's recommended temperature.
- Add additional nutrients according to the nutrient manufacturer's schedule.
- Gently degas during the early fermentation period if the recipe calls for it.
- Stop active degassing after the early fermentation stage.
- Allow primary fermentation to finish.
- Take hydrometer readings several days apart.
- Transfer the mead to a sanitized secondary vessel.
- Keep the mead under an airlock.
- Allow the mead to clarify and age.
- Rack only when necessary.
- Stabilize the mead if you want to add fermentable sweetener.
- Sweeten to taste if desired.
- Confirm that the mead is stable.
- Sanitize the bottles and bottling equipment.
- Transfer the mead to the bottles.
- Cork the bottles.
- Allow the mead to age.
- Drink it when you like the flavor.

Mead Does Not Need to Be Complicated
The simplest mead is one of the simplest alcoholic drinks to make at home.
You do not need:
- A brew kettle
- A mash tun
- A grain mill
- A wine press
- A fruit crusher
- A large fermentation system
You need honey, water, yeast, nutrient, sanitation equipment, and patience.
The most important tools are not expensive.
- A hydrometer tells you whether fermentation is complete.
- A thermometer helps you control fermentation temperature.
- A sanitizer helps protect the mead from contamination.
- A siphon lets you move the mead without unnecessary oxygen exposure.
The rest is time.
Start with a one-gallon traditional mead. Use one honey. Use one yeast. Do not add fruit or spices.
Learn what honey, yeast, fermentation, and aging do on their own.
Then make the next batch different.
Add fruit.
Try another honey.
Change the yeast.
Add spices.
Adjust the sweetness.
Make a cyser.
Try a melomel.
That is the real advantage of making mead at home. The basic process is simple. And the number of things you can do with that basic process is almost unlimited.