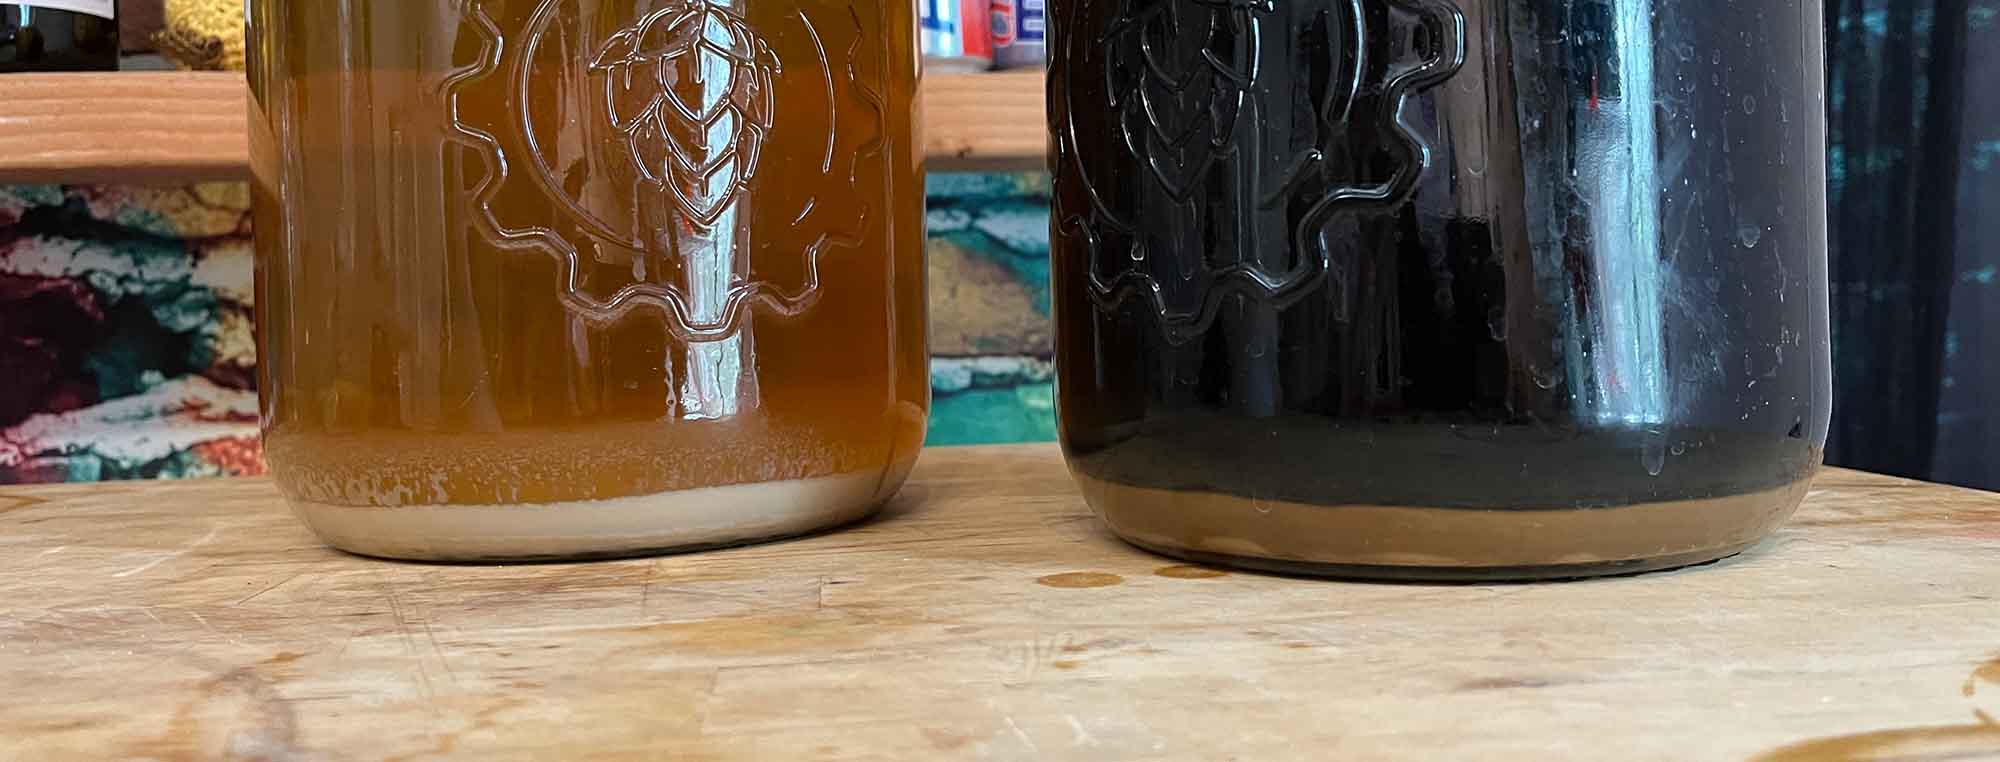

A bottle bomb is a bottle that breaks because pressure inside the bottle becomes too high.
In homebrewing, this usually happens because fermentation continues after bottling.
- The yeast produces carbon dioxide.
- The bottle traps the carbon dioxide.
- Pressure increases.
- If the pressure becomes higher than the bottle can safely hold, the bottle can break.
A bottle bomb is not just a messy brewing problem. A glass bottle under high pressure can cause serious injury.
The best way to prevent bottle bombs is to make sure that fermentation is finished before you bottle.
What causes a bottle bomb?
There are several common causes.
The most common cause is simple: The beer, cider, wine, or mead was not finished fermenting when it was bottled.
- You may have a stable-looking fermentation.
- You may see no bubbles in the airlock.
- The liquid may look clear.
None of these facts prove that fermentation is finished.
Yeast can continue to ferment sugar after you bottle. That sugar becomes more carbon dioxide. The bottle has nowhere for the gas to go. Pressure increases.
Eventually, something fails.
That something may be the cap. It may be the bottle. If the bottle breaks, you have a bottle bomb.
Priming sugar can also cause bottle bombs
Bottle conditioning normally requires sugar.
You add a measured amount of fermentable sugar before bottling.
- The yeast consumes that sugar.
- The yeast produces carbon dioxide.
- The bottle traps the carbon dioxide.
- This carbonates the drink.
This process is safe when you add the correct amount of sugar to a fully fermented beverage. The problem occurs when there is already fermentable sugar in the bottle.
For example:
You ferment a cider from 1.060 to 1.010.
You think it is finished.
You add priming sugar.
You bottle it. The yeast then continues fermenting the remaining sugar in the cider.
The yeast now has two sources of sugar:
- The sugar that was already in the cider.
- The priming sugar that you added.
The result can be far more carbonation than you intended. If fermentation continues long enough, pressure can become dangerous.
Stable gravity is more important than airlock activity
Do not use airlock activity to decide if fermentation is finished. An airlock can stop bubbling for many reasons.
- The fermentation may be finished.
- The fermenter may have a small leak.
- The temperature may have changed.
- The airlock may not be sealed properly.
- The yeast may simply be fermenting slowly.
Use a hydrometer and take a gravity reading. Then take another reading several days later. If the gravity is unchanged, take another reading later to confirm that it remains stable.
Stable gravity is the important measurement.
For example:
| Day | Gravity |
| Day 1 | 1.004 |
| Day 4 | 1.004 |
| Day 7 | 1.004 |
This is strong evidence that fermentation is finished.
Compare that with:
| Day | Gravity |
| Day 1 | 1.010 |
| Day 4 | 1.006 |
| Day 7 | 1.003 |
Fermentation is still happening. Do not bottle yet.
A low final gravity does not automatically mean fermentation is finished
A common mistake is to decide that a beverage is finished because it reached a certain gravity.
For example:
“My cider is at 1.000, so it must be done.”
Not necessarily. The yeast does not care what gravity you expect. If fermentable sugar remains and the yeast can continue working, fermentation can continue.
The important question is:
Has the gravity stopped changing?
This is especially important for mead, cider, and wine. Some beverages can ferment to very low final gravities, while others may finish with significant residual sugar. A single measure of the final gravity alone does not tell you whether fermentation is complete.

What about beer?
Bottle bombs are common enough in homebrewed beer that they deserve special attention.
Beer can contain fermentable sugars from:
- Wort that has not completely fermented
- Priming sugar
- Extract
- Fruit
- Brewing sugars
- Added flavorings
A beer that is bottled too early can continue fermenting in the bottle. This can create excessive carbonation.
Some beer styles also have naturally high carbonation levels. Do not add a normal priming dose to a beer that already contains significant dissolved carbon dioxide without accounting for it. We’ve got a whole guide on all things priming sugar.
What about cider, mead, and wine?
Cider can be sneaky
Cider often looks finished before it is finished. A cider can ferment slowly near the end. It can also contain fermentable sugar from apple juice, added fruit, or backsweetening.
If you want a sweet, carbonated cider, you need a controlled method, like using a nonfermentable sweetener. Do not simply sweeten a cider with sugar, honey, or juice and then add priming sugar. The yeast can ferment the added sugar. And that can produce excessive pressure.
If you want sweet and carbonated cider, consider a controlled method such as:
- Force carbonation in a keg
- Stabilization followed by a controlled carbonation method
- Pasteurization only when you understand the process and its risks
Do not rely on bottle pasteurization as a casual fix for an already over-carbonated batch. Heating sealed bottles that contain excessive pressure can be dangerous.
Mead can also take a long time to finish
Mead can ferment more slowly than beer. A mead can look clear and inactive while yeast remain capable of fermenting additional sugar. This is especially important for sweet meads.
If you want a sweet sparkling mead, you need a plan for controlling any fermentable sugars added in backsweetening.
For bottle conditioning, you can use a nonfermentable sweetener like erythritol. Alternatively, you can stabilize, backsweeten with honey or sugar, and force-carbonate in a keg.
Can priming sugar itself cause a bottle bomb?
Yes. Too much priming sugar can create too much pressure.
This can happen because:
- You measured the wrong amount.
- You used the wrong batch volume.
- You accidentally added sugar twice.
- You used a volume measurement instead of a weight measurement.
- You used a priming calculator incorrectly.
- You forgot that the beverage already contained dissolved CO₂.
- You used a different sugar than the calculation assumed.
- You mixed the sugar unevenly.
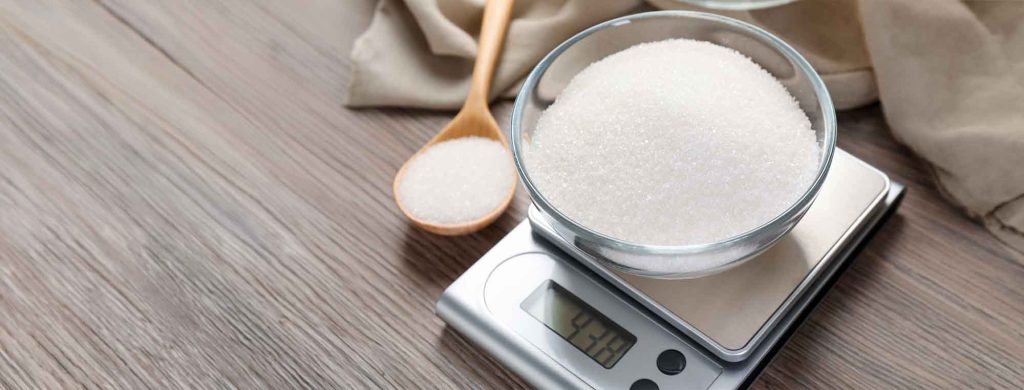
The safest approach is to weigh your priming sugar.
Do not guess. Do not use a random teaspoon-per-bottle rule. Calculate the total amount for the batch.
Then mix it thoroughly and gently into the finished beverage.

Use the correct bottle
Not all bottles can safely hold carbonation.
Standard still-wine bottles are not designed for normal bottle-conditioned beer carbonation. Do not carbonate wine in ordinary wine bottles. Rather, use bottles designed for the pressure you intend to create.
Examples include:
- Beer bottles designed for carbonation
- Champagne-style bottles
- Belgian beer bottles
- Other pressure-rated bottles intended for carbonated beverages
Check the bottle manufacturer’s specifications when possible. Do not use a bottle simply because it looks thick. The glass thickness and bottle design are not enough to tell you the pressure rating.
Swing-top bottles are not automatically safer
Swing-top bottles are convenient. They are also popular for homebrew.
But the presence of a wire bail does not make a bottle immune to excessive pressure. If the bottle is not designed for the pressure you are creating, it can still fail.
A properly rated bottle is more important than the type of closure.
What if I already bottled it and now I’m worried?
This is where you should stop and think before opening anything.
If you have reason to believe that your bottles contain excessive fermentable sugar, do not start casually handling them to see what happens.
Treat the bottles as pressurized containers.
- Move people and pets away from the area.
- Do not shake the bottles.
- Do not drop them.
- Do not squeeze plastic bottles to test pressure.
- Do not open a glass bottle next to your face.
If bottles are already showing signs of excessive carbonation, use appropriate protective equipment and a controlled procedure. The safest option may be to isolate the bottles and get advice from an experienced brewer or brewing professional before handling them.
My method for diffusing bottle bombs is to:
- Chill the bottles near freezing
- Wear thick protective work gloves and safety goggles or a face shield
- Open the bottles outside, away from my face
- Have some friends over and enjoy some really foamy pitchers of homebrew
Others will carefully double-bag the bottles in thick garbage bags and leave them outside in the heat until the bottles burst on their own. And others will throw bricks at the bag to shatter the bottles. None of these are perfect solutions and they all carry risks.
The best option is to avoid creating the bottle bomb in the first place.
What are the warning signs?
A batch may deserve attention if:
- Bottles become unusually hard or highly pressurized
- Bottles begin leaking
- Caps bulge or lift
- Beer begins pushing liquid around the cap
- Bottles become extremely foamy when opened
- You hear repeated popping or cracking sounds
- Gravity was not stable before bottling
- You bottled a sweet beverage without a reliable fermentation-control method
- You accidentally added too much priming sugar
- You discover that the beverage was still fermenting when you bottled it
A plastic bottle can sometimes give you a useful visual or tactile indication of increasing pressure.
Glass does not. Do not use a glass bottle as a pressure gauge.

What should I do with a suspect batch?
If you think a batch may be over-carbonating, the first goal is to prevent injury.
Keep people away from the bottles. If the bottles are in an enclosed room, avoid putting yourself in a position where a breaking bottle could injure you. Do not create a situation where you are standing over a bottle while trying to “fix” it.
If the bottles are safely accessible, a brewer may choose to carefully chill them, as cold liquid holds more dissolved carbon dioxide than warm liquid.
Cold storage can also slow yeast activity. Cooling is not a guarantee that the problem is solved.
It does not remove the excess fermentable sugar. When the bottles warm up again, fermentation can continue.
If you are dealing with a potentially dangerous pressure situation, prioritize keeping people away from the bottles over saving the batch. A batch of homebrew is replaceable. Your hands and eyes are not.
Do not simply “burp” every bottle
You may see advice to open each bottle slightly to release pressure.
This can reduce pressure. It can also create a dangerous situation. You now have a bottle that may be highly pressurized, and you are putting your hands near the closure.
You also need to repeat the process as fermentation continues. If you are dealing with a genuinely over-carbonated batch, do not improvise a bottle-by-bottle pressure-release procedure.
Use a controlled method appropriate for the bottle and beverage, or ask an experienced brewer for help.
Can I save the batch?
Sometimes. If the problem is excessive carbonation but the bottles are otherwise intact, an experienced brewer may be able to carefully recover the beverage.
The exact method depends on:
- Bottle type
- Beverage type
- Pressure
- Amount of residual sugar
- Yeast activity
- Desired carbonation
There is no universal safe procedure for every bottle bomb situation.
If you believe the bottles may already be at dangerous pressure, do not make saving the batch your first priority.

How do I prevent bottle bombs?
The prevention checklist is simple.
Before bottling:
1. Confirm fermentation is finished. Use a hydrometer.
2. Confirm stable gravity. Take multiple readings over several days.
3. Know the expected final gravity. This helps you identify unusual fermentation behavior.
4. Calculate your priming sugar. Do not guess.
5. Weigh your priming sugar. A gram scale gives you much better control than volume measurements.
6. Use bottles rated for carbonation. Do not carbonate in bottles designed only for still beverages.
7. Mix priming sugar evenly. You want every bottle to receive approximately the same amount.
8. Account for existing carbonation. The amount of CO₂ already dissolved in the beverage affects the amount of priming sugar required.
9. Be careful with sweet beverages. Residual fermentable sugar can continue to ferment after bottling.
10. Store finished bottles safely. Keep carbonated bottles away from excessive heat.
What if I want a sweet, sparkling drink?
This is where bottle conditioning becomes more complicated.
You need both:
Residual sweetness and carbonation.
Those two goals can conflict. If yeast can ferment the remaining sugar, the yeast can continue producing CO₂.
That means you cannot simply:
- Ferment a mead dry.
- Add honey.
- Add priming sugar.
- Bottle it.
- Wait.
The yeast can ferment both sugars. You need a method that controls fermentation and carbonation.
Force carbonation in a keg is one way to do this. For bottle-conditioned beverages, a nonfermentable sweetener is the safest option.

Bottle bombs are preventable
Bottle bombs are not a mysterious part of homebrewing. They are usually a result of uncontrolled fermentation, excessive priming sugar, or a combination of the two.
The solution is not complicated.
- Make sure fermentation is finished.
- Measure gravity instead of watching the airlock.
- Use stable gravity readings.
- Calculate your priming sugar.
- Use pressure-rated bottles.
- Treat any suspect bottles as pressurized containers.
And remember:
If you are not sure that fermentation is finished, do not bottle it. Waiting a few more days is much cheaper than replacing your beer, your floor, and your blood pressure.