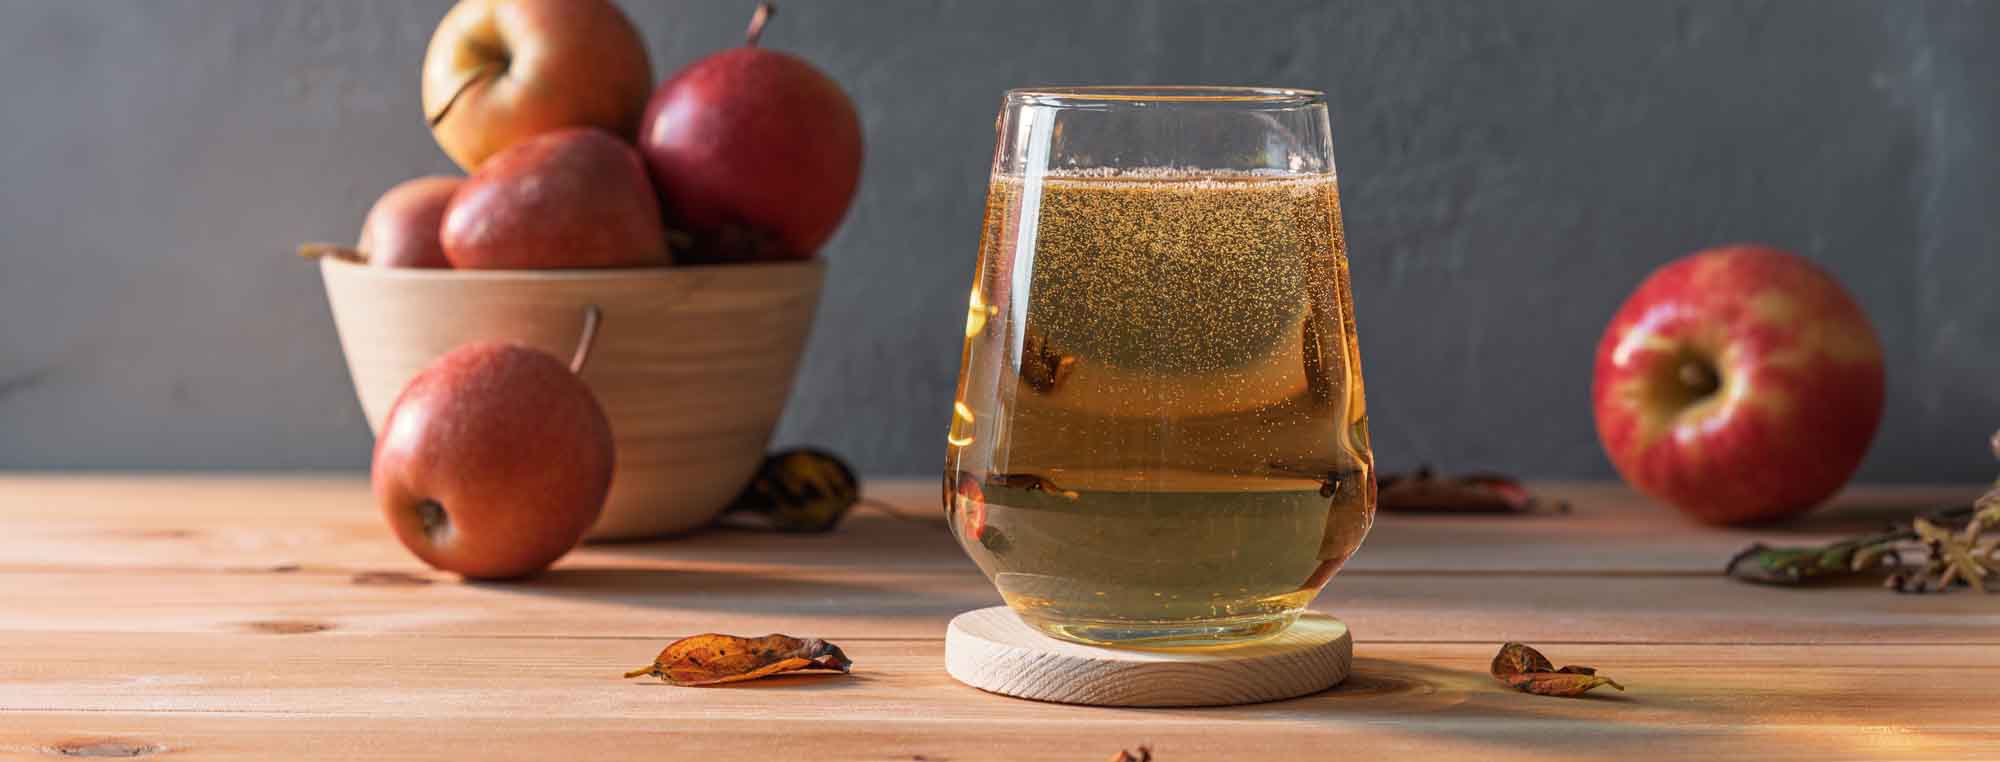
Dry cider is one of the easiest fermented drinks to make at home.
And we get this question a lot! If you’re just starting, this guide should get you all the way from grocery store juice to sparkling cider in the glass.
You do not need fresh apples, an apple press, or a complicated recipe. You can make a good dry cider from 100% apple juice from the grocery store.
The basic process is:
- Choose suitable apple juice.
- Check the starting gravity.
- Add yeast and nutrients.
- Ferment until the gravity is stable.
- Let the cider clear.
- Package it.
- Drink it dry, or add sweetness when you serve it.
A dry cider has little or no fermentable sugar left. That does not mean it has no apple flavor, though. In fact, fermenting the juice completely dry can produce a crisp cider with a strong apple character.
What Makes a Cider Dry?
A cider is dry when fermentation has consumed most of the available fermentable sugar. A typical grocery-store apple juice might start around 1.045–1.055 specific gravity. If the yeast ferments it down close to 1.000 or below, most of the fermentable sugar is gone.
For example:
OG: 1.050
FG: 0.998
That is a very dry cider.
The estimated ABV would be:
(1.050 − 0.998) × 131.25 = 6.8% ABV
Your actual numbers will depend on the juice and yeast. For more on ABV calculations, check out our complete guide!
Dry Does Not Mean Tasteless
New cider makers sometimes expect dry cider to taste like apple juice without the sweetness. It does not. Fermentation simply changes the flavor.
You can get:
- Apple aroma
- Tartness
- Acidity
- Fruit character
- Fermentation-derived flavors
- A crisp finish
Sweetness can hide some of the acidity in apple juice. When you remove that sweetness, the cider can taste much sharper.
This is normal. If your dry cider tastes too sharp, you can adjust the finished cider later.

Start With the Right Apple Juice
For a simple grocery-store cider, look for: 100% apple juice
Check the ingredients. You want apple juice without preservatives that inhibit yeast. Avoid juice containing preservatives such as sodium benzoate or potassium sorbate. Pasteurization is not the same thing as chemical preservation, so pasteurized apple juice can still ferment.
Ascorbic acid or vitamin C is also commonly used in apple juice and is not the same type of yeast-inhibiting preservative.
Avoid “lite” juices that contain nonfermentable sweeteners.
When in doubt, read the ingredient list. You can also measure the gravity of the juice before you buy a large quantity if you want to compare different brands.
Does It Have to Say “Apple Juice”?
No. You can ferment either apple juice or apple cider, as long as the product is suitable for fermentation. In grocery stores, “apple cider” often means unfiltered or seasonal apple juice.
The important things are the ingredients and sugar content. A cloudy cider can make an excellent hard cider. A clear apple juice can also make a fantastic hard cider.
Apple juice blends, like “cranapple” are also a favorite in my house.
Do I Need to Add Sugar?
No. You can make a dry cider using nothing more than apple juice, yeast, and nutrients.
Apple juice already contains sugar. Adding table sugar increases the starting gravity and potential ABV, but it does not automatically make better cider.
For your first dry cider, keep it simple. Learn what your apple juice tastes like when fermented before adding extra sugar.
Do I Need Yeast Nutrient?
It is a good idea.
Apple juice contains sugar, but it does not always provide everything yeast needs for a healthy fermentation. A small amount of appropriate yeast nutrient can help the fermentation start and finish cleanly.
Follow the dosage on the product you use. Never assume that more nutrient is inherently better.
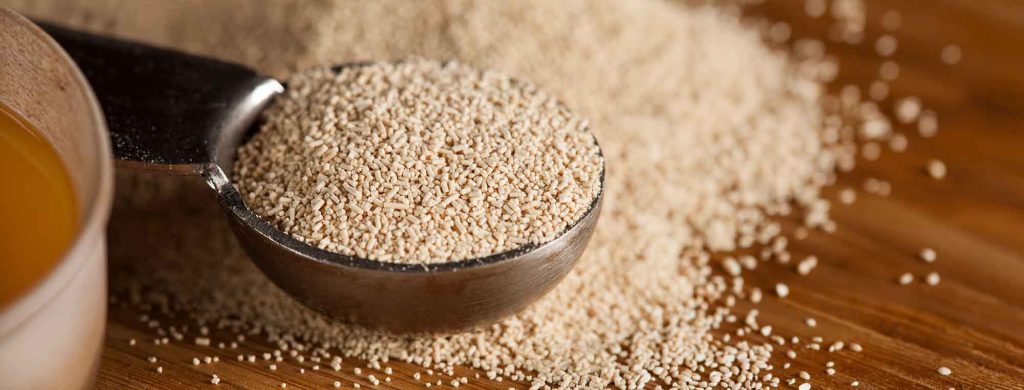
What Yeast Should I Use?
You have many options.
For a simple dry cider, useful choices include:
- Cider yeast
- Wine yeast
- Champagne yeast
- Clean ale yeast
A clean cider or wine yeast can ferment the cider very dry. An ale yeast can produce a different flavor profile and may leave more character behind. Yeast choice affects more than ABV. For example, Lalvin’s 71B does a process called “maloethanolic fermentation.” At the same time it converts sugar into alcohol, it will also convert large amounts of malic acid into ethanol. The problem? Malic acid is part of the characteristic apple flavor! So, in a juice that is not very sharp, Lalvin 71B can dull the apple flavor significantly.
Yeast can affect:
- Apple aroma
- Esters
- Acidity perception
- Mouthfeel
- Fermentation speed
- Final gravity
For a first dry cider, use a reliable cider or wine yeast and follow its recommended temperature range. I’d recommend SafCider AC-4, SafAle US-05 ale yeast, or Lalvin K1-V1116 wine yeast.
A Simple Grocery-Store Dry Cider Recipe
This recipe makes approximately 1 gallon of dry cider.
Ingredients
- 1 gallon 100% apple juice
- 1 packet cider, ale, or wine yeast
- Yeast nutrient, according to the package instructions
You will also need:
- 1-gallon fermenter
- Airlock
- Hydrometer
- Sanitizer
- Siphon
- Bottles or a keg
Target
Starting gravity will usually be around: 1.045–1.055
Expected ABV: About 5.5–7% ABV
Final gravity: Around 1.000 or below
These are targets, not guarantees. The juice determines the starting gravity. The yeast determines how far fermentation goes.

Step 1: Sanitize Everything
Clean and sanitize the fermenter, airlock, siphon, hydrometer, and anything else that touches the cider.
Cider contains plenty of sugar. Microorganisms like sugar too. Good sanitation gives your yeast a better chance to control the fermentation.
Related: How to Sanitize Your Homebrewing Gear
Step 2: Add the Apple Juice
Pour the apple juice into your sanitized fermenter.
Leave some headspace. Do not fill the fermenter to the very top, as fermentation can produce a large amount of foam.
Step 3: Measure the Original Gravity
Take a hydrometer reading.
Record it.
For example:
OG = 1.052
This number lets you calculate your eventual ABV.
It also tells you how much sugar was in the juice before fermentation.
Related: What is Original Gravity?
Step 4: Add Yeast Nutrient
Add your yeast nutrient according to the product instructions. Mix it into the juice.
Avoid excessive splashing once fermentation is underway.
Step 5: Add the Yeast
Pitch your yeast according to the manufacturer’s instructions. For most dry yeast, you can pitch directly into the juice unless the manufacturer recommends another method.
Install the airlock.
Step 6: Ferment the Cider
Keep the cider within the yeast’s recommended temperature range. Do not use the airlock as your fermentation meter. You should see signs of fermentation, but bubbles are not a reliable way to determine when fermentation is finished.
The gravity should fall as the yeast consumes sugar.
For example:
1.052 → 1.030 → 1.010 → 1.002
Eventually, the gravity should stop changing.
Step 7: Confirm That Fermentation Is Finished
After a week or two, take a gravity reading. Wait a few days. Take another reading.
If the gravity is the same, you have evidence that fermentation has finished.
For example:
Day 14: 0.998
Day 17: 0.998
That is much more useful than a quiet airlock. Do not package the cider just because fermentation has slowed down.
Step 8: Let the Cider Clear
You can drink cider while it is cloudy. However, giving it some time to clear can improve the appearance and reduce the amount of yeast sediment in the finished drink.
You can:
- Leave it in the fermenter
- Rack it to another sanitized vessel
- Cold crash it
- Use finings if needed
You do not have to make cider crystal clear. Clarity is mostly a matter of appearance.
Step 9: Taste the Cider
This is an important step. Before you decide what to do next, taste it.
A completely dry cider may taste:
- Tart
- Sharp
- Crisp
- Thin
- Apple-forward
- Too acidic
- Exactly right
Your next step depends on what you taste.
You might decide to drink it dry. You might decide to add sweetness. Or you might decide that it needs more body or apple character.
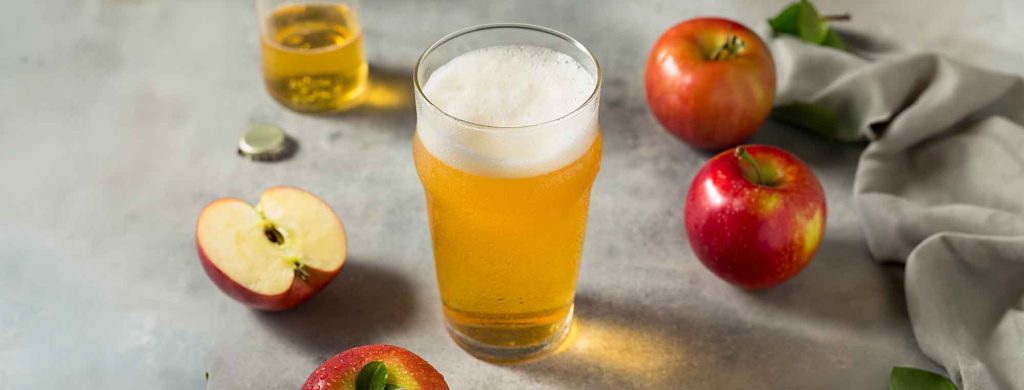
Why Does My Dry Cider Taste Too Dry?
Because it is dry!
That sounds obvious, but it is one of the most common surprises for new cider makers.
Apple juice contains sugar. Sugar makes the juice taste sweet and soft. Yeast removes much of that sugar, replacing it with alcohol. The resulting cider can therefore taste much more acidic and sharp.
This does not necessarily mean that you made a bad cider. It means you removed the sweetness that was balancing the acidity.
You have several options.
Option 1: Drink It Completely Dry
If you like the crisp flavor, do nothing. Dry cider can be excellent on its own.
It also makes a useful base for experimenting with:
- Fruit
- Spices
- Hops
- Oak
- Different yeasts
- Different apple juices
Option 2: Backsweeten With a Nonfermentable Sweetener
You can add a nonfermentable sweetener after fermentation to increase sweetness without giving normal brewing yeast a large supply of fermentable sugar.
There are many options, including:
- Erythritol
- Xylitol
- Stevia
- Monk fruit
- Sucralose
- Other specialty sweeteners
Different sweeteners have different sweetness levels and flavor effects.
Do not dump a large amount into the entire batch. Make a small bench trial first.
For example, pull several measured samples of cider and add different amounts of sweetener to each one. Taste them side by side. When you find a level you like, scale that amount to the full batch.
For more detail on the different options, see our guide to nonfermentable sweeteners.
Remember that “nonfermentable” does not mean that every yeast will ignore every sweetener under every condition. If you plan to bottle a sweet cider, treat fermentation safety as a separate problem from sweetness.
Option 3: Sweeten It When You Pour It
This is one of the easiest ways to make a dry cider taste sweeter.
Keep the cider dry in the keg or bottle. Then add a small amount of simple syrup directly to the glass. This gives you control over every serving.
Make Simple Syrup
Combine:
1 part sugar
with
1 part water
Heat gently until the sugar dissolves. Let it cool. Store it cleanly and refrigerate it.
To sweeten a glass of cider, add a small amount of syrup and taste. Add more if needed.
This method has a major advantage:
You do not put fermentable sugar back into the entire batch.
The cider stays dry in the keg or bottle. Each glass can be as sweet as you want. You can even serve one dry glass and one sweet glass from the same batch.
Simple Syrup Is Especially Useful for Bottled Cider
Suppose you have a batch of dry cider already bottled.
You do not need to open the entire batch and sweeten it. Add simple syrup to the glass. Then pour the cider over it.
Swirl gently. Taste. Adjust.
This is also an easy way to test how much sweetness you actually like before changing an entire batch.
What About Apple Juice Concentrate?
Apple juice concentrate is another way to sweeten cider. It adds both sugar and apple flavor. It can work very well.
However, the sugar is fermentable. That means the yeast can ferment it.
This is important if you are bottling.
Adding fermentable juice or concentrate to finished cider can restart fermentation and create dangerous pressure in sealed bottles. Do not treat apple juice concentrate as a harmless sweetener – it is food for yeast.
If bottling, and you want to skip carbonating entirely, you can stabilize the cider 24-hours prior to sweetening to prevent the yeast from refermenting your backsweetening sugars.
For kegged cider, you have more control because you can keep the cider cold and force carbonate it. For bottled cider, use a method that accounts for the fermentable sugar and pressure.
What About Stabilizing a Dry Cider?
Chemical stabilization is often used when a brewer wants to add fermentable sugar after fermentation.
Common products include:
- Potassium sorbate
- Potassium metabisulfite
These products have different jobs and should not be treated as magic fermentation-stop buttons. A stable final gravity is still important.
If you plan to make a still sweet cider, or backsweeten a keg with fermentable sugar, use a deliberate stabilization process appropriate for your packaging and storage conditions. If you are not comfortable with that process, use a nonfermentable sweetener or sweeten each glass instead.
Can I Bottle Dry Cider?
Yes. Dry cider is easy to bottle.
If the cider is fully fermented and you want carbonation, you can add the appropriate amount of priming sugar and allow the yeast to carbonate the bottles.
The important word is fully. If fermentation is still active when you add priming sugar, the yeast has two sources of sugar. That can create excessive pressure.
Always confirm stable gravity before bottling. An use bottles designed to handle carbonation.
Can I Keg Dry Cider?
Yes. Kegging is one of the easiest ways to make dry sparkling cider.
- Ferment the cider completely dry.
- Transfer it to a sanitized keg.
- Purge the keg with CO₂.
- Chill it.
- Force carbonate it.
- Then serve it dry.
You can also backsweeten the keg with a nonfermentable sweetener if you want a sweet sparkling cider.
Another option is to keep the cider completely dry and sweeten individual glasses with simple syrup.
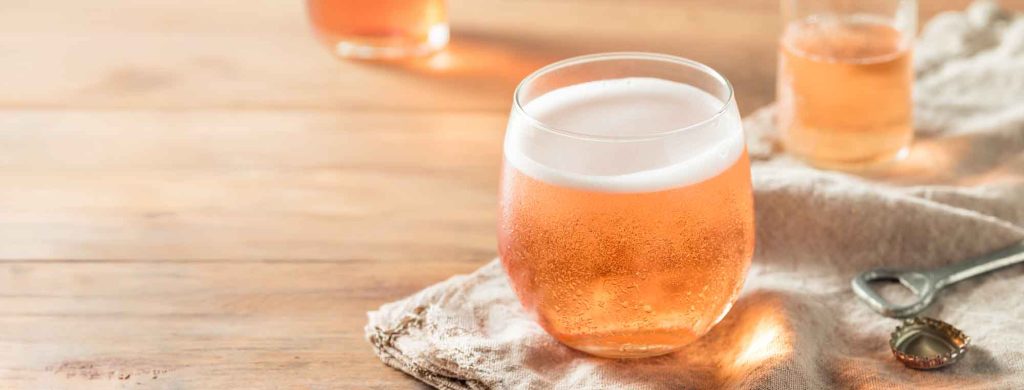
Dry Cider and Carbonation
Carbonation changes how you perceive sweetness.
A dry cider can taste even sharper when highly carbonated. Carbonation adds acidity and bite to the sensory experience.
If your cider tastes too sharp when carbonated, try a small sweetness adjustment before changing the recipe. You may find that a small amount of sweetness balances the carbonation.
Can I Make Dry Cider Without a Hydrometer?
You can. You should not.
Without a hydrometer, you have no good way to know:
- How much sugar was in the juice
- How much alcohol you produced
- Whether fermentation has actually stopped
- Whether your cider is safe to bottle
A hydrometer is inexpensive compared with the time you put into making a batch.
Use one.
Related: How do I use a Homebrewing Hydrometer?
Related: Which Hydrometer Should I Buy?
Common Dry Cider Mistakes
Using juice with fermentation-inhibiting preservatives
The yeast may struggle or fail to ferment.
Fix: Read the ingredients before buying the juice.
Adding lots of sugar immediately
This increases the potential ABV but can make fermentation more difficult.
Fix: Start with the juice’s natural sugar.
Fermenting too warm
Some yeast strains can produce unwanted flavors at excessive temperatures.
Fix: Follow the yeast manufacturer’s temperature range.
Assuming bubbles mean fermentation is finished
They do not.
Fix: Measure gravity.
Bottling before fermentation is finished
This can create excessive pressure.
Fix: Confirm stable gravity.
Expecting dry cider to taste like apple juice
It will not.
Fix: Expect a drier, sharper flavor, or adjust the finished cider.
Adding apple juice concentrate without considering fermentation
The sugar in concentrate can ferment.
Fix: Account for the added fermentable sugar before packaging.
Over-sweetening
A little sweetness can balance acidity.
Too much can hide the apple character.
Fix: Use small bench trials before sweetening the full batch.
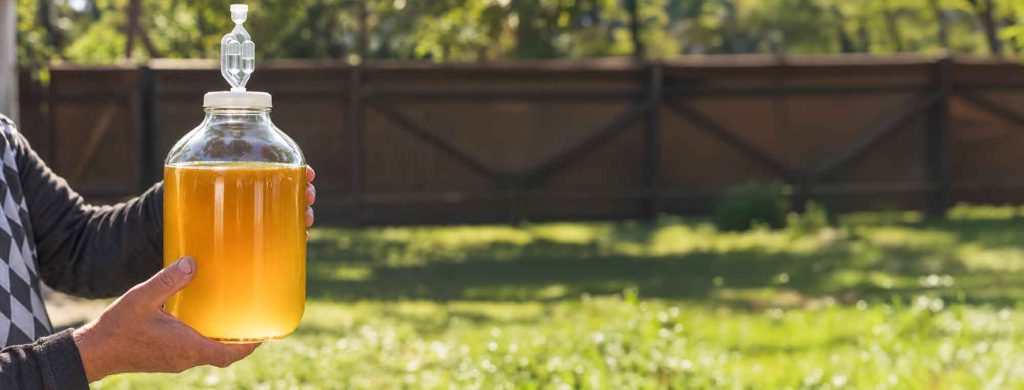
A One-Gallon Dry Cider at a Glance
Ingredients
- 1 gallon 100% preservative-free apple juice
- 1 packet cider, ale, or wine yeast
- Yeast nutrient
Process
- Sanitize your equipment.
- Add the apple juice.
- Measure and record the OG.
- Add yeast nutrient.
- Pitch the yeast.
- Ferment at the yeast’s recommended temperature.
- Take gravity readings as fermentation slows.
- Confirm stable gravity.
- Let the cider clear if desired.
- Taste it.
- Package it dry, backsweeten with a suitable nonfermentable sweetener, or sweeten individual servings with simple syrup.
- Carbonate if desired.
What Should My First Dry Cider Taste Like?
Do not worry about making it taste exactly like commercial cider. Your first batch is teaching you what fermentation does to apple juice. A simple dry cider should give you a useful baseline.
You can then change one thing at a time.
Try:
- A different apple juice
- A different yeast
- A different fermentation temperature
- More or less nutrient
- Different carbonation
- A small amount of sweetness
- Some citric or tartaric acid
- Fruit
- Spices
- Hops
- Oak
Keep notes. The easiest way to make better cider is to know what you changed between batches.
Bottom Line
You do not need an apple press to make hard cider.
- Start with good grocery-store apple juice.
- Use a yeast that can ferment it cleanly.
- Add appropriate yeast nutrient.
- Keep the fermentation at a suitable temperature.
- Measure gravity.
- Wait until the gravity is stable.
- Then taste the cider before deciding what it needs.
- If you like it dry, package it.
- If it is too sharp, try a small amount of nonfermentable sweetener.
If you want complete control over sweetness from glass to glass, keep the cider dry and add a little simple syrup when you pour it.
Start with good juice. Ferment it completely. Taste it dry. Then decide what you want to change.